Getting Started
Introduction
Aiseesoft AI Photo Editor is an AI-powered image upscaler and watermark remover. It can upscale and enlarge your photos by 2×, 4×, 6× and 8× with a higher resolution, even 4K. To save you time, it allows you to import a folder and enhance images in batches. You can also use it to remove watermark(s) on photos. With the intuitive interface, the process can be done with several simple steps. Now, let's look through the guide on how to use Aiseesoft AI Photo Editor.
Part 1. Upscale Image(s)
Step 1 Download Aiseesoft AI Photo Editor by clicking on the Free Download button on this webpage. Next, install and launch it on your computer. Click on the Log in button to create an account or log in.
Step 2 To choose the image(s) you want to upscale, hover your mouse on the Start button on the AI Image Upscale module. Then, click on Add image(s) or Add Folder to import your photos.

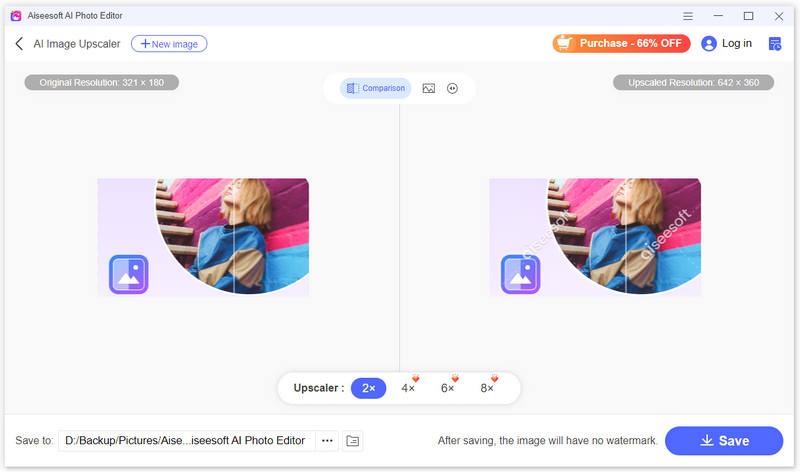
Step 3 It will automatically upscale your image by 2×. After it finishes, you can see the comparison before and after upscaling. You can also preview the upscaled image or use a slider to see their differences.
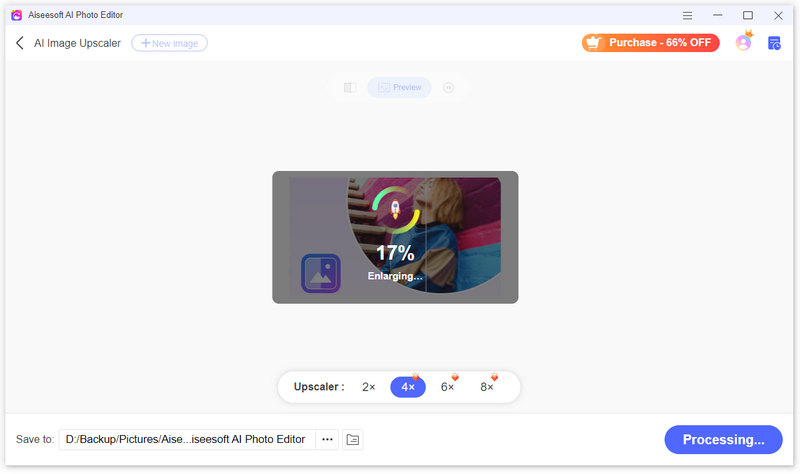
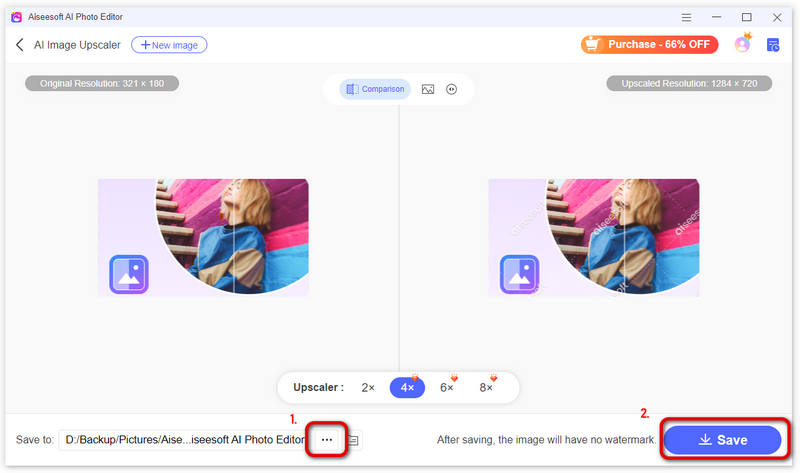
Step 4 If you think the image is not clear enough, you can further upscale it to a higher level, up to 8×, in the menu at the bottom.
Step 5 If you are satisfied with the clarity and want to save it, click on the three-dot icon at the bottom. Choose a desired location to save your enhanced image. After that, click on the Save button at the bottom right. You can check the new and clearer image in the folder.
Note:
When you preview the upscaled image, you can see the watermark on it. But it will disappear after you save it on your computer. To view your previous upscaled images, make sure you have logged in and click on the History icon at the top right corner.
Part 2. Enhance Image(s)
Step 1 Click the AI Image Enhancer section to add your image directly. You can also add the image by moving your mouse cursor on the Start button to choose Add Image(s) or Add Folder.

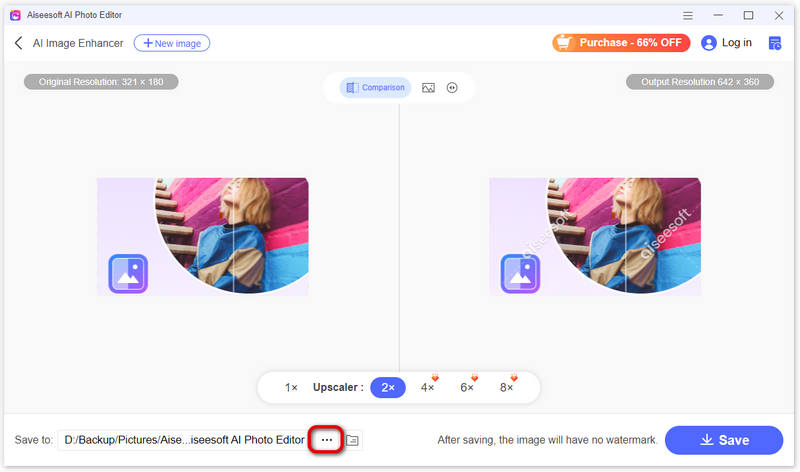
Step 2 Then, the image will be automatically enhanced. After it finishes, you can preview the improved image. You can also choose Comparison to see their differences clearly.
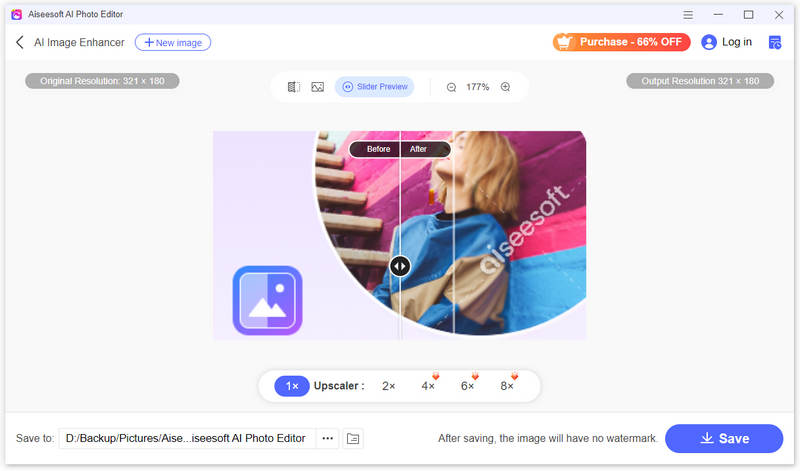
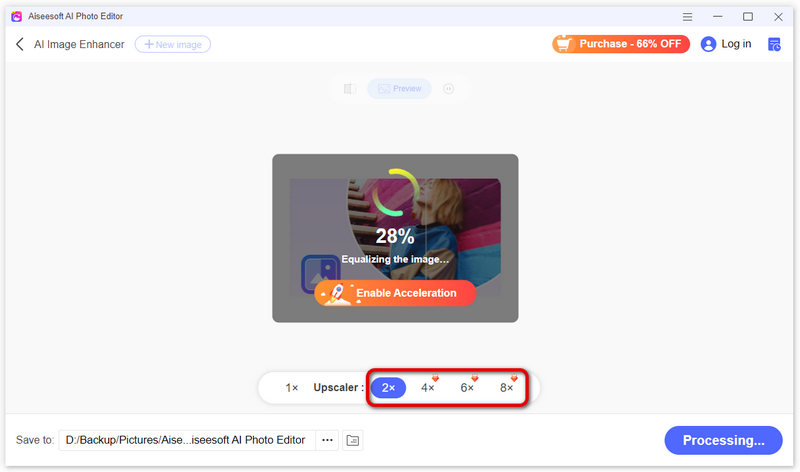
Step 3 If you want to get a clearer picture, you can also choose to enhance the image resolution to 2×, 4×, 6×, and 8× according to your needs.
Step 4 After adjusting the image to a satisfactory degree, you can click the three-dot icon to change the save folder.
Step 5 Then, you can click the Save button to get the result.

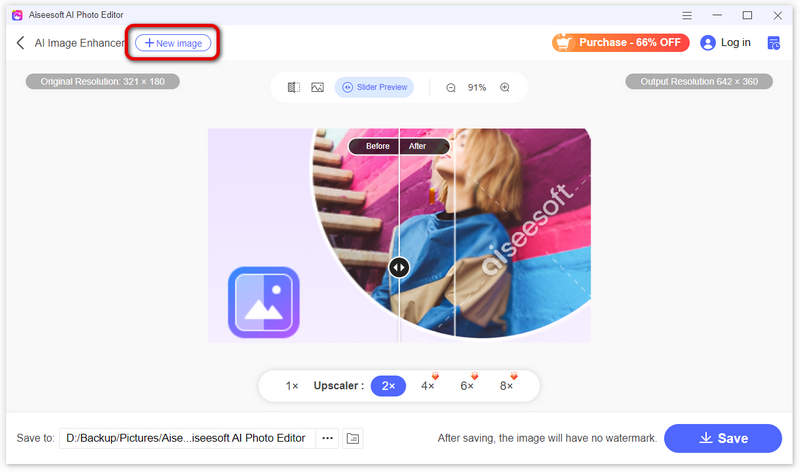
Step 6 If you want to enhance another image, you can click the plus button on the top to add another photo.
Part 3. Remove the Watermark from the Image
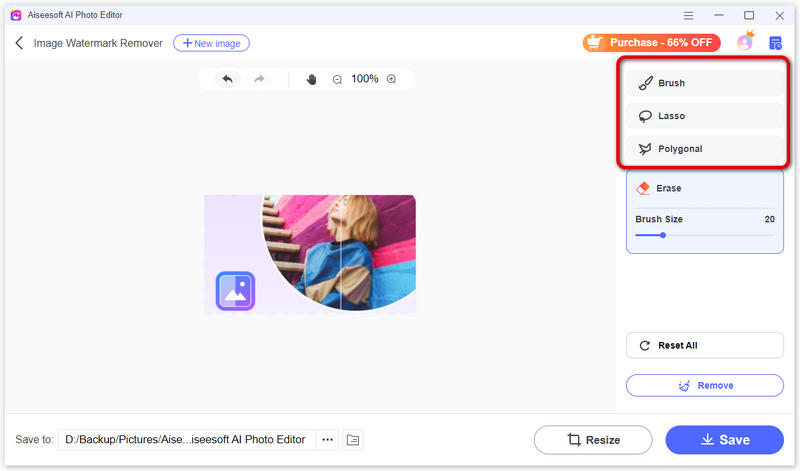
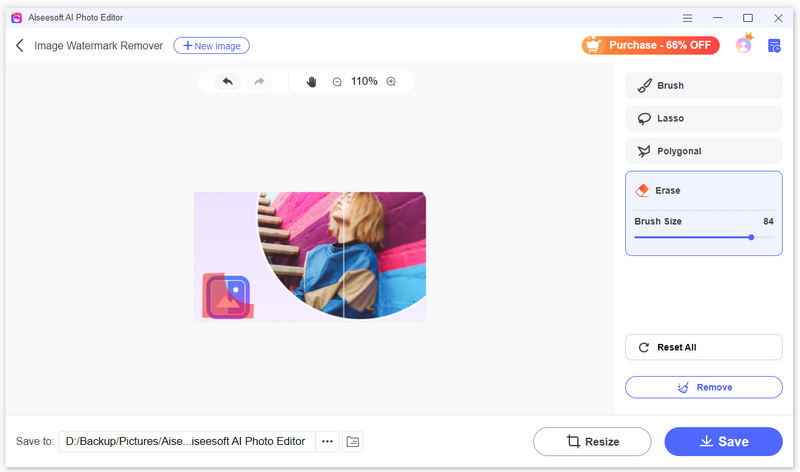
Step 1 On the Image Watermark Remover section, click the Start button and select the image that you want to remove the watermark or object from.

Step 2 Choose one tool from Brush, Lasso, or Polygonal to select the watermark area or object you want to remove.
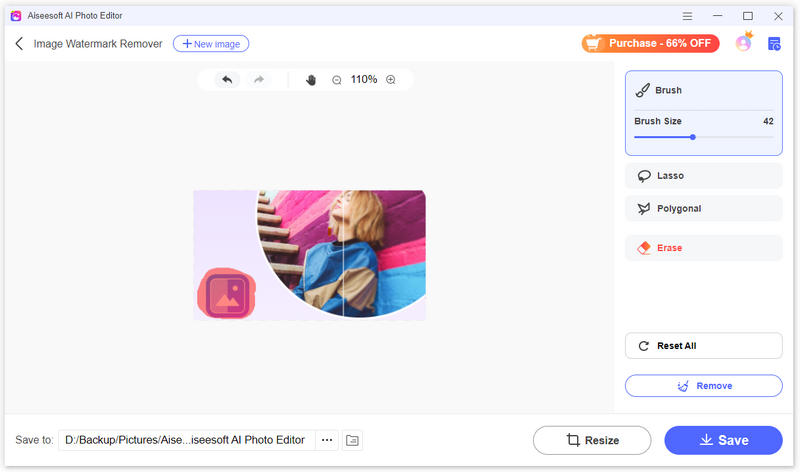
If you choose Brush, you can adjust the brush size according to the watermark's size and complexity. Next, paint over the watermark area while holding down the mouse button.
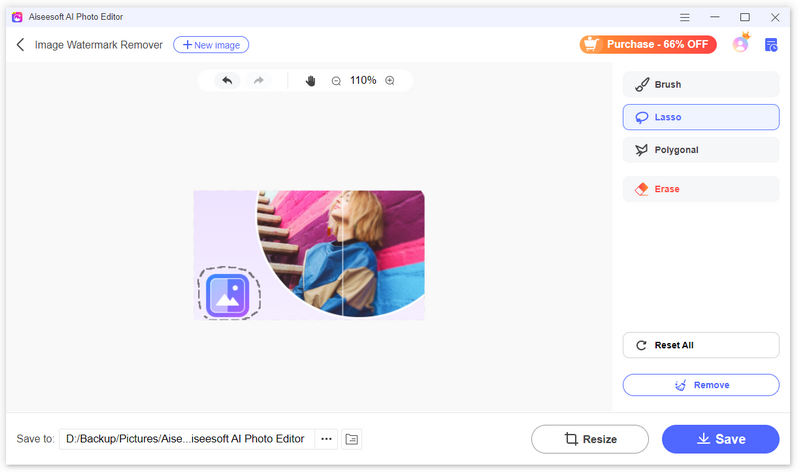
Also, you can use the Lasso tool to create a closed selection outline by clicking and dragging your mouse around the watermark.
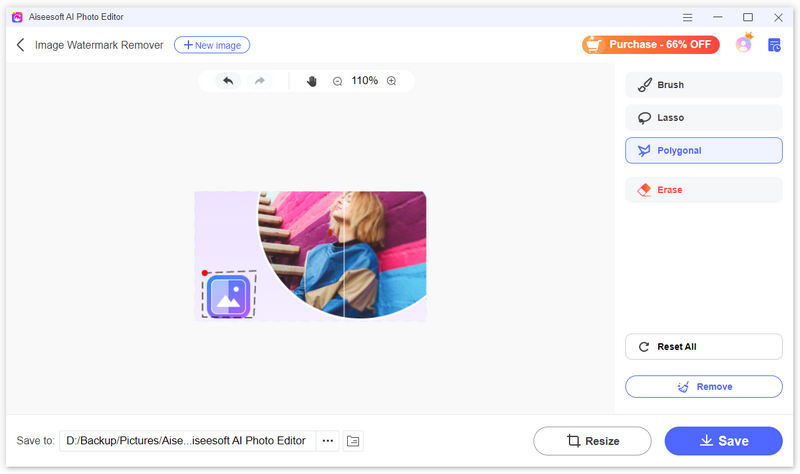
The polygonal tool can help you create straight-sided selections. First, click at the corner point of the watermark, add points at each corner, and click on the first point you placed to close the selection.
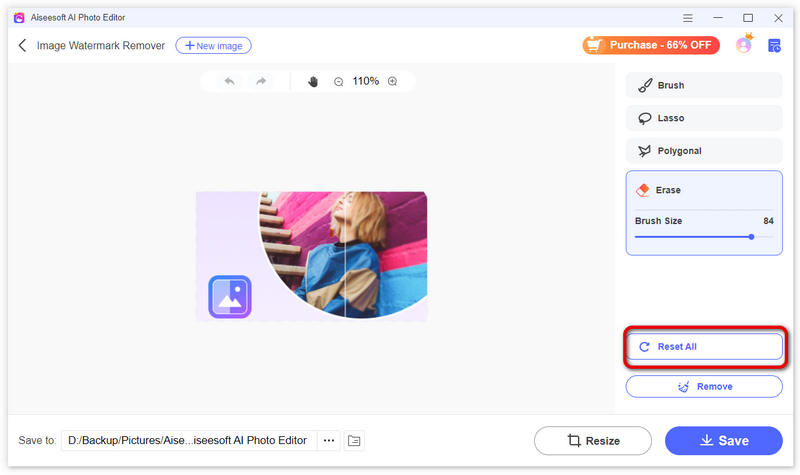
If you need a revision for selections, click the Erase button and adjust its brush size. Paint on the selections to remove unwanted strokes.
If you want to clear all the selections, click on the Reset All button.
Step 3 After selecting the watermark area, click the Remove button.
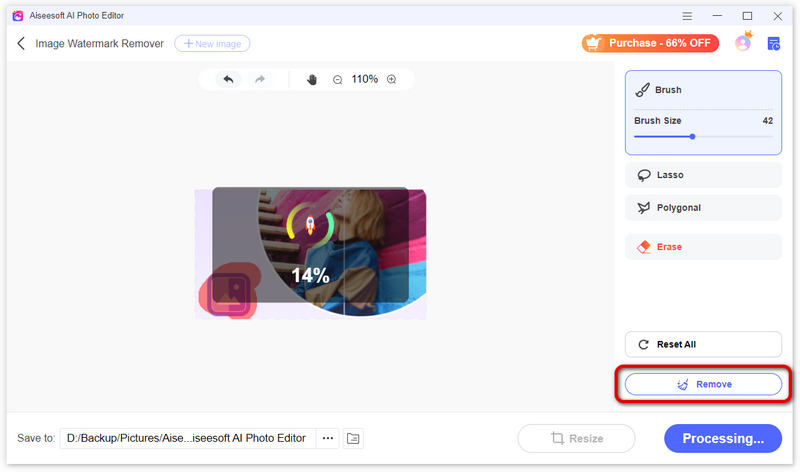
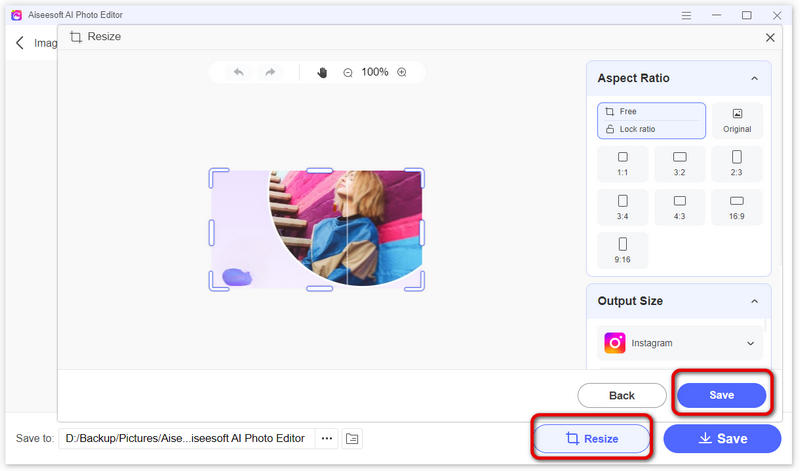
Step 4 After a while, it will successfully remove the watermark. If needed, you can click the Resize button to change its aspect ratio or output size. Also, you can adjust and drag the frame on the picture to change the image size manually. Then, click the Save button.
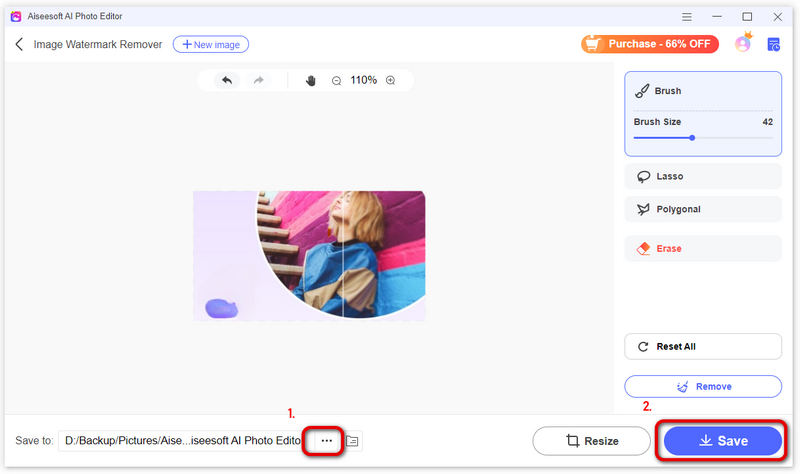
Step 5 Choose a location to save the picture by clicking the three-dot button. Finally, click the Save button. A folder window will pop up where you can find the watermark-removed image.