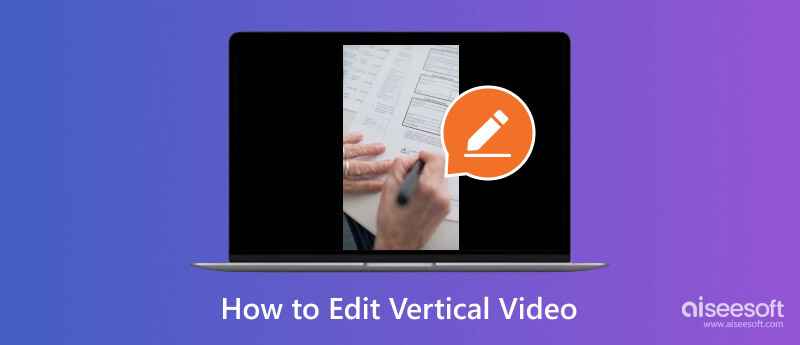
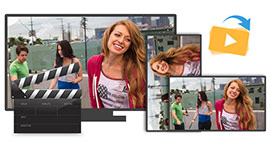
With the help of the vertical video editor we have added here, editing is not just about rotating the frame. Also, it is about understanding the nuances of this format and leveraging them to create engaging and visually appealing content. Whether your work is to influence or not, mastering the art of editing videos that are positioned vertically will enhance your storytelling skills and make your content stand out from the rest. In the following sections, we will teach you how to use Aiseesoft Video Converter Ultimate, Premier Pro, Final Cut Pro, and DaVinci Resolve to edit videos in vertical format.
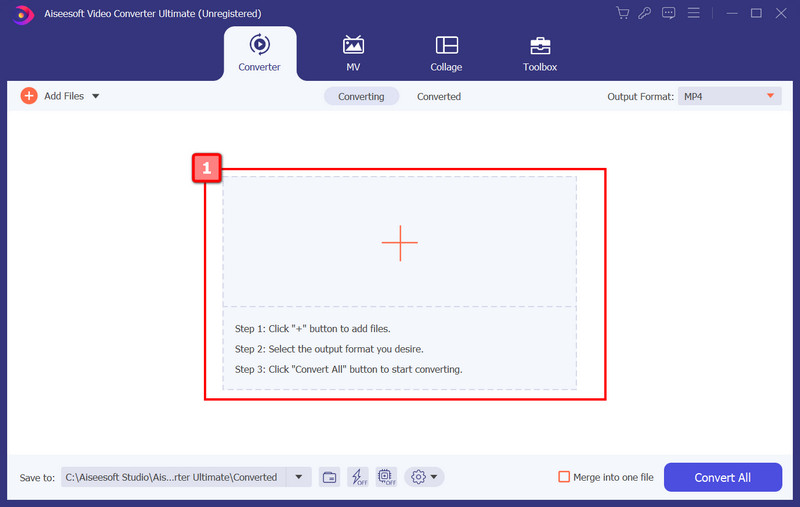
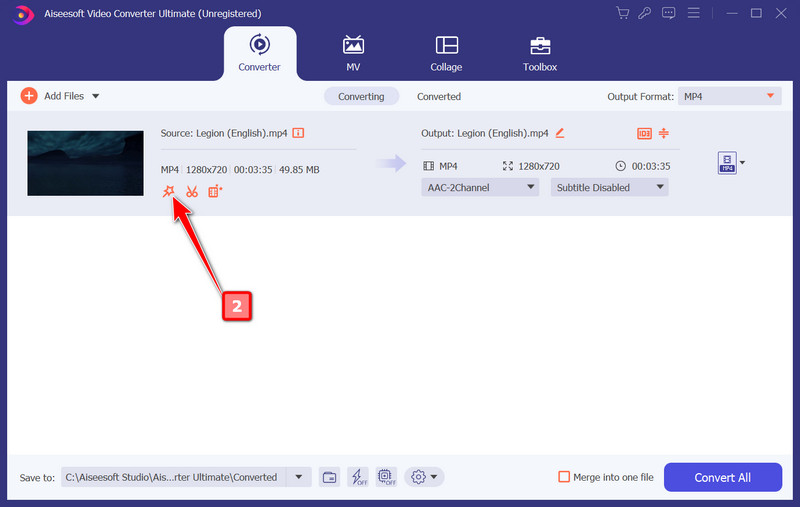
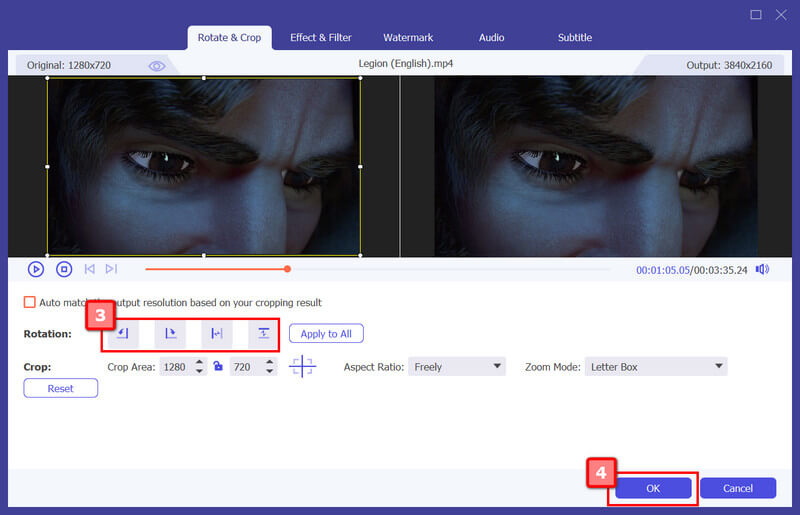
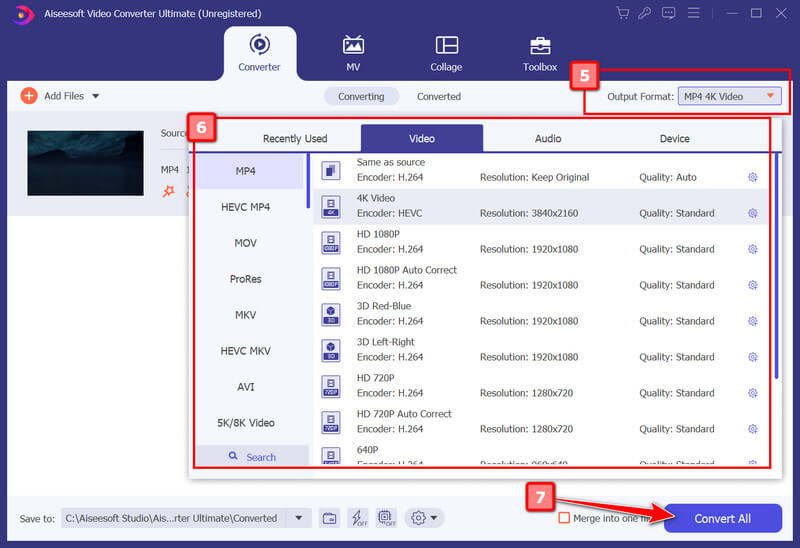
Among the four, Aiseesoft Video Converter Ultimate is primarily known as a video converter, but it also offers advanced video editing, such as editing vertical video. It allows users to have precise video editing, advanced transitions, color grading, and audio editing. With the intuitive interface, even if you do not have advanced skills in terms of editing, you can still manage to perform it with the help of this app. If you are excited about using it, follow the steps below.
![]() 100% Secure. No Ads.
100% Secure. No Ads.
![]() 100% Secure. No Ads.
100% Secure. No Ads.
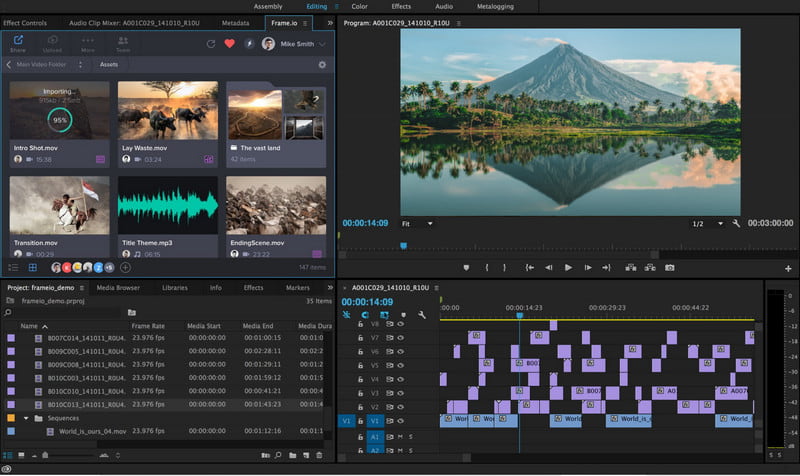
Adobe Premiere Pro is a professional-grade editing software that provides a powerful tool for vertical video editing. It allows for precise editing, advanced transition, color grading, and audio editing in a single app. Its intuitive interface and extensive features make the app a favorable pick for most professionals. The app allows you to edit and optimize videos for various social media platforms while keeping a high-quality output. So, how do you edit vertical video in Premiere Pro? Read the steps below carefully.
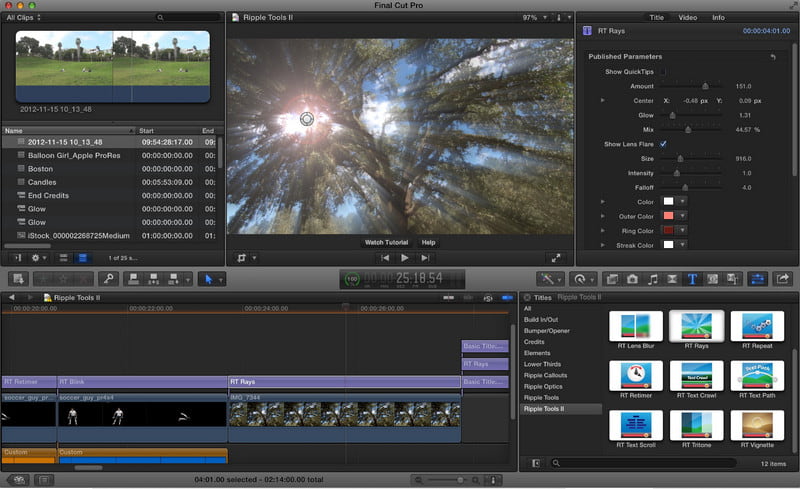
Are you looking for a flagship video editing software designed for Mac users? Then, Final Cut Pro it is. The app offers advanced editing features, including a magnetic timeline, robust media organization, and seamless integration with other Apple products. With the excellent approach it provides in editing vertical videos, the app provides a smooth and efficient editing experience. Its performance and user-friendly interface make it a top choice for Mac, yet the price is too expensive. Read the steps below to learn how editing vertical video in Final Cut Pro works.
With the professional-grade feature and versatility, how can we forget the DaVinci Resolve? The app offers a free version with powerful editing tools, making it accessible to beginners and pros alike. With the approach it has, editing vertical videos has become easier for any user, and you can instantly add effects and export them. Another great about it is the color grading tools it offers. Learn how to edit vertical video in DaVinci Resolve using the tutorial below.

How to edit vertical video in iMovie?
Open the app and import the video you want to edit; the uploading will depend on your OS. After that, adjust the project settings by clicking the Settings button and selecting Movie Properties. Change the aspect ratio to 9:16 to match the vertical orientation, and click OK. Now, you can edit the video however you like.
How do I fix vertical video to horizontal?
You must use a video flip app to turn your vertical video into a horizontal format. You can use the Aiseesoft Video Converter Ultimate as a sample and click the right or left rotation button to turn it horizontally.
How do I crop a video vertically?
Cropping video vertically can only be done with the help of a video cropper editor to change the aspect ratio based on your needs. But when you crop a video, you need to remember that you are adjusting the overall look of it, and there are some areas it eliminates after exporting the cropped video.
Can I add music and sound effects to vertical videos?
Yes, you can easily add or import music into your vertical videos with the help of the associated application software we have here.
How can I avoid black bars on the sides of my vertical videos?
To avoid having black bars, ensure that your project settings match the vertical aspect ratio. Import vertical footage directly without rotating it, and edit within the dimension you have to prevent having black bars.
Conclusion
These are the apps to edit portrait videos or vertical footage that you can use easily. With the included tutorial, you can follow it as a guideline to edit vertical videos stored on your computer. If you have other questions regarding this article, please mention them in the comment section below.
 3 Feasible and Easy Ways to Edit Vertical Videos on iMovie
How to edit vertical video in iMovie? Here is a full guide to explore all the essential steps in making a nice-looking vertical video on your iPhone and Mac.
 [Beginner's Guide] How to Rotate a Video on Windows 10 and Mac
Have you ever been frustrated by the wrong video angle? How to rotate a video and save it? This article will tell you how to rotate a video file on computer with simple steps.
 6 Best Methods to Rotate Animated GIFs on PC, Mac, Android, and iOS
When you want to transform animated GIFs on different platforms, here are the 6 best methods to flip and rotate GIFs from the article.

Video Converter Ultimate is excellent video converter, editor and enhancer to convert, enhance and edit videos and music in 1000 formats and more.
![]() 100% Secure. No Ads.
100% Secure. No Ads.
![]() 100% Secure. No Ads.
100% Secure. No Ads.
