In today's world of digital content creation, audio quality is crucial. Whether recording a podcast, producing music, or working as a sound engineer, achieving crystal-clear sound is paramount to success. That's where background noise-canceling microphones come in - they filter out distracting background noise, delivering more apparent, more engaging, professional-sounding audio.
In this article, we'll guide you through purchasing the best noise-canceling microphone for your needs, whether you're a seasoned professional or an up-and-coming audio enthusiast. You'll learn everything from the benefits of using a noise-canceling microphone to selecting the perfect model for your recording setup. So, to take your audio to the next level, keep reading to discover all you need about background noise-canceling microphones.
It refers to the directional sensitivity of a microphone from the sound coming from different directions. There are different types of directional microphones, and each has its characteristics. Here are the samples you need to know:
| Type of Directionality Microphone | Short Description |
| Omnidirectional Microphones | Pick up all sounds equally in all directions. Best for recording ambient sound and sense of space recording. |
| Cardioid or Unidirectional Microphones | They are the most sensitive to the sound coming from the front but different from other sides. Commonly used for vocals and instruments. |
| Bidirectional or Figure Microphones | Equally, pick up all sounds from the front and rear but not on the sides. Best for recording interviews. |
| Shotgun Microphones | Pick up a sound from a narrow beam before the microphone. Best for recording dialogs in film and TV production. |
It is essential to know the connection of your microphone, whether it is a USB, XLR, or 3.5mm jack suitable for your recording setup. Without the compatibility connector, even if you purchase the most expensive one, you can't use a reduced background noise microphone if the connector isn't compatible.
Size does matter when it comes to the microphone. However, some microphones that are large enough aren't compatible with the setup you have made.
You can purchase the most expensive background noise-canceling microphone, but if it doesn't fit your budget, look for another one within your range.
The Blue Yeti USB Microphone is a condenser microphone offering four polar patterns that allow you to pick the best setting to suit your recording. You can position this microphone on your desk or a stand with its unique design. Plus, it has a mute button and a headphone jack for monitoring.
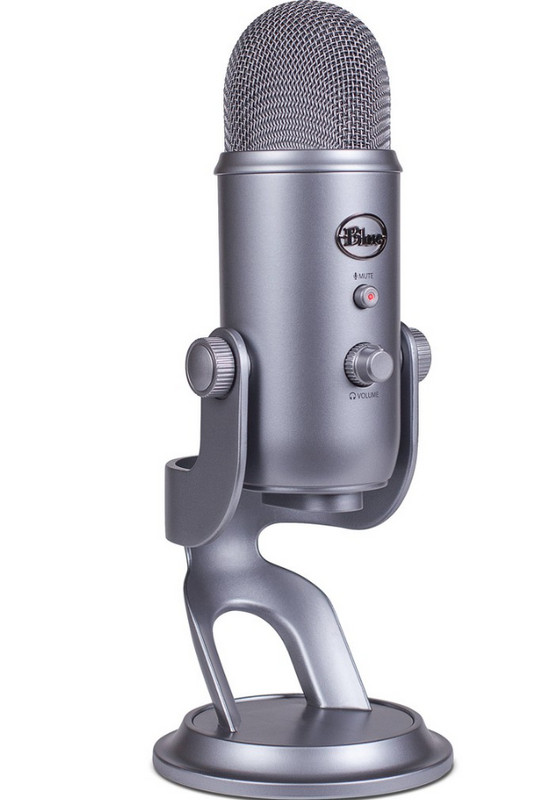
Size: 11.6 inches in height and 4.9 inches in width
Connection Type: USB compatible on Windows and Mac
Price: Ranging from $ 129 - $ 149
PROS
CONS
Shure MV7 is a dynamic microphone that offers you to connect it via USB or XLR as output. Also, it has a built-in headphones for monitoring and a touch panel to adjust the recording settings easily.
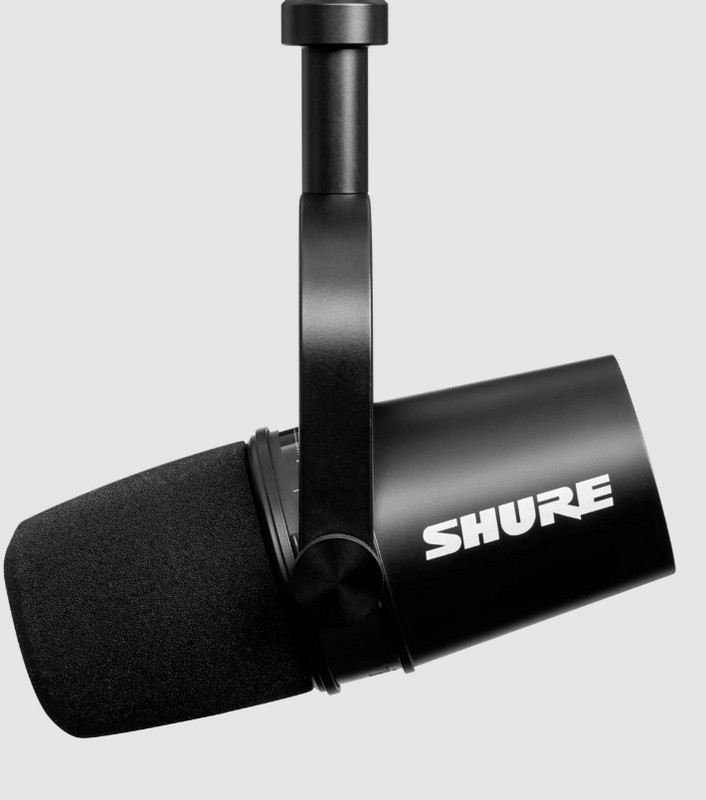
Size: 6.38 × 2.42 × 2.47 inches
Connection Type: USB and XLR
Price: Range from $ 249.00
PROS
CONS
How to make a microphone that doesn't pick up background noise? Even though you purchase the most expensive device on the market, completely removing the background noise is a significant problem; that is why you must prepare things before recording. Here are the things you need to do.
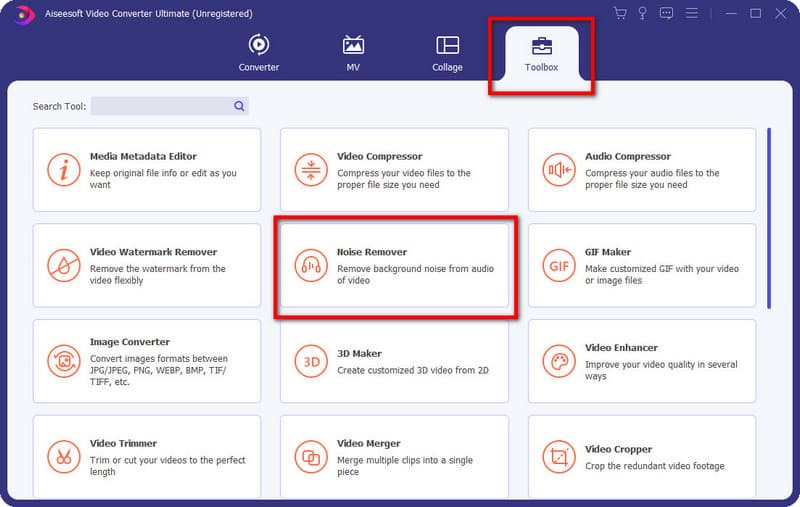
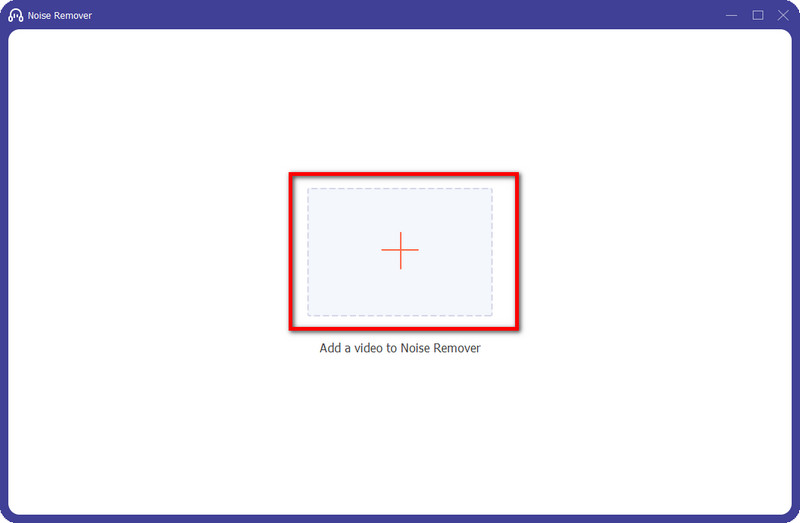
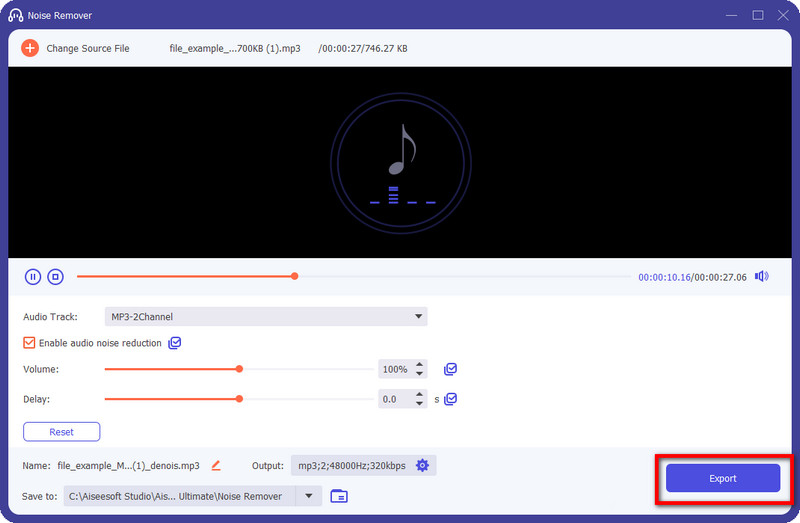
Aiseesoft Video Converter Ultimate can help you reduce background noise on a microphone after you have recorded it. With this application, you can minimize the noise distraction that can affect the overall audio quality of your recording. Even though you aren't a professional audio editor, you can still manage to manipulate and impact the audio signals. If you need a tutorial on using this app, follow the steps we have added here.
![]() 100% Secure. No Ads.
100% Secure. No Ads.
![]() 100% Secure. No Ads.
100% Secure. No Ads.

What is noise canceling?
Noise canceling is the process of reducing, minimizing, or eliminating that are generated from natural causes or electrical causes. With this, you can minimize the noises generated during recording before it reaches the device you used to record. If you use noise-canceling headphones, this feature reduces the noise before it reaches your ears.
How to turn on/off noise canceling on Airpods?
You can go to Settings and, under Noise Control, activate the Noise Cancellation mode. There are more ways to turn on/off noise canceling on AirPods, but this is the most effective way.
Do I need to purchase an expensive noise-canceling microphone?
If you have the money to purchase a more expensive microphone, such as the Shure MV7, that is an excellent pick-up for those who want a more active noise-canceling mode feature. But if you are on a tight budget, you can still purchase a low-cost microphone that offers the same noise canceling, but some mics aren't too effective in recording without noise, unlike the expensive ones.
Conclusion
If you need a background noise-canceling microphone, you can purchase the devices mentioned in this article. But if you don't have the budget to purchase one and have already recorded the content you want with noises, then you can use the application we have added to make the audio more transparent and better without paying too much here.
 Top 7 Noise Canceling Earbuds You Can Purchase This 2024
Noise-canceling earbuds are now available on the market, but which one you needed to purchase? If you aren't sure what to pick, read this for an idea.
 [Solved] How to Fix iPhone Microphone not Working
How to fix your iPhone microphone not working issue. Follow our step-by-step guide to fix iPhone microphone problems and let your phone as usual.
 Top 6 Video Background Noise Removal Applications
One of the crucial steps to have an appealing video is to assure that the audio quality is great. Here are the multiple ways to do background noise removal.

Video Converter Ultimate is excellent video converter, editor and enhancer to convert, enhance and edit videos and music in 1000 formats and more.
![]() 100% Secure. No Ads.
100% Secure. No Ads.
![]() 100% Secure. No Ads.
100% Secure. No Ads.
*Required field
*Please enter a valid email
