You can save what's happening in the current moment by taking a screenshot. Sometimes a picture is worth 1000 words. In common cases, you can take a screenshot on Mac by pressing "Command", "Shift", "3" or "4". Well, the difference is whether you can take a full screenshot or not. The captured screenshot will be saved in desktop by default.
Thus, when you encounter screenshot on Mac not working issues, you cannot capture the entire or a portion of the screen by shortcuts as usual. Why is screenshot not working on Mac? Well, software conflicts and hardware issues are both responsible. If you have no idea about screenshot on Mac not responding or working, you can take measures below to solve the problem.
The moment you take a screenshot on Mac, you can hear the camera shutter at the same time. If you find that there is no sound or screenshot picture, there must be something wrong with Mac screenshot. So you can use the following methods to troubleshoot Mac screenshot not working on Mojave and High Sierra.
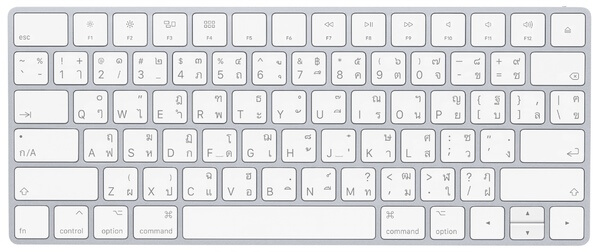
1. Check Keyboard Function
Firstly, you can use other keys on the keyboard to have a check. Does the keyboard connect to your Mac computer correctly? Does your wireless keyboard still have power? If any screenshot involved key work well, then you need to move on to fix screenshot on Mac not responding.
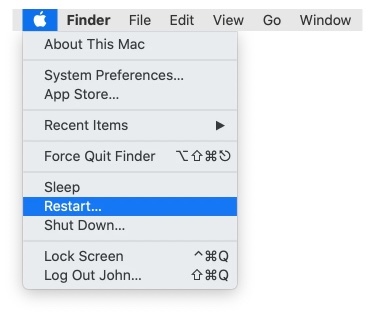
2. Reboot Mac
If your Mac computer works for a long time, you need to restart Mac to refresh all apps and programs. it is also a good way to fix small glitches. Thus, you can fix screenshot on Mac not working by rebooting too. You can choose "Restart" from the "Apple" drop-down menu to restart your Mac computer.
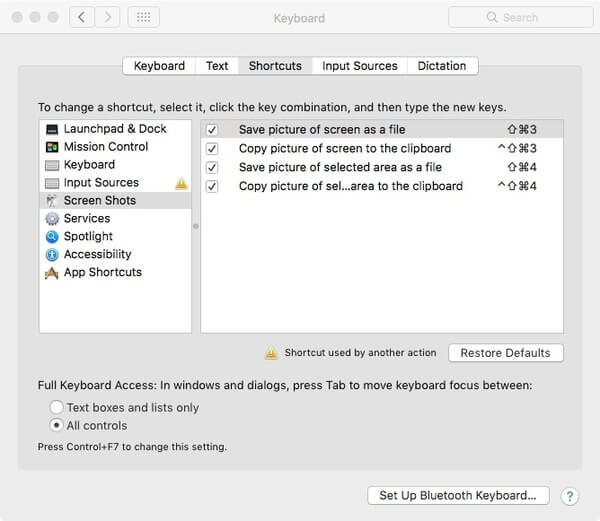
3. Check Screenshot Shortcut Settings
Step 1. Choose "System Preferences" from the Apple drop-down menu.
Step 2. Click "Keyboard" and then choose "Shortcuts".
Step 3. Head to the "Screen Shots" section. Make sure the options before the key combinations are checked.
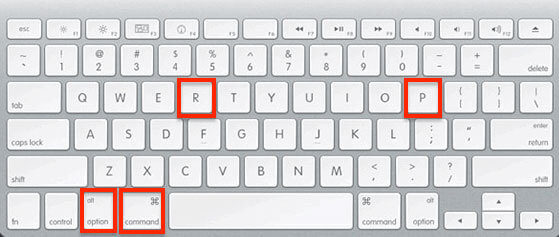
4. Reset NVRAM on Mac
Step 1. Power off your Mac computer first.
Step 2. Power on your Mac computer again. Then hold and press "Option", "Command", "P" and "R" keys simultaneously.
Step 3. The suggested time is that you need to hold these keys for about 20 seconds. You can also release them when you hear the second startup sound.
Step 4. All settings will be reset after restarting Mac. Check if the Mac screenshot not working problem has been solved or not.
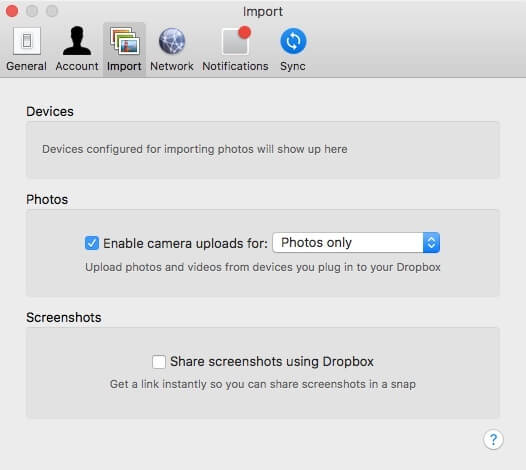
5. Check Dropbox Settings
It is true that Dropbox settings can cause screen capture not working on Mac too. If you enabled "Share screenshots using Dropbox" before, then all your captured images will be saved to Dropbox by default. That's why you face the Mac screenshot not saving to desktop problem.
Step 1. Run Dropbox on Mac.
Step 2. Choose "Settings" on the top right corner.
Step 3. Unfold "Preferences" and then select "Import".
Step 4. Unselect "Share screenshots using Dropbox".
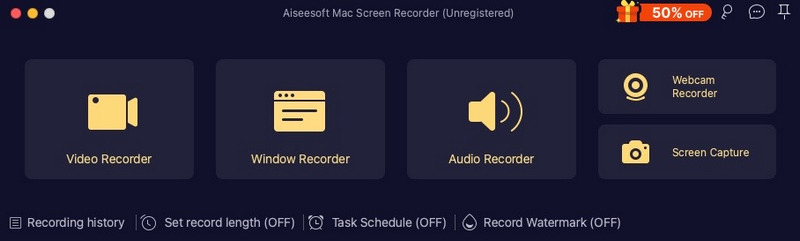
If screenshot shortcuts are physically not responding, or you are notified with "You can't open the application 'Screenshot' because it is not responding", you can use the powerful Screenshot alternative - Aiseesoft Screen Recorder for Mac to screenshot Google maps and capture desktop screen instead.

Downloads
![]() 100% Secure. No Ads.
100% Secure. No Ads.
![]() 100% Secure. No Ads.
100% Secure. No Ads.

Don't miss: How to screenshot Google Maps
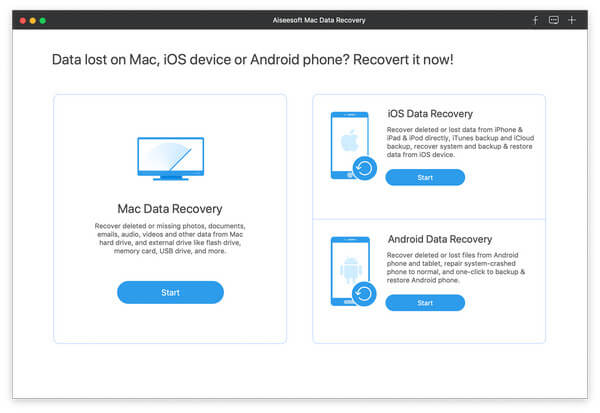
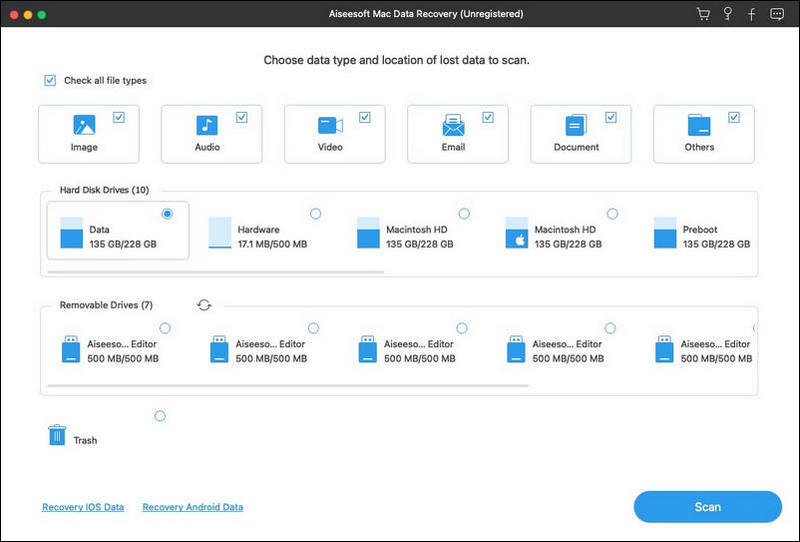
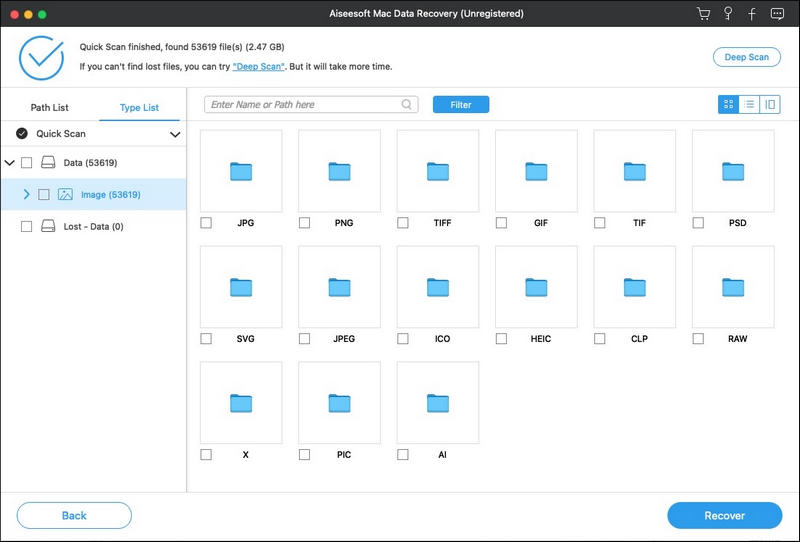
Sometimes you just fix screenshot on Mac not working but find that all your screenshots are lost without knowing why. It is too unexpected to create a backup. Luckily, it is still possible to recover deleted or lost screenshots on Mac without backup. Aiseesoft Mac Data Recovery is your reliable tool. You can recover all kinds of files on Mac due to accidentally deletion, formatted partition, RAW hard drive, system crash and other data loss scenarios.

Downloads
![]() 100% Secure. No Ads.
100% Secure. No Ads.
![]() 100% Secure. No Ads.
100% Secure. No Ads.
1. How do I copy and paste screenshot on Mac?
Press and hold the Control key while you take the screenshot to save the screenshot to the Clipboard. After, that, you can paste the screenshot somewhere else on Mac.
2. How to crop a screenshot on Mac?
When you print a screen on Mc, you will see a thumbnail in the corner of your screen, click it to edit the image, including crop. Then you can save the screenshot like before on Mac.
3. Where are screenshots saved on Mac?
By default, the screenshots will be saved to your Mac desktop with the name "Screen Shot [date] at [time].png". You can change the default location of saved screenshots in macOS Mojave or later.
After solving screenshot on Mac not working issues, you can screenshot on Snapchat, FaceTime and any streaming activity on Mac with ease. By the way, you can feel free to take screenshots on Mac with the powerful Mac Screen Recorder. At last, Aiseesoft Data Recovery can always help you find back your important screenshots.
 10 Best Free Screen Recorder without Watermark
Here we identify and list top 10 free screen recording software with no watermark for Windows 10/8/8.1/7, Mac OS X, iPhone, iPad and Android users to capture their screens.
 5 Methods You Need to Know to Screenshot A Video
You may often need to take a screenshot in a video when watching movies or recorded videos, so it's necessary to know how to screenshot a video with easy steps and controls.
 Screenshots Alcatel - 4 Easy Ways to Screenshot on Alcatel Phones
This post shares the four easy and quick methods of taking screenshots on Alcatel phones like Fierce, IDOL, PIXI, ideal, POP, etc. and tablets to save shots anytime and anywhere.
Features Not Working on Mac
1. Fix Screenshot on Mac not Working 2. Fix iMessage Stops Working 3. Fix Mac Sound Not Working 4. Fix Bluetooth Not Working on Mac 5. Fix FaceTime Not Working on Mac 6. Troubleshoot and Fix Safari Not Working on Mac 7. Mac Camera Not Working
Aiseesoft Data Recovery is the best data recovery software to recover deleted/lost photos, documents, emails, audio, videos, etc. from your PC/Mac.
![]() 100% Secure. No Ads.
100% Secure. No Ads.
![]() 100% Secure. No Ads.
100% Secure. No Ads.
