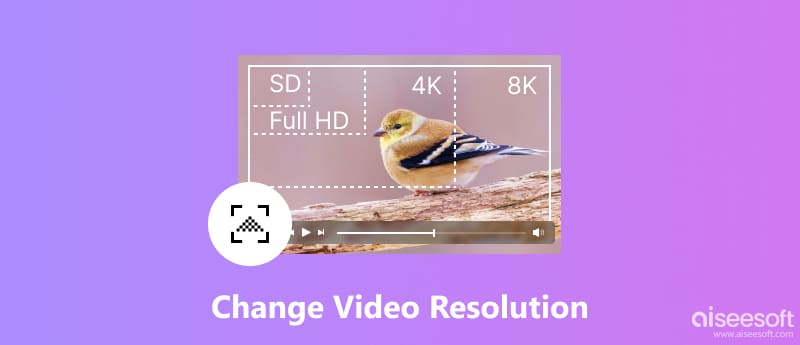
Video resolution, the number of pixels displayed horizontally and vertically, plays a crucial role in video quality and file size. Whether you are editing a captured video, preparing content for social media, or uploading to a specific platform, understanding how to change video resolution is a valuable skill. This post shares five methods to increase or reduce video resolution seamlessly.
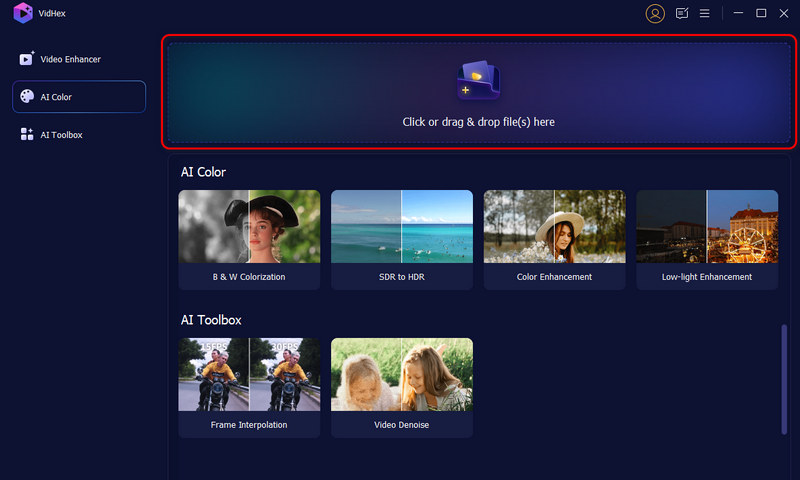
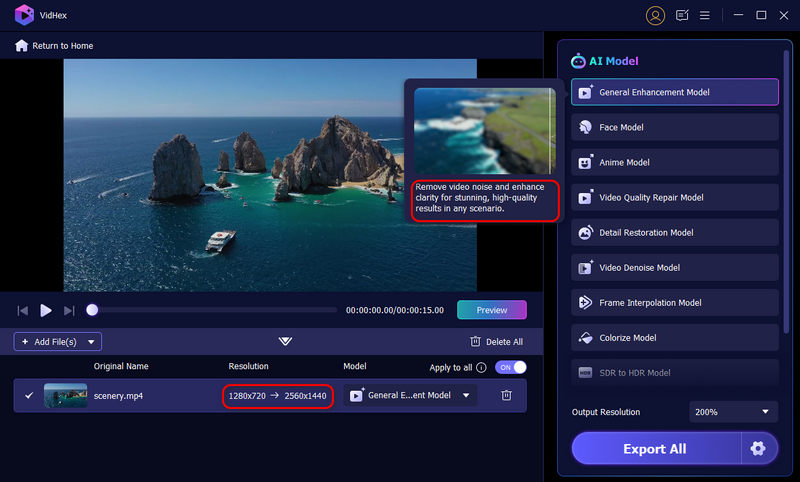
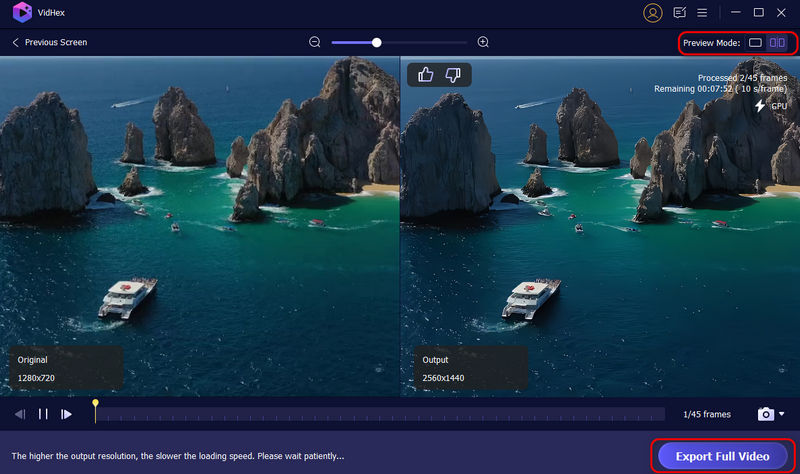
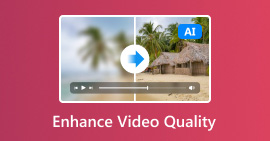
While numerous online tools and software programs can alter a video’s resolution, VidHex stands out for its powerful resolution changing, streamlined workflow, and efficient processing. Leveraging the latest artificial intelligence, this tool can not only change resolution of video but also enhance video quality by increasing its FPS, brightening the dark scenes, converting SDR to HDR, and eliminating noise and grain. Moreover, it supports a wide range of formats and offers granular control over resolution settings. This video resolution changer also includes additional tools to customize your videos further.
Key Features:
• Upscale video to 4K quality with AI technology
• Restore blurry footage to natural clarity
• Remove grain and noise intelligently
• Support various formats like MP4, AVI, MKV, etc.
• Speed up working efficiency via cloud acceleration
• Process multiple projects at the same time
![]() 100% Secure. No Ads.
100% Secure. No Ads.
![]() 100% Secure. No Ads.
100% Secure. No Ads.
Here is a detailed guide to help you use this tool to upscale or downscale your video resolution.
Ready to give your videos a stunning upgrade? Download VidHex today and easily adjust video resolution with AI precision. Experience smoother, clearer, and more vibrant visuals in just a few clicks with no editing skills required!
![]() 100% Secure. No Ads.
100% Secure. No Ads.
![]() 100% Secure. No Ads.
100% Secure. No Ads.
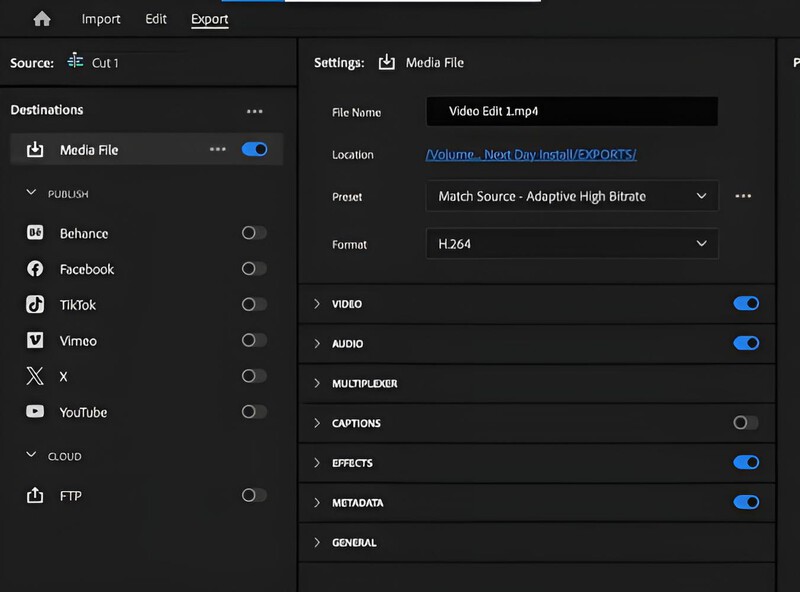
Adobe Premiere Pro provides a number of different tools to modify video resolution and structure your project for different platforms. You can change video resolution but can also vary frame rate, aspects ratio, and other key specs for an optimized end product. Moreover, this video resolution converter seamlessly integrates video resizing with other editing tasks within the same workflow.
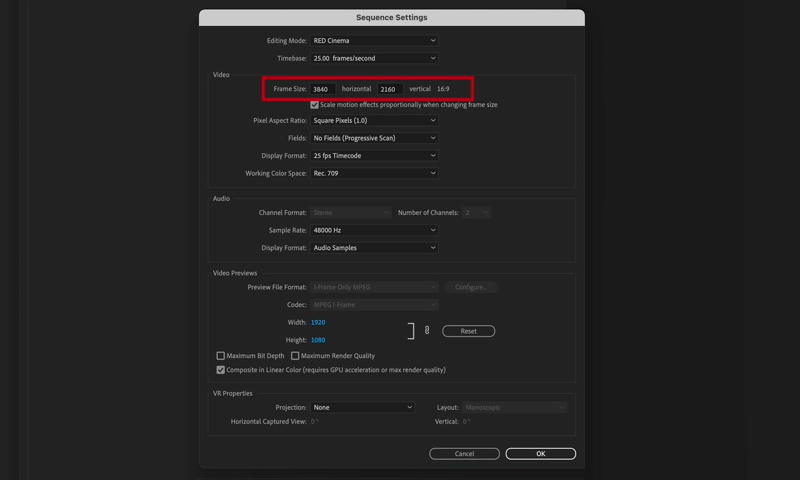

Note: Upscaling low-resolution videos can introduce artifacts, pixelation, and blurriness. Premiere Pro cannot add detail that wasn’t in the original footage, so quality improvements are limited.
Limitations
• Upscaling low-resolution footage may result in blurriness or visible artifacts.
• Sequence settings only adjust the canvas, but they don’t improve the original video quality.
• Large upscaling can significantly increase render time.
• Requires manual adjustment for each clip if scaling is inconsistent.
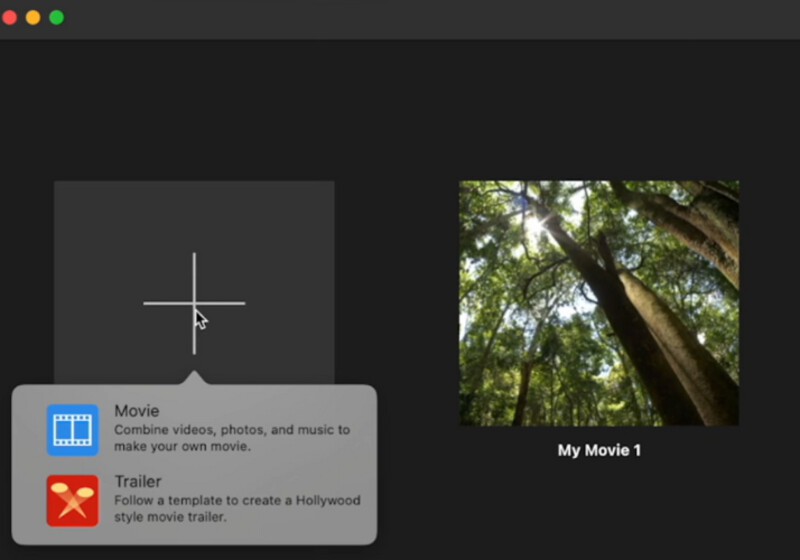
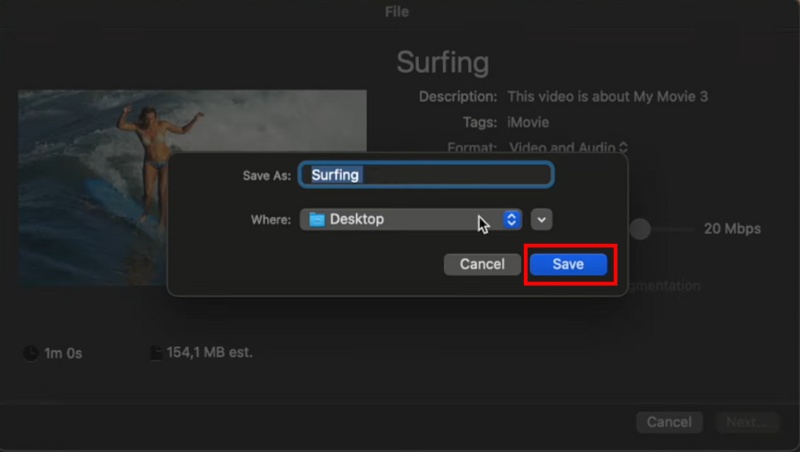
iMovie is Apple’s built-in video editing software that makes it easy to adjust your video’s resolution before exporting. Follow these steps to modify your resolution in iMovie.
Tip: While this guide is for Mac users, the same logic applies if you’re exploring how to change video resolution on iPhone using the iMovie app.
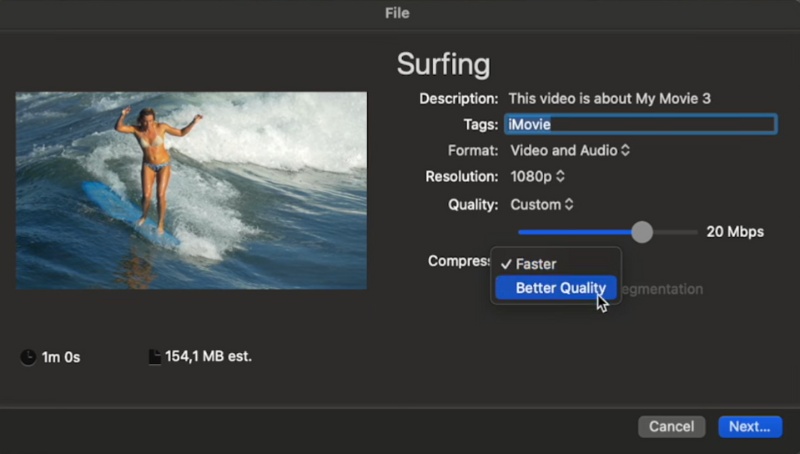
Limitations of Changing Resolution in iMovie
• iMovie doesn’t offer custom resolution settings. You can only pick from Apple’s preset options (720p, 1080p, or 4K).
• Upscaling from a low-resolution source doesn’t add real detail and can make it appear blurry.
• The Mac version provides more control than iMovie on iPhone, but both still lack professional fine-tuning options.
• It takes more processing time and enough disk space to export 4K videos.
While software like Video Converter Ultimate or Adobe Premiere Pro offers robust control, online converters provide a convenient solution for simple adjustments. This section explains how to increase and decrease video resolution using two popular online tools.
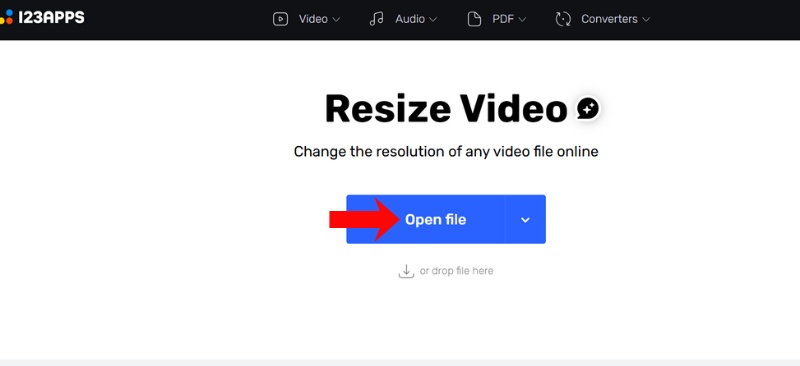
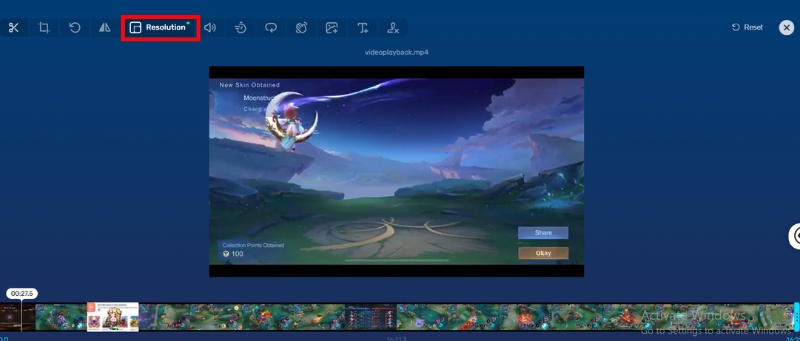
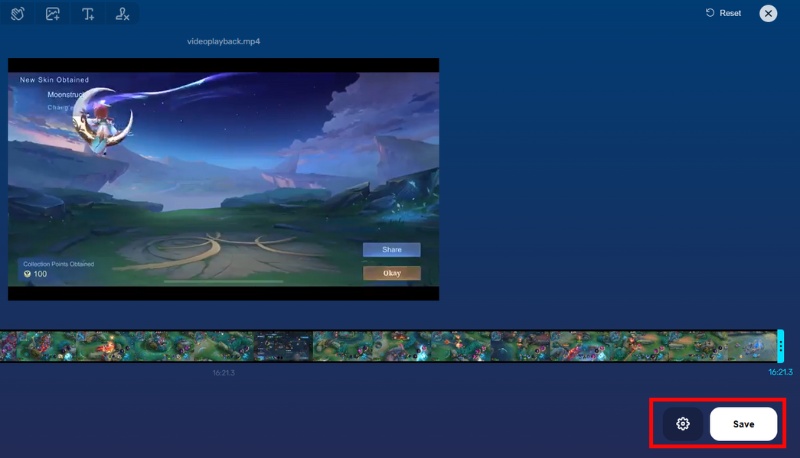
The 123APPS Online Video Resizer is an easy-to-use web tool that lets you resize your video without installing any software. The tool can resize video files from a variety of sources, including Google Drive, Dropbox, and direct video URLs. Follow the steps below to change video resolution online easily.
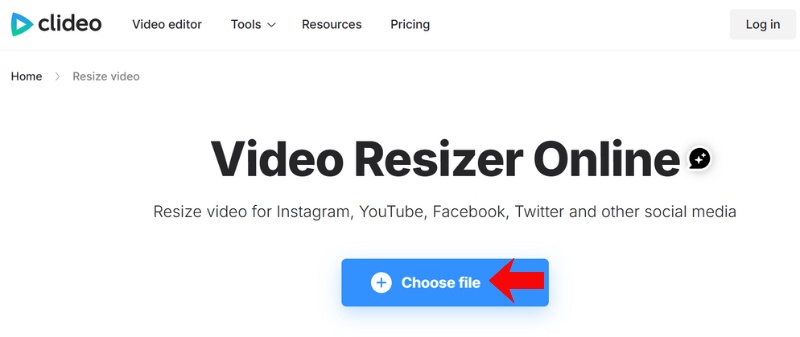
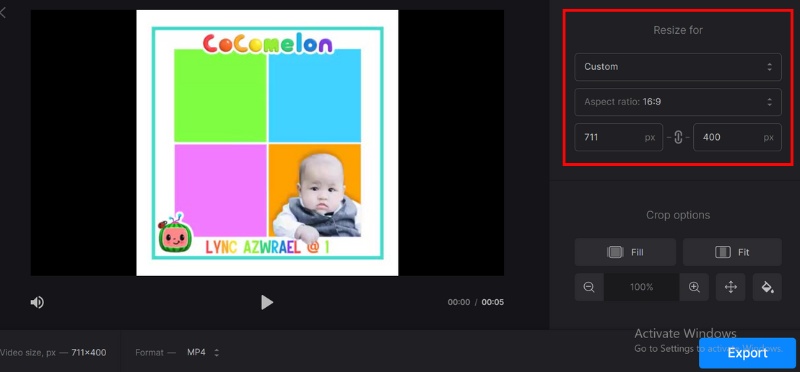
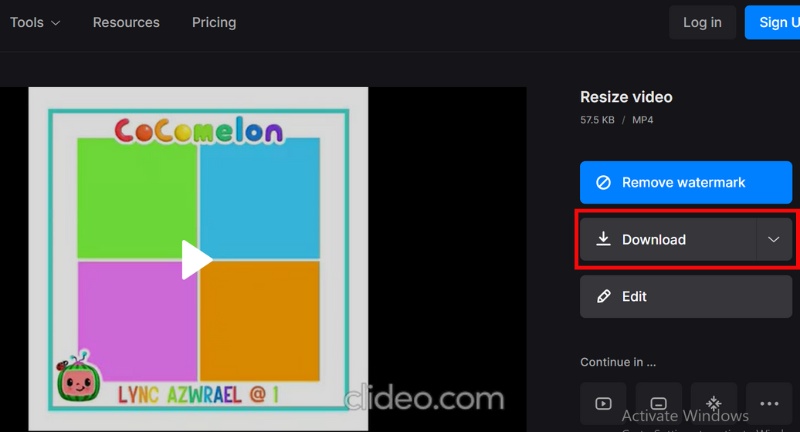
Clideo is another user-friendly online tool with free and paid versions that offers similar features. It also provides a range of made-for-you social media presets and lets you manually configure custom resolutions. Follow these steps to use it:
Can I downscale the video resolution?
Yes, you can easily downscale the video resolution using the introduced desktop software and online video resizers.
Can I change the video resolution with AI?
You can partially change video resolution with AI, but it's a process called upscaling, not directly changing the resolution. Try using the popular Aiseesoft Video Enhancer.
Can I convert video formats to change video resolution?
No, converting video formats does not directly change the video resolution. Although they are both related to video quality, they serve different purposes.
Conclusion
This blog has provided five useful methods for you to change video resolution. If you prefer high efficiency and simple workflows, you’d better try the first video resolution changer, which can not only guarantee trustworthy results but also conserve your time.
 How to Upscale Video Resolution to HD/4K with Ease
Want to enhance the quality of your video? Feel the video resolution is too low? This post will guide you on how to upscale your video to a higher resolution with a few simple steps.
 2025 The Most Complete Answers to Questions About DVD Resolution
If you like using DVD and often have the need to burn DVD from other video formats or rip DVD to common popular video formats, you should know all the necessary information about DVD resolution.
 How to Enhance Video Quality with 4 Different Solutions
How does Nvidia Video Super Resolution enhance streaming videos? How can I enhance video quality using AI? Read the complete guide to improving video quality.

VidHex is an AI-powered video enhancer that upscales, denoises, colorizes stabilizes, and improves video quality in 1 click.
![]() 100% Secure. No Ads.
100% Secure. No Ads.
![]() 100% Secure. No Ads.
100% Secure. No Ads.
*Required field
*Please enter a valid email
