I have a Japanese anime DVD and I want to put the English audio from the USA DVD I also have into this Japanese DVD. I also want to put the English Subtitles I have in SRT format from the USA DVD into it as well.
I have the entire Japanese DVD ripped to Video_TS folder. I believe that would be the first step. Is it as simple as adding the English AC3 and English SRT into the folder? How would I go about doing this?
Have you met the same question before? or Are you confusing for adding subtitle and audio track to your video? Read this post, you will find the answer.

Add Subtitle and Audio Track to DVD
When you watch movies, are you accustomed with the subtitle below? Will you feel uncomfortable without words on screen? When you make a DVD disc out from your own recorded video, would you like to add external audio track to the video? If all the answers are yes, then you come to the right place. Here we will tell you how to add audio track and subtitle to the video before you burn it to DVD with Aiseesoft Burnova - DVD Creator.
Aiseesoft Burnova is a professional DVD/Blu-ray burner, which add subtitle and audio track to DVD, creates local videos from computer or and more
Step 1Install Aiseesoft DVD Creator on your computer. For Mac users, please choose the Mac version.
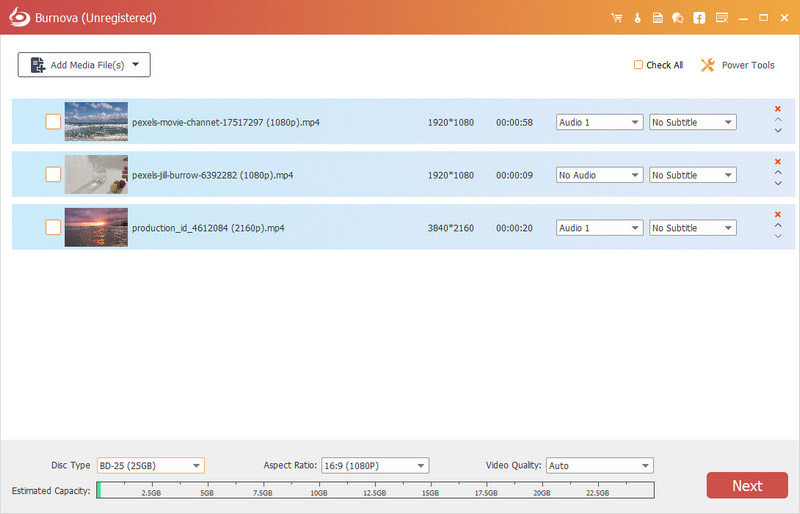
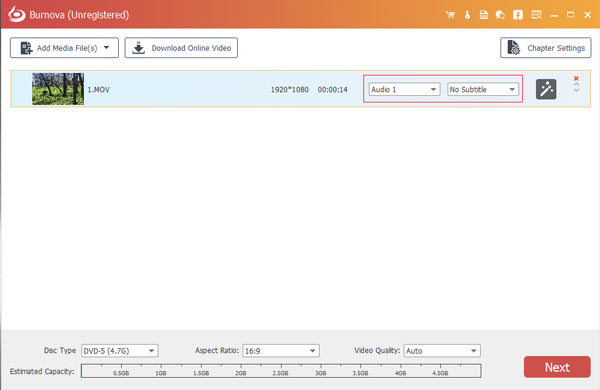
Step 2Load video to the program. Check the video file you loaded and click Audio Track or Subtitle. Operate in the popped up window.
Step 3Choose Subtitle and click the plus button. Choose the subtitle file on your local disc and open it. Please note that the supported file formats include .srt, .sub, .ssa and .ass. After loading subtitle files, you can set the language, position, font, size and color of the subtitle. To sync the subtitle with the video, you can even change the delay time.
Step 4Choose Audio Track and click the plus button. Choose the audio file on your local disc and open. It supports all popular audio formats, including MP3, MP2, AAC, AC3, WMA, OGG etc. After loading audio files, you can change the language, volume, encoder, bitrate and channels. To sync it with the image, adjust the Latency by dragging the forward or backward.
Step 5Click OK after the settings are finished. Preview the output effect and if everything is right, you can burn to DVD or edit the video now.


In this article, we mainly introduce how to add subtitle and audio track to DVD before burning DVD. Just follow this post to add subtitle and audio track to DVD and create a unique DVD.

December 11, 2020 11:15 / Updated by Jenny Ryan to Create DVD
 5 Best Free MP4 Splitter for Windows and Mac
You can find 5 best free MP4 splitter for Windows and Mac to split MP4 video.
 How to Convert DVD to MP4
You can learn how to convert homemade DVD to MP4 video with high quality in this post.
 How to Fix iDVD Error While Burning DVD
This article tells you how to fix iDVD error if you want to burn MP4/MOV/MKV to DVD with iDVD.
