When you lost all your music or other files on your iTunes, don't worry, there are some ways you can use to restore iTunes library. If you backed up your iTunes previously, it is much easier to restore iTunes. If not, you can also follow this article to restore your iTunes library with ease. This article is very suitable for those who want to restore iTunes playlists and library. So if you are seeking for such a solution to solve this problem, just go to read this article.

If you want to restore iTunes library but without downloading any third-party software, you can try the basic way which is recommended by Apple to restore iTunes library. Before following the steps below, make sure to update iTunes to the latest version on your computer.
Step 1Quit iTunes firstly and then go to iTunes folder which contains the iTunes library files.
(1) For Mac: Choose Go option from the menu bar which is at the top of your computer screen. Next choose Home. Then open the Music folder, and open the iTunes folder.
(2) For Windows: Navigate to C:\Users\username\Music\iTunes\.
Step 2Find iTunes Library.itl file and drag it to your Desktop. Then open Previous iTunes Libraries folder in the iTunes folder.
Step 3Find the file named iTunes Library YYYY-MM-DD (YYYY-MM-DD is the date you updated iTunes). If you don't see a Previous iTunes Libraries or YYYY-MM-DD file, your iTunes Library file might be in a custom location. You can try to search for them on your computer.
Step 4Now you need to select the file, and then
(1) For Mac: press both Command + C, then press Command + Up arrow, next press Command + V to copy the file.
(2) For Windows: press both Ctrl + C firstly, and then press Alt + Up arrow. Next press Ctrl + V to copy the file.
Step 5Now the YYYY-MM-DD file should be copied into your iTunes folder. You need to rename the copy "iTunes Library.itl" (without the quotation marks).
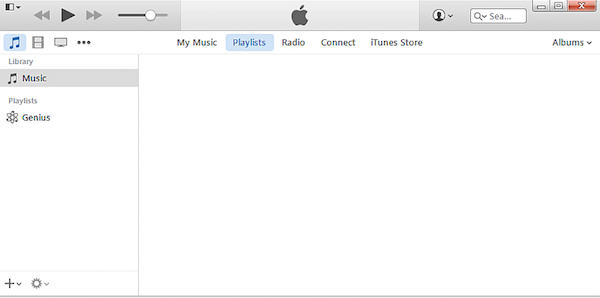
Step 6Hold down the Option key on your Mac and open iTunes. For Windows users, hold down the Shift key.
Step 7When you see a message asks you to choose iTunes library, just click on Choose Library. And then point your iTunes to the file you renamed in Step 5. Now you are restoring iTunes library successfully and you can see all your files and playlists in iTunes.
You can also restore iTunes library from CD/DVD disc, but this way isn't suitable for all users. If you have backed up your iTunes library to CD/DVD disc already, it is very easy and recommended for you to restore iTunes library from your CD/DVD disc which you backed up your iTunes before. If not, you can only try the basic way we mentioned above, or use the best way which we recommend in Part 3. And here are the detailed steps of how to restore iTunes library from CD/DVD disc.
Step 1Open iTunes on your computer and then log in with your Apple ID and password.
Step 2Insert your CD/DVD disc where you save your iTunes backup to your computer.
Step 3Then iTunes will ask whether you want to restore iTunes from this disc. Just click on Restore to begin the process of restoring iTunes library.
If you backed up your iTunes playlist to external hard driver or other places, you can also import your iTunes playlists like the below steps to restore iTunes playlist.
Step 1Open iTunes on your computer and then log in with your Apple ID and password.
Step 2Connect the external hard drive where you backed up iTunes playlists before to your Mac.
Step 3Click File button which is on the top tool bar. And then choose Library > Import playlists… to restore iTunes playlists.
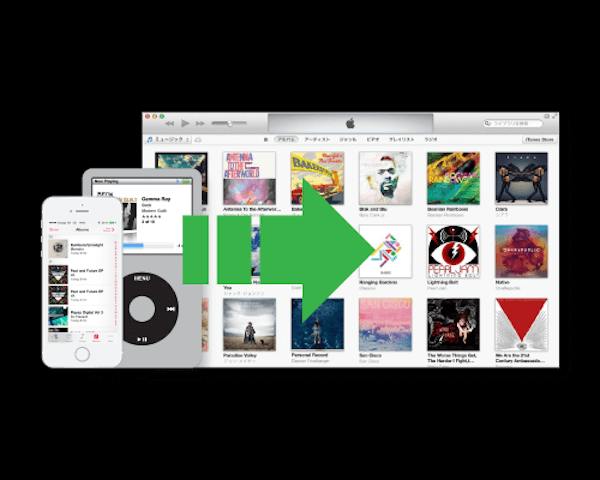
If you have synced all items of iTunes to your iOS device before your iTunes library crash, it is possible to recover the whole iTunes library. Mac FoneTrans is one of the best iOS transfer software you can use to restore iTunes library. It also is a management software which can transfer contacts/photos/songs/videos and more between Mac and iOS devices. It enables you to edit Playlist/Podcasts and other files effectively. Your digital life can be managed easier with such a great software. It also provides you the function of exporting iOS devices files to iTunes. So if you have synced your iTunes library on your iOS device, you can easily use this software to restore iTunes library. And in what follows is the guide of how to restore iTunes library on Mac with FoneTrans.
Step 1 Download Mac FoneTrans
Firstly, download Aiseesoft Mac FoneTrans from its official website. Then install it on your Mac by dragging the icon into Applications. You can also free download it to enjoy the free trial.
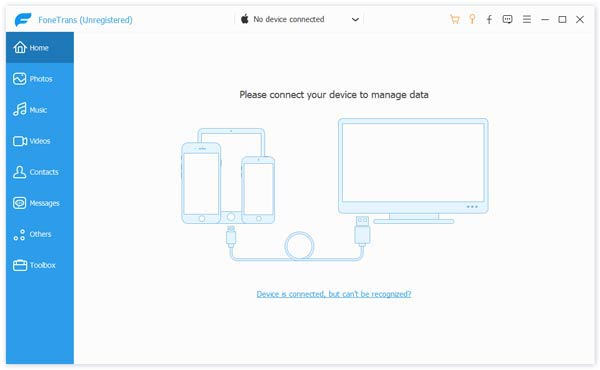
Step 2Connect iOS device
Launch Mac FoneTrans on your Mac after you install it. Then connect your iOS device which you have synced your iTunes to your Mac via a USB cable. Next you can see your device shows in the interface.

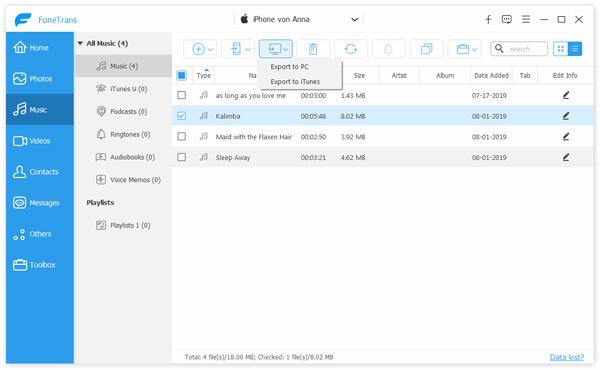
Step 3Restore iTunes library
Click the name of your iOS device which you want to export files from. And then you can choose the file types and the data what you want to recover. Then click Export to button and choose Export to iTunes Library. Now you successfully restore iTunes library with FoneTrans.
For those who don't know how to restore iTunes library, we have list three useful methods for you to finish your recovery. You can find it easily to restore iTunes playlists or other files following the guide we teach to you. Or you can rebuild iTunes library instead. And if you like this article, just share it with your friends. Hope you can gain something useful from this article.

June 15, 2018 13:30 / Posted by Louisa White to iTunes Tips
 How to Transfer Music from iPad to iTunes
How to transfer music from iPad to iTunes? Here you will get the easiest way with only four steps in this article.
 How to Transfer Music from iPad to Computer
Want to transfer music from iPad to PC/Mac? We will show you how to transfer music from iPad to computer.
 Move PDF to iPad with Two Ways
How to add PDF to iPad for reading easily? This article will provide you two methods of transferring PDF to iPad.
