There are several terms for the quality of digital images, such as resolution, pixel, and more. When printing a digital image, you will need to set another item properly, DPI. Professionals, such as designers and photographers, may understand it very much, but the majority of average people do not catch up with this concept at all. Therefore, this tutorial will talk about how to increase the DPI of an image on Windows, Mac, iPhone, and Android.
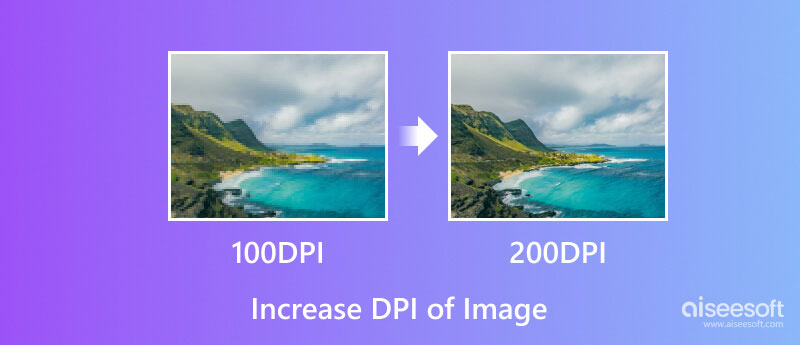
DPI stands for dots per inch. It is a specific term for printing an image. A printer is made of millions of tiny dots of ink. The DPI of an image determines the density of dots the printer drops onto each square inch. 300 DPI image, for example, means 300 dots of ink on every inch of the image.
Bear in mind that DPI is not the same as pixels. Changing the former won't affect pixels, or sharpen your image. The printing software usually calculates the DPI of an image according to the resolution. For instance, you have an image with 800 x 1000 resolution. If you print it as an 8 by 10-inch photo, you will have 100 pixels per inch. The actual pixel density would be 100, no matter the DPI value is set to 480, 720, or 1000. In other words, reducing the print size is one way to increase the DPI of the image and make it look sharper. Or you have to increase the resolution to get the sharper look with the same print size. In a word, to get higher DPI and better print quality, increase the total amount of pixels or resolution of the image.
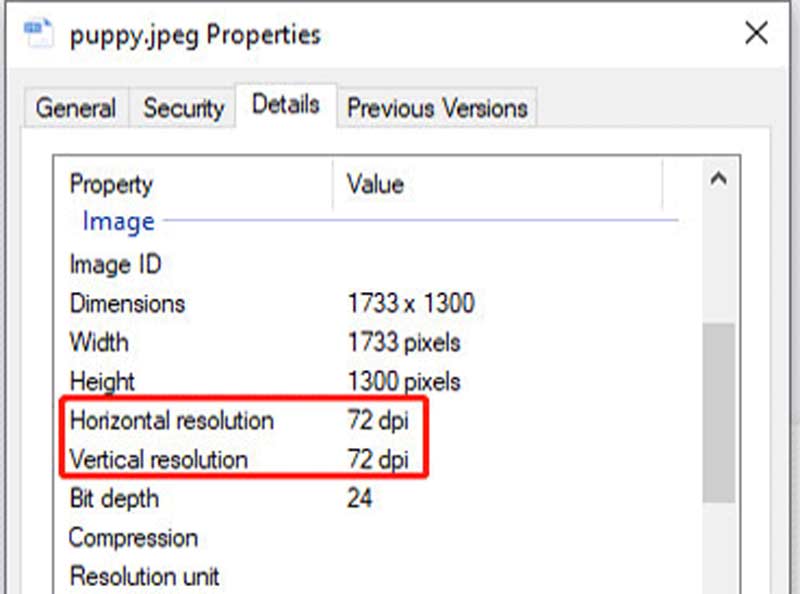
Note: You can also check the DPI of an image in MS Paint.
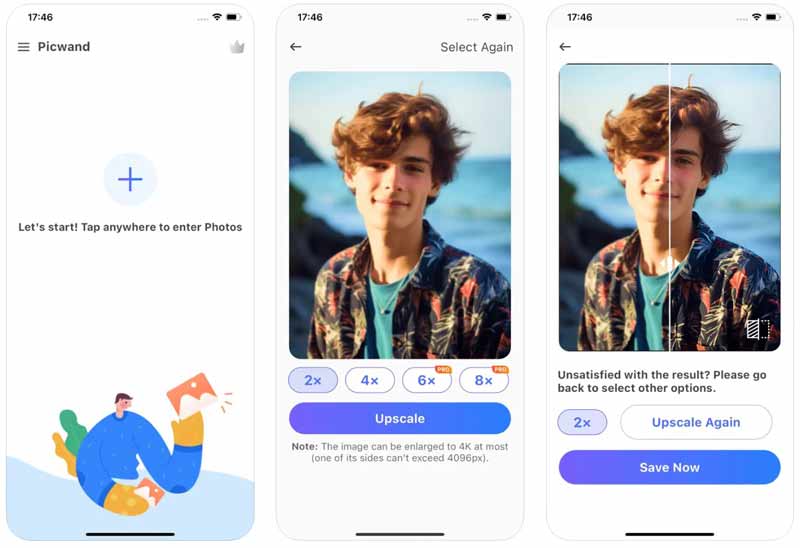
The easiest way to change the DPI of an image on your iPhone is an app called Picwand. You can download it from your App Store for free. Moreover, there are presets to help you complete the job without technical skills. More importantly, the output quality is impressive.
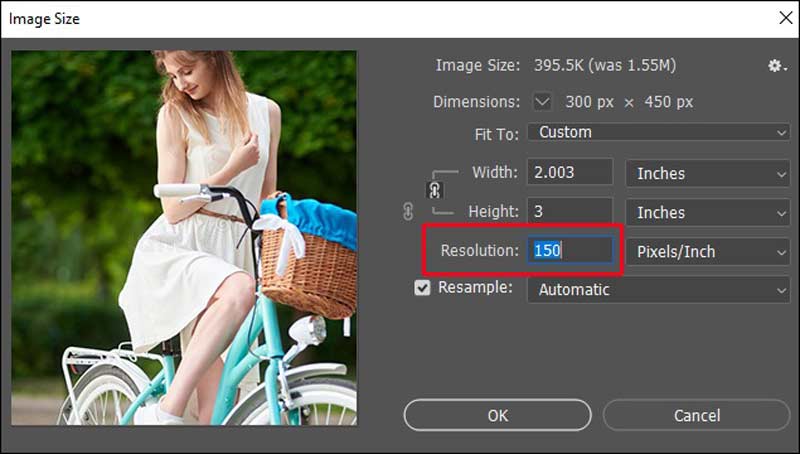
Many professionals prefer to print images using Photoshop. It enables you to change the DPI of images on either Windows or Mac easily. You can follow the steps below to finish the job properly.
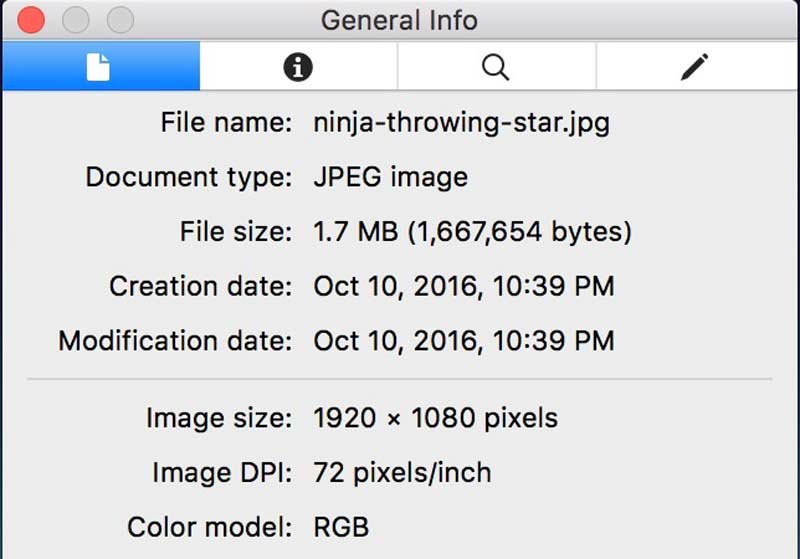
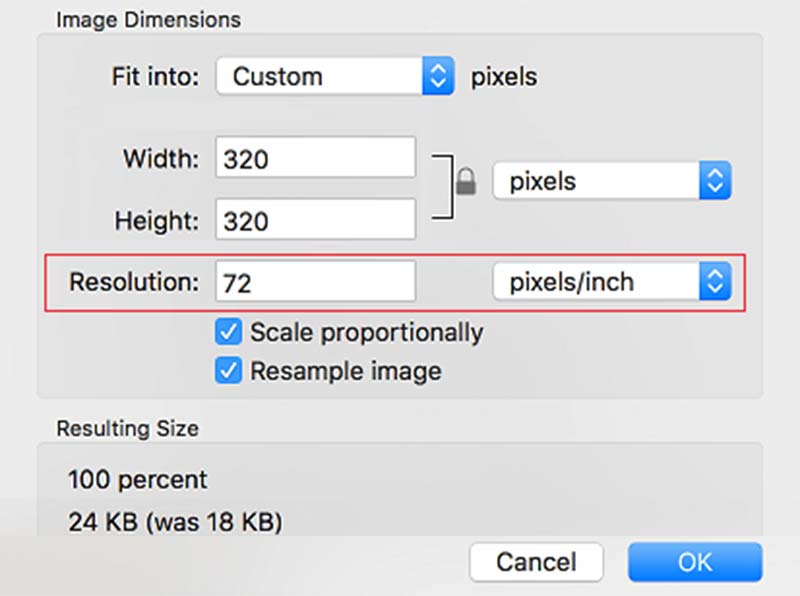
For Mac users, the easiest way to increase the DPI of an image is the built-in Preview app. It is not only a photo preview tool but also includes a metadata editor. Plus, it allows you to print an image directly.
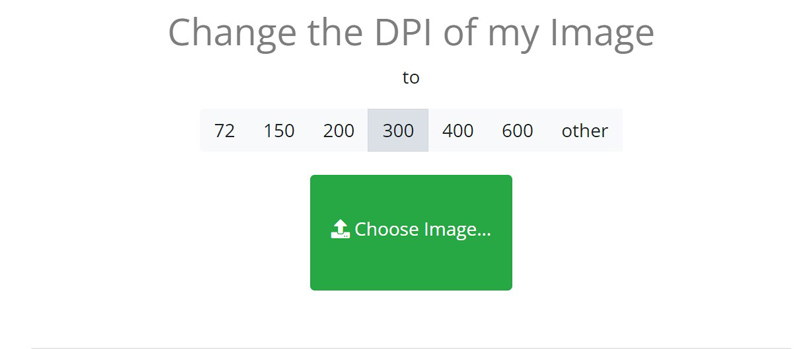
Online DPI converter apps are another option to change the DPI of your images. They do not ask you to install any software on your desktop. Moreover, some of them are free of charge. We use DPI Converter as an example.
Can I go higher than 300 DPI?
Yes. In general, 300 DPI will be just fine, but higher DPIs are impossible. Lots of printers can print up to 1200 DPI just fine. Some even reach 2400 DPI.
Is it okay to use 1000 DPI?
The answer is determined by your printer. Most printers support up to 1200 DPI. However, higher DPI than 1000 is too sensitive and it may cause issues for users.
Is 1200 DPI better than 300 DPI?
Generally speaking, the higher the DPI of an image, the better the print quality is. Therefore, 1200 DPI will give you better resolution and quality than 300 DPI. In fact, 300 DPI is the low end of the standard.
Conclusion
Now, you should understand how to increase the DPI of images on Windows, Mac, iPhone, and Android devices. Firstly, you can check the DPI value following our guide and decide how to increase it. Picwand, for example, is the easiest way to get better print quality. If you have other questions about this topic, please feel free to write them down below this post.
 Sharpen Images in Photoshop and Make Blurry Pictures Clear
Is Photoshop lossless? How do I make a blurry picture clear in Photoshop? This post tells how to sharpen a blurry image using Photoshop with detailed steps.
 Zyro AI Image Upscaler Review and Best Zyro Alternative
Is Zyro AI Image Upscaler free? How can you get Zyro Image Upscaler API? Does Zyro have watermarks? Check the Zyro Image Upscaler review and learn related info.
 Completed Review of Nero AI Image Upscaler
Is Nero AI Image Upscaler good? How about the image quality after upscaling? This review will share some details of Nero AI you cannot miss! Reading now!

Video Converter Ultimate is excellent video converter, editor and enhancer to convert, enhance and edit videos and music in 1000 formats and more.
![]() 100% Secure. No Ads.
100% Secure. No Ads.
![]() 100% Secure. No Ads.
100% Secure. No Ads.
*Required field
*Please enter a valid email
