Summary: Want to record a video or voiceover in iMovie on your Mac? iMovie is a very familiar video editing app for Mac or iOS users. But when it comes to video or audio recording, only few people how to do it. This post will show you how to record in iMovie. Moreover, a great Mac screen recorder will be introduced to help you capture any activity happened on your Mac.
"How do I record a video of myself on my Mac? I know that the pre-installed QuickTime can record video or audio on Mac. But I want to record a video with webcam. Can it do that? If there is any easy way to record a video of oneself, please tell me."
"How to record video on Mac with external camera? When I connect a camera on my iMac, I don't know how to directly record a video of myself with it. I googled it and some results showed that I could use iMovie to record video. How to record in iMovie exactly? Any help?"

iMovie is very popular as a video editing program. It is developed by Apple and widely used by Mac and iOS users. Many powerful editing features are designed in iMovie to help users to create marvelous works. But if you are asked how to record a video or voiceover in iMovie, you may have no idea about it.
In fact, besides the editing functions, iMovie does have the capability to record a webcam video or capture a voiceover from microphone. In the following part, we will show you how to record in iMovie step by step.
iMovie enables you to directly record webcam and edit the recorded video with ease. Now you can follow the next steps to record video directly into iMovie using the FaceTime HD camera on Mac.
Step 1 Launch iMovie on Mac and click on Import button in the toolbar to open the Import window.
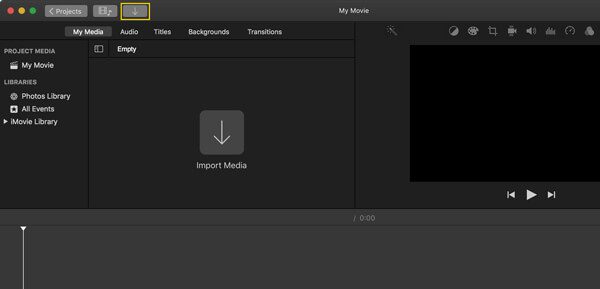
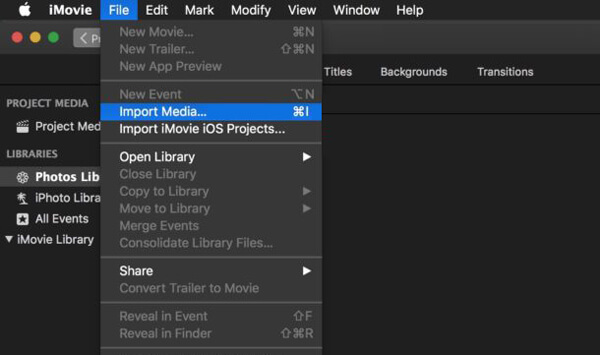
You can also click the File menu and then choose Import Media.
Step 2 In the Import window, select the built-in camera or FaceTime HD Camera on the left Cameras section.

Step 3 During the step, you need to specify what kind of video you want to record. Click Import To option on the top and then choose the specific project or event.
Step 4 Click on the Record button to start recording a movie of yourself in iMovie. You can click the record button again to stop the video recording. Click the Close button if you want to end the recording.

With the method above, you can easily record a video of yourself with the built-in camera in iMovie. Beyond that, you can also record a voiceover in iMovie. If you have the need, you can check the following guide.
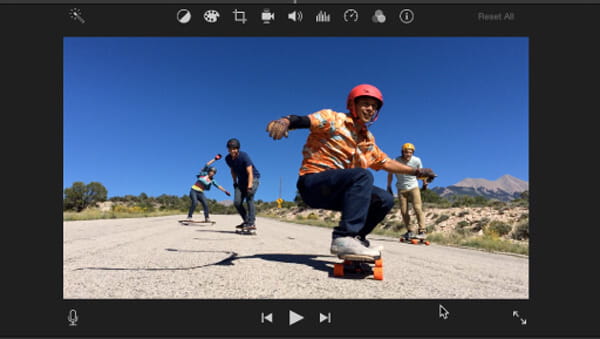
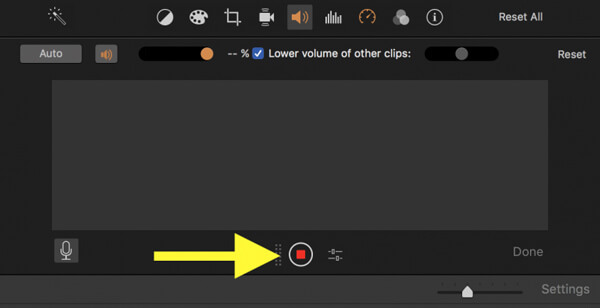
Step 1 Click the Voiceover button on the top-right side of the interface. Or you can click Window on the menu bar and then select Record Voiceover from the drop-down list.
Step 2 A new window will appear and you can set various voiceover options here. You can choose to record a voiceover with the Built-in Microphone or other external microphone device connected to your Mac.
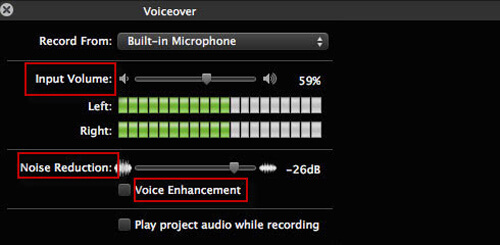
Step 3 Click the red Record button to start recording voiceover in iMovie. There will be a 3-second countdown before recording. Click the same button when the voiceover capturing is finished.
If you want to record a video or voiceover in iMovie, you can find detailed steps from above. But after recording, you may notice that, you can't save the captured file to your Mac, or save it in a suitable format. What should you know.
To help you easily record video/audio on Mac, here we sincerely recommend a professional screen recorder for Mac. With its help, you can handily record a video of yourself, or capture anything displayed on your Mac. More importantly, the captured video or audio file can be saved in any popular format you need.
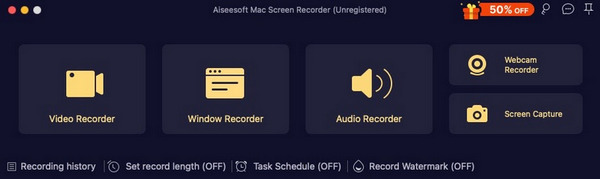
Step 1 Install Mac Screen Recorder
Free download, install and run this powerful screen recording software on your Mac.
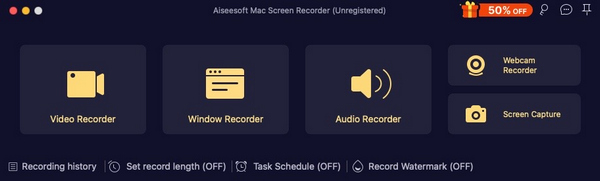
Step 2 Set recording area
Click the third button to customize the recording area. You are allowed to record full screen, a fixed region or a custom region as you like.
Step 3 Select audio source
This Mac screen recorder enables you to capture sound from System sound or Microphone. You can choose either of them or both according to your need.
Step 4 Record video on Mac
When all settings are done, click REC button to start to capture video on Mac. If you want to record a video of yourself, just turn on the webcam. You are also allowed to record the audio only.
In this post, we have talked about how to record in iMovie. Whether you want to record a video in iMovie, or record a voiceover in iMovie, you can find suitable solution here. What's more, we introduce you with an easy-to-use Mac screen recorder in case you are not satisfied with the iMovie recording feature. Leave us a message if you still have any puzzle.

July 19, 2018 10:22 / Posted by Jenny Ryan to Record Video
 Best Webinar Recorder to Capture Webinar Video on Mac
Want to record a Webinar on Mac? This post shows you the best way to capture Webinar video on Mac and Windows computer.
 Get iMovie and 5 Best Alternatives on Mac
Learn how to download iMovie for Mac and its best 5 iMovie alternatives on Mac (macOS High Sierra included).
 Top 5 Best Screencast Software for Windows/Mac
Want a best screencast software? In this article, you can find the answer.
