Best 8K Screen Recorder for PC
![]() 100% Secure. No Ads.
100% Secure. No Ads.
![]() 100% Secure. No Ads.
100% Secure. No Ads.
Contents
I remember last year, I was stuck in a late-night study session during the most anticipated live concert stream of the year. I tried to find a way to save it for later, but I realized I didn't really know how to record live TV properly without it looking like a grainy mess. Since then, I’ve gone down a total rabbit hole, testing every tool under the sun, from the built-in recording tool to pro software.
Whether you want to record live TV from antenna setups or capture a streaming broadcast on your laptop, you will find the answer here. Now, let’s continue reading to get the details.
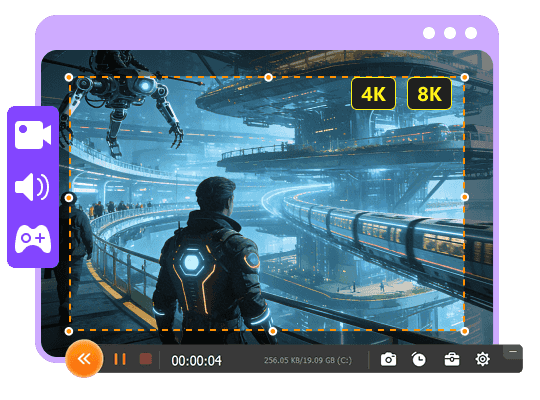
If you’re watching TV on your computer, whether through a website, a streaming app, or a TV tuner card, you need a tool that won’t lag or crash halfway through the season finale. My personal holy grail for this is the Aiseesoft Screen Recorder.
I started using this software when I realized that built-in recorders often struggle with high-quality video or fail to allow scheduling recordings in advance. Aiseesoft is a powerhouse because it’s not just a basic press-and-go tool; it’s designed to capture high-definition video with crystal-clear audio from your system, which is exactly what you need for live broadcasts. It works seamlessly on both Windows and Mac, making it a versatile choice for students and professionals alike.
Key Features
Download the software for free from the following buttons and run it on your Windows or Mac computer.
![]() 100% Secure. No Ads.
100% Secure. No Ads.
![]() 100% Secure. No Ads.
100% Secure. No Ads.
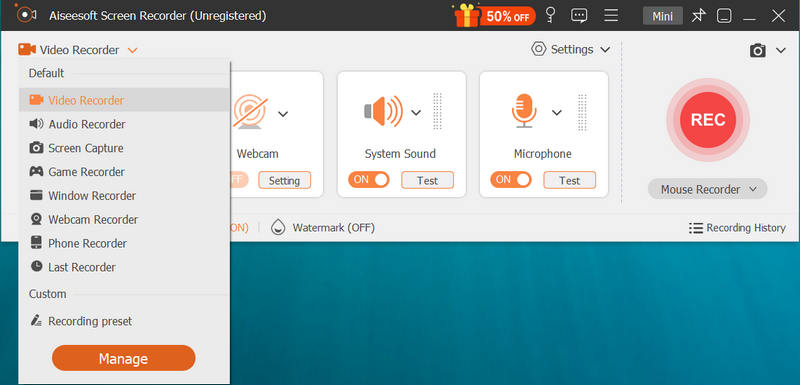
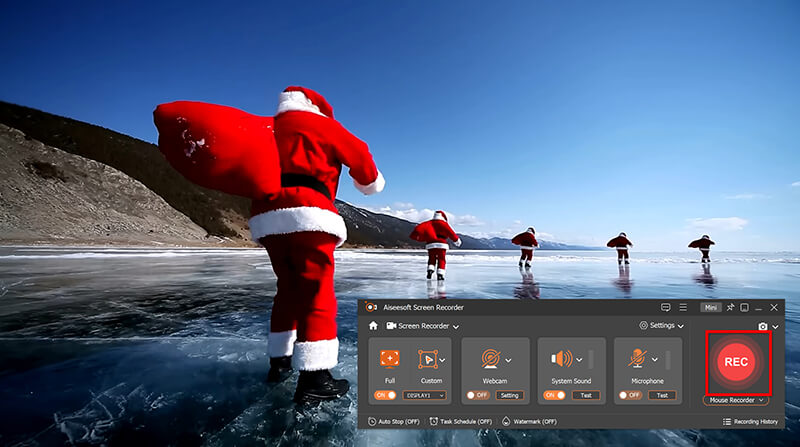
On the main interface, you’ll see several options. Click on Video Recorder.
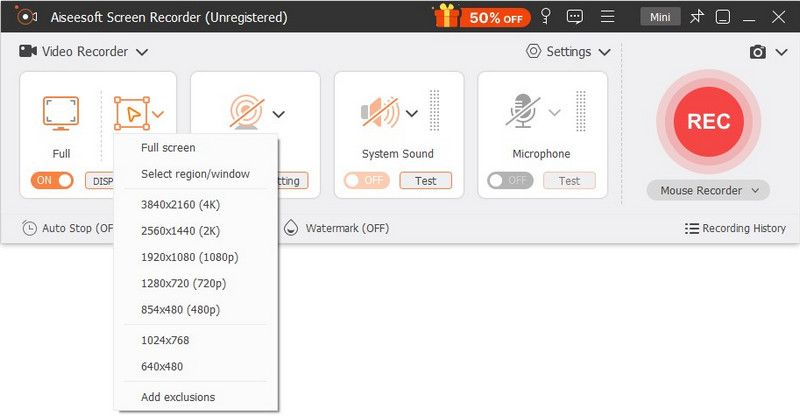
Open your live TV stream (like a browser tab with a live game). Use the dotted line box to fit the recording area exactly to the video player.
Make sure System Sound is toggled ON, and Microphone is toggled OFF (unless you want to record your own commentary, which is actually kind of fun for sports!).
Click the big orange REC button. There’s a three-second countdown, giving you time to maximize your TV window to full screen.
If you are busy and cannot record a live TV show, simply use the Task Schedule feature at the bottom to set the recording to start and stop automatically.
Once the TV show is over, click the Stop button. You will be directed into the preview window, where you can play the recording, and then trim the beginning or end (to cut out commercials) before saving it to your hard drive.

Summary:
Aiseesoft Screen Recorder is the most reliable way to record live TV on a computer. It’s perfect for those who want high-quality files and the ability to schedule recordings while they are away from their desk.
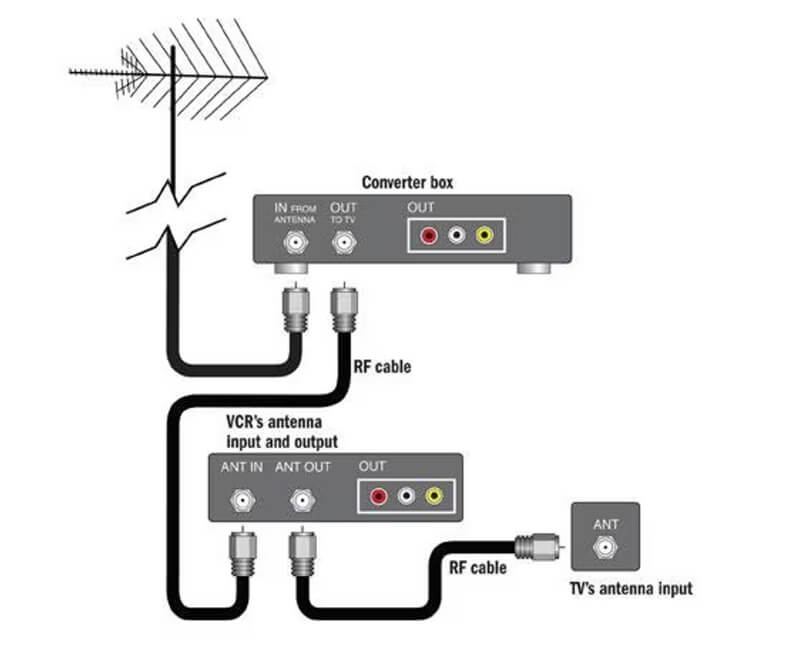
If you are more of a living room person and prefer watching on a big screen, you’re likely looking for a way to record live TV from an antenna or cable. This is where DVRs (Digital Video Recorders) or PVRs (Personal Video Recorders) come in.
In the past, people used VCRs and tapes, but modern DVRs are essentially mini-computers with large hard drives. If you have a Roku TV, recording live TV might seem tricky, but many smart TVs allow you to plug in an external USB drive to act as a DIY DVR. For traditional antenna users, boxes like Tablo or TiVo are the gold standard. I personally used a simple DVR box for years to catch local news and sports that weren't available on streaming apps.
Connect your antenna or cable line to the DVR In port, then connect the DVR to your TV via HDMI.
If your device doesn’t have internal storage (such as some Roku-enabled TVs), plug a compatible USB 3.0 hard drive into the TV's back.
Run a channel scan to ensure your DVR recognizes all available live stations.
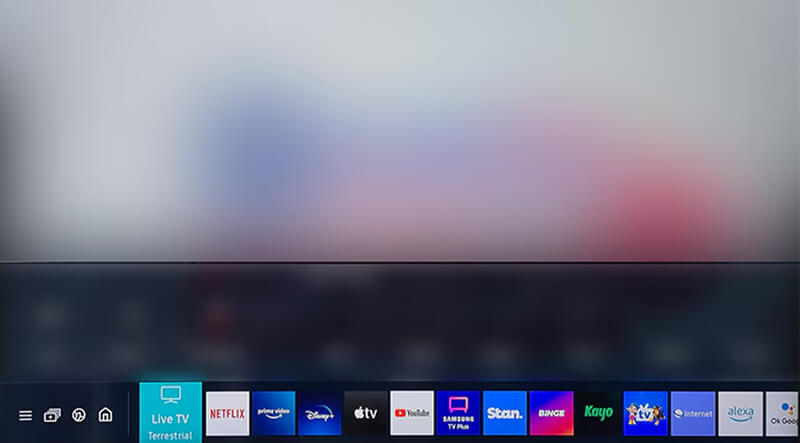
Open the Electronic Program Guide (EPG). Find the show you want to save.
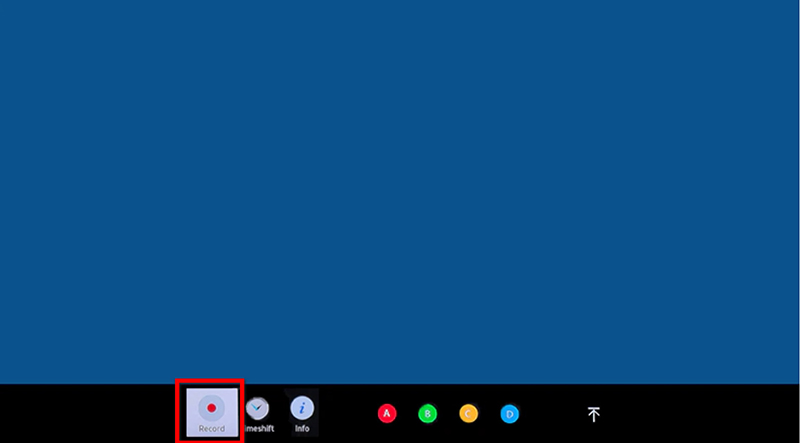
Highlight the show and press the Record button on your remote. Most DVRs will ask if you want to record just this episode or the whole series.
When you’re ready to watch, go to your Library or Recordings folder on the DVR menu.
Summary:
This method works without an internet connection (for antenna use), features high storage capacity, and is easy to use with a remote. However, hardware can be expensive upfront, and it is not portable (you can usually only watch it on that specific TV).
If you're using an antenna, placement is everything! Try to put your antenna near a window to get the clearest signal. A fuzzy signal leads to a glitchy recording, and nobody wants to watch a pixelated game!
For all my fellow Mac users out there, you might not realize that you already have a decent recorder sitting in your Applications folder. QuickTime Player isn't just for watching trailers; it’s a surprisingly capable screen capture tool.
I used QuickTime throughout my first year to save short clips of live news segments for my social studies projects. It’s free, already installed, and watermark-free. However, it does have one gotcha, and it’s not great at recording internal system audio without some extra help.
Launch QuickTime Player from your Dock or Applications folder.
Go to the top menu bar and select File > New Screen Recording.
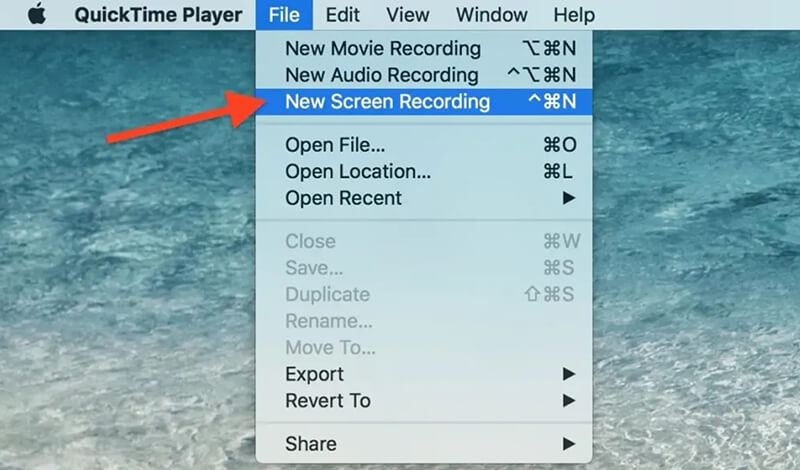
A small toolbar will appear. You can choose to record the entire screen or a selected portion.
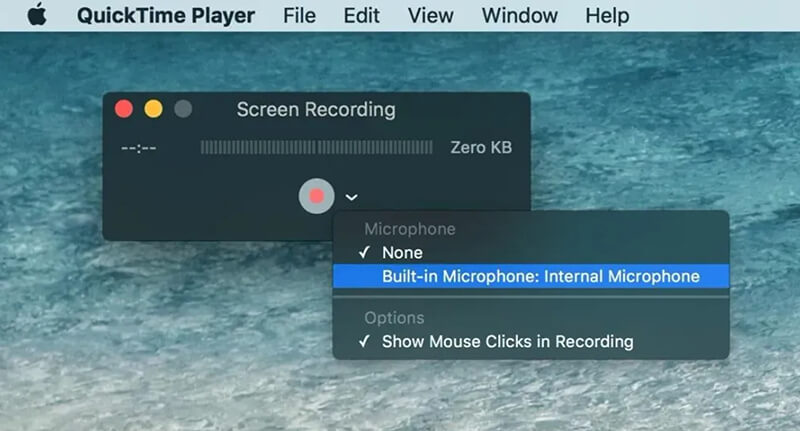
Click the Options dropdown. Select your save location and ensure the timer is set if you need a delay. Do not forget to select the audio recording source.
Click Record. Play your live TV stream in your browser (like Safari or Chrome).
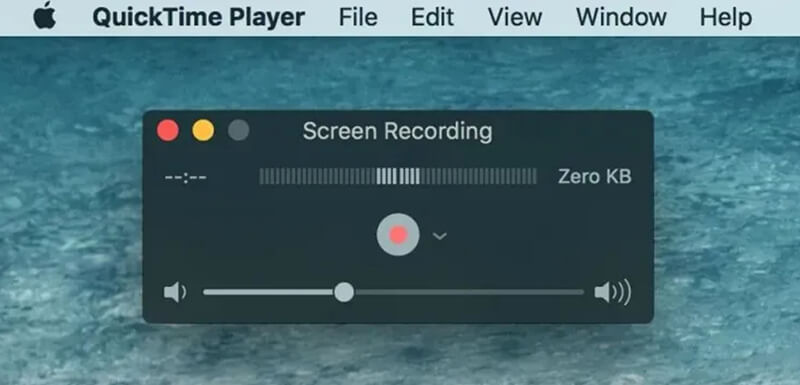
When finished, click the Stop icon in the top menu bar near the clock.

Summary:
QuickTime Player is completely free, requiring no third-party software; it features a very simple interface. However, capturing internal audio can be tricky (you often need a plugin like BlackHole); no scheduling features.
We live on our phones, right? So it makes sense that you’d want to know how to record live TV directly to your camera roll. Apple made this super easy by adding a native screen recorder to iOS. It’s perfect for short clips, though I wouldn't recommend it for a three-hour movie, as it will absolutely drain your battery and storage space.
For Android users, it becomes easier by tapping the record button from the pull-down menu to record phone screen, including live TV. For iPhone users, an additional step is required. So, here I will use the iPhone as an example to show the steps.
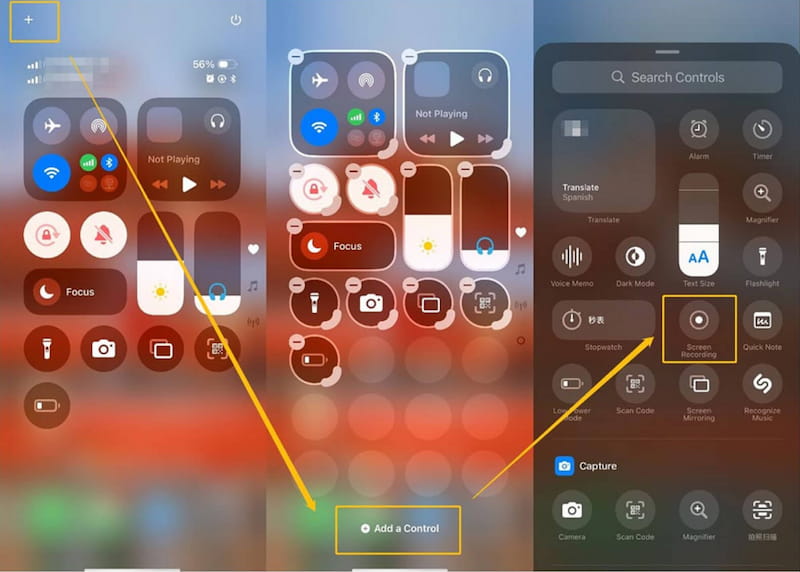
Go to Settings > Control Center and make sure Screen Recording is added to your included controls.
Open your live TV app (like the NBC app or a sports streamer).
Swipe down from the top-right corner (or up from the bottom on older iPhones).
Tap the circular record icon. It will count down from three. You can now start your live TV stream.
Tap the red status bar at the top of your screen and hit Stop. The video is automatically saved to your Photos app.
Summary:
It is extremely convenient, saving directly to Photos; there is no extra cost when you record TV on iPhone or Android. However, notifications (like texts from your mom) will also be recorded unless you turn on Do Not Disturb, which can lead to high battery drain. Besides, some streaming apps (like Netflix or certain TV providers) have black-screen protection that prevents screen recording due to copyright laws.
Is it legal to record live TV?
Generally, recording TV for personal, private use (time-shifting) is considered legal in many places. However, sharing or selling those recordings online is strictly prohibited. Always respect copyright laws!
Why is my screen black when I try to record a streaming video from an app?
Many apps (like Netflix, Hulu, or Disney+) use HDCP protection. This prevents screen recorders from capturing the content to stop piracy. If this happens, you might need to use a hardware DVR or a service's built-in Cloud DVR.
Does recording TV take up a lot of space?
Yes! An hour of HD video can take up 1GB to 3GB of space. If you're recording on your phone or Mac, ensure you have sufficient storage space available before you begin.
Can I record live TV on my Roku?
To record live Roku TV, you usually need to plug a USB drive into the USB port on the back of your Roku TV. This allows for Live TV Pause (up to 90 minutes), but for full series recording, you’re better off using a Cloud DVR service like YouTube TV.
How to record a live show on YouTube TV?
YouTube TV is probably the king of recording. To record a live show on YouTube TV, simply find the show and click the + icon (Add to Library). There are no storage limits, and it keeps your recordings for up to 9 months!
Conclusion
There you have it, to record live TV! Whether you’re using the professional-grade Aiseesoft Screen Recorder on your laptop, a hardware DVR for your antenna, or the quick-and-easy built-in tools on your smartphone, you never have to miss a must-see moment again. Always do a test record for 30 seconds before the actual show starts. There’s nothing worse than recording a two-hour movie only to realize you forgot to turn the sound on! Which method will you try first? Or do you have better recommendations? Please share your thoughts by leaving a comment below.
 How to Extract Audio from Video with High Quality (Free & Online)
Want to extract audio from video or convert video to audio? You can learn how to extract audio from MP4 video in this post.
 Concrete Guide to Record Clash Royale on PC, iPhone or Android
In this article, you can learn three best ways to record Clash Royale with no jailbreaking your iPhone or rooting your Android device. They can help you to produce high quality game recordings.
 Audio Splitter - How to Cut MP3 with Audio Splitter on Windows/Mac
Want to find song cutter or MP3 trimmer? You can learn how to cut your MP3 songs with audio splitter in this post.

Aiseesoft Screen Recorder is the best screen recording software to capture any activity like online videos, webcam calls, game on Windows/Mac.
![]() 100% Secure. No Ads.
100% Secure. No Ads.
![]() 100% Secure. No Ads.
100% Secure. No Ads.
*Required field
*Please enter a valid email
