Aiseesoft Screen Recorder
 100% Secure. No Ads.
100% Secure. No Ads.
Contents
If you are a beginner musician and plan to start working with the Ableton Live DAW, you may find it complex to use Ableton. The software is a professional-grade tool for making and performing music. It packs all the necessary features, effects, instruments, and sounds for you to make any music. However, as a new Ableton Live user, you often don’t know where to start.
This guide explains how to record vocals in Ableton without frustration. You can learn to use Ableton Live 12 to get professional results, from mic setup to vocal capture.
1. Connect your microphone to an audio interface, then plug the interface into your computer.
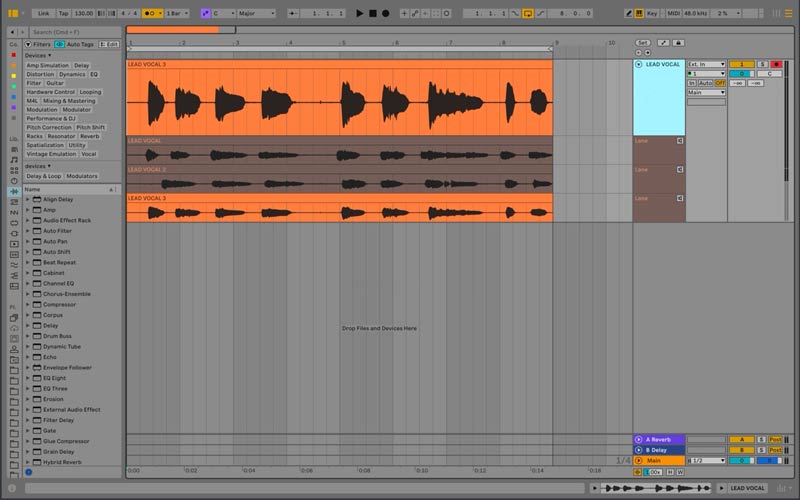
2. Open Ableton Live and go to Preferences > Audio to pick your audio interface as the input device. Create an audio track (Create > Insert Audio Track).
3. Set the input source to Ext. In and choose the correct channel, such as Channel 1.
4. Click the red circle (Record Arm button) to arm the track. Then, adjust the gain on your audio interface.
5. Press the main Record button at the top of Ableton and start capturing your voice.
You do not need a professional studio to get usable vocal recordings in Ableton, but there is some necessary equipment.
To record vocals in Ableton Live, download the latest version to your computer and start a trial.
If you are using an interface with multiple inputs, make sure you select the one your mic is plugged into. Channel 1 is often the standard for a single microphone.
Beyond the basics, a few settings in Ableton Live can help you easily make a real difference in recording quality.
Ableton Live is excellent, but it is not the only option for vocal recording, and in some cases it is not a good choice for many users. If you find the Ableton workflow complex, or if you need a tool that is simpler and more direct, there are alternatives worth considering.
Aiseesoft Screen Recorder is a strong contender if you are looking for an alternative to Ableton Live, especially for users who want a straightforward, reliable way to capture both audio and video.
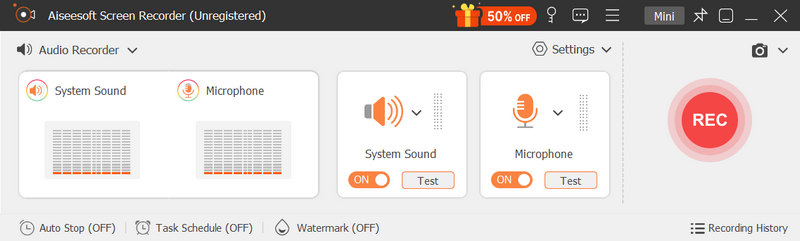
Aiseesoft does not require a complex setup and steep learning curve. You can easily connect your microphone and start recording. It is ideal for recording voiceovers, podcasting, and quick vocal demos.
100% Secure. No Ads.
100% Secure. No Ads.
The software includes several dedicated recording tools, including a voice recorder, screen recorder, window recorder, game recorder, and phone recorder. You can use its Audio Recorder to replace Ableton Live for voice recording. It captures both your microphone input and system sound simultaneously.
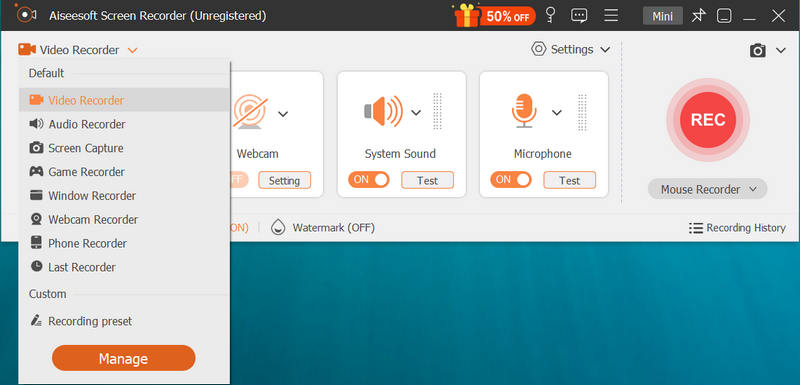
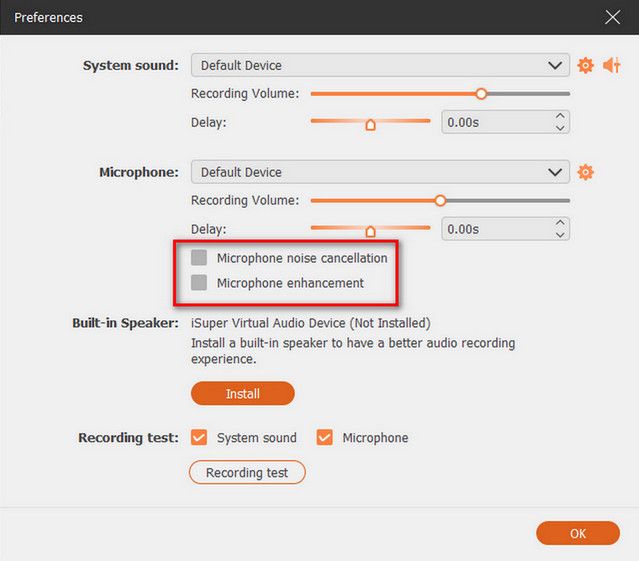
You can record your voice through the built-in microphone or an external interface. It lets you adjust the input volume directly in the interface and export the result in your desired format, like MP3, WAV, or AAC. Moreover, this Ableton Live alternative provides advanced noise cancellation and microphone enhancement functions to get clean, high-quality recordings.
Question 1. Why is my audio recording in Ableton Live cutting out?
A wrong buffer size often causes this issue. If your buffer is too small, your computer cannot process the audio stream fast enough, and you get dropouts and clicks. You should raise the buffer size in Preferences to 512 or 1024 samples. In most cases, the cutting out should stop.
Question 2. Can I record vocals with a USB microphone in Ableton?
Yes. You can connect USB microphones and set them as audio input devices in the Preferences menu, then use them to capture your vocals in Ableton Live.
Question 3. Why can’t I hear myself when I record?
Check your track’s Monitor setting. As mentioned above, you should set it to Auto. This ensures you can hear input when the track is armed. Also, you can set it to In to ensure you always hear the input. Besides, check and make sure your headphones are connected to the correct output on your interface.
Conclusion
This guide is mainly for beginners to learn how to record voices in Ableton Live. Recording audio in Ableton doesn’t have to be complicated. With the right equipment and a clear understanding of the setup process, you can capture clean, professional-sounding vocals. However, it can feel overwhelming if you just need to quickly capture vocal ideas, record a podcast, or create voiceovers. If Ableton feels like overkill for quick vocal ideas, tools like Aiseesoft Screen Recorder offer a simpler alternative for capturing your voice with ease.
 Top 10 Voice Recorders for Windows 11/10 in 2026 [Free & Paid]
Does Windows has built-in voice recorders? Which voice recording software can record both system and microphone sound? This article shows top 10 Windows voice recorders for you.
 Lecture Recorder: 5 Best Lecture Recording Apps & Devices
Can GoodNotes record lectures? What is the best way to record lessons for students? Check out the 5 best lecture-recording apps and voice recorders for students.
 Top 5 Call Recorders to Record Video/Audio Calls
Want to record calls? We list 5 great call recorders to help you record video/audio calls on Windows/Mac OS X and iOS/Android in this post.
 Leave your comment and join our discussion
Aiseesoft Screen Recorder is the best screen recording software to capture any activity like online videos, webcam calls, game on Windows/Mac.
100% Secure. No Ads.
100% Secure. No Ads.

*Required field
*Please enter a valid email

