Best AI Video Converter Ultimate
![]() 100% Secure. No Ads.
100% Secure. No Ads.
![]() 100% Secure. No Ads.
100% Secure. No Ads.
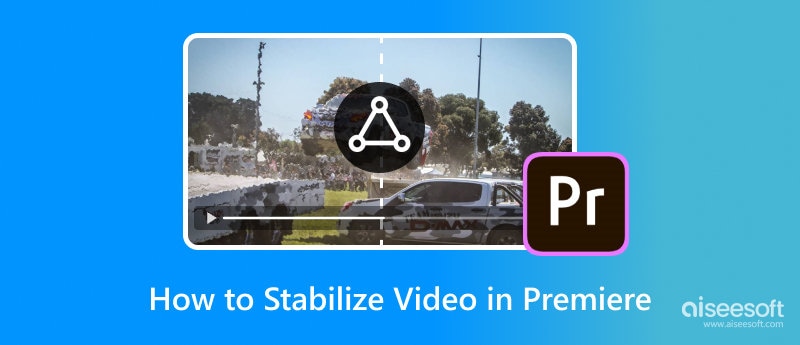
Stabilizing your video is essential for creating a professional and high-quality look. Whether it's handheld vlog footage or zoom in high level, Adobe Premiere Pro offers a powerful built-in tool called Warp Stabilizer to smooth it out.
However, simply applying the effect often results in a "wobbly" background (the Jello Effect) or excessive zooming. This article tells you how to stabilize videos in Premiere with detailed steps and best settings.
Premiere Pro is a professional editing software developed by Adobe. It is widely used to create high-quality videos for various purposes. Premiere carries all the necessary editing functions. Adobe allows you to use Premiere Pro for free for 30 days. Download it and follow the steps below to stabilize a video in Premiere.

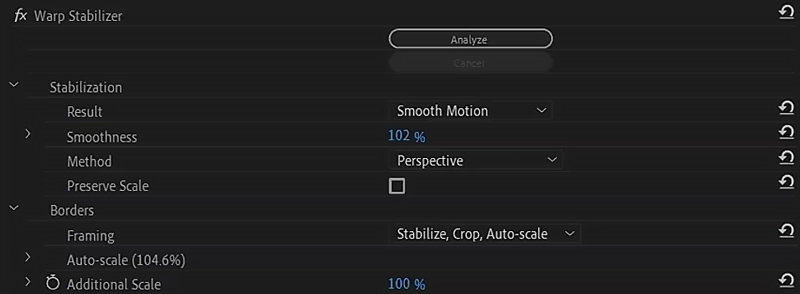
Once analysis is complete, the default settings might make your video look robotic or unnatural. Go to the Effect Controls panel and adjust these settings:
Smoothness: Change this from 50% to 5% - 10%.
50% tries to kill all motion, which looks fake. 5-10% keeps the natural handheld feel but removes the micro-jitters.
Method: Change from Subspace Warp to Position, Scale, Rotation.
As mentioned in the table above, this stops straight lines (like walls or horizons) from bending or waving.
Framing: Ensure it is set to Stabilize, Crop, Auto-scale.
If you see black bars dancing around the edges, this setting fixes them by zooming in slightly.
Advanced (Optional): If the shot is still weird, check the box for Detailed Analysis. This takes longer but tracks more points in the video.
While Warp Stabilizer is powerful, it has two major flaws that professional editors struggle with:
The "Jello Effect" (Warping):
Because Premiere tries to bend the image to keep it steady, backgrounds often look like they are underwater. This ruins the professional look of architectural or landscape shots.
Loss of Resolution (Cropping):
To hide the shaky edges, Premiere zooms in. If your footage is very shaky, it might crop out 20-30% of your image, turning your 4K video into a blurry 1080p mess.
Hardware Heavy:
Analyzing high-resolution clips requires heavy CPU usage. "Analyzing in background" can slow down your entire computer if you have multiple clips.
If you want to stabilize footage without excessive cropping or complex tweaking, you need an AI-driven tool.
If you only want to quickly stabilize your video and improve quality, especially when you don’t have the Premiere program installed on your computer, you can try using some specially designed video enhancers first. Compared to Premiere, these tools often offer a more effective and straightforward way to make video stabilization.
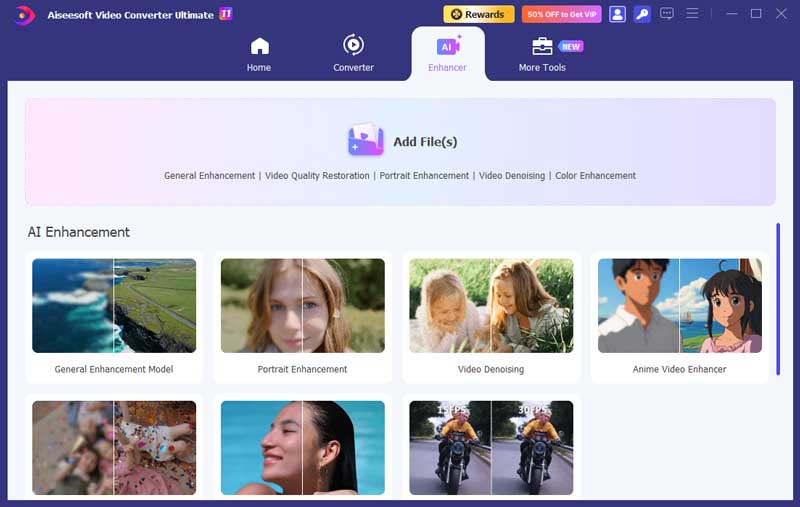
This part recommends the powerful upscaling and enhancement software, Aiseesoft Video Converter Ultimate, for you to stabilize videos, reduce camera shake, remove background noise, increase clarity, and optimize the overall visual experience. It uses advanced AI to intelligently analyze the original camera moment and shaky issues, and then stabilize your video.
![]() 100% Secure. No Ads.
100% Secure. No Ads.
![]() 100% Secure. No Ads.
100% Secure. No Ads.
You may often capture shaky videos, even though the anti-shake technology of the camera has become more developed. To make your video less shaky, you can try shooting with a tripod. Using a tripod can effectively minimize camera shake from the start.
If your phone or camera is equipped with a stabilization function, you should enable it to stabilize your video. You can also try using different stabilization techniques to get the desired stabilization way. In addition, you can adjust various settings to make your captured video less shaky.
For these recorded or downloaded shaky videos, you can rely on Premiere Pro, VidHex, or other associated video smoother tools to stabilize them.
How do I stabilize a video in Premiere Pro without cropping?
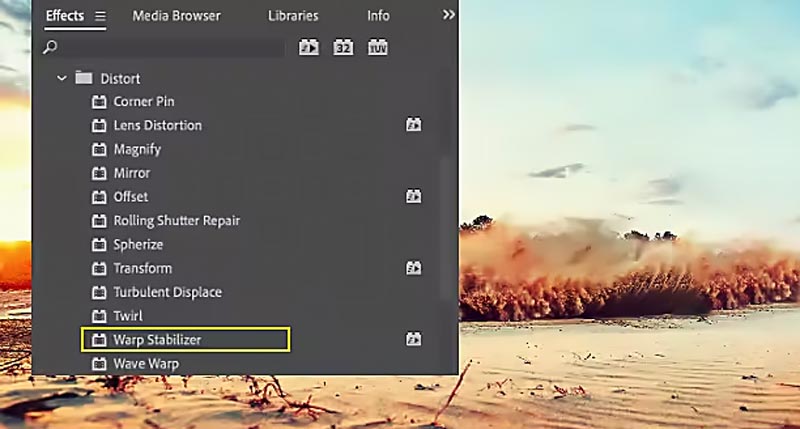
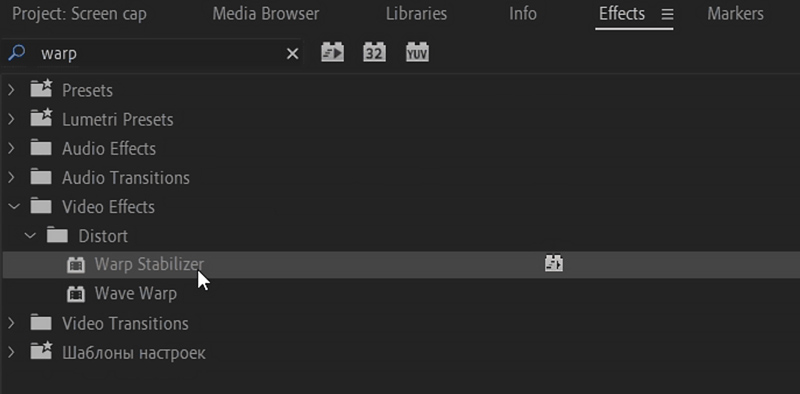
As mentioned above, you can rely on the Warp Stabilizer effect to stabilize a video in Adobe Premiere Pro without cropping. Add the shaky video and put it onto the timeline for editing. Go to the Effects section, choose Video Effects, and then locate and click the Distort option. Under Distort, you can apply the Warp Stabilizer effect to make your video more stable and smoother. Then, Premiere Pro will analyze the video for stabilization.
Why is Warp Stabilizer greyed out or not working?
This usually happens if the clip speed has been changed (slow motion/fast forward). To fix it, right-click the clip, select Nest, and apply the effect to the nested sequence.
Can Warp Stabilizer fix motion blur?
No. It only stabilizes the position of the frame. If the camera shook so hard that the image itself is blurry, Premiere cannot fix it. You need an AI Video Enhancer (like VidHex) to de-blur the actual pixels.
Does Warp Stabilizer reduce quality?
Yes, slightly. Because it zooms in (scales up) the image to crop out the shaking edges, you lose some sharpness. For 4K footage, this is negligible, but for 1080p footage, the softness can be noticeable.
Conclusion
If you already have this tool on your computer, you can follow the guide above to handily stabilize your video in Premiere. As mentioned above, Adobe gives you a 30-day free trial to use Premiere. You can also download it and try using the Warp Stabilizer effect.
 Comprehensive Guide on How to Enhance Videos in Premiere Pro
Can you enhance video quality in Adobe Premiere Pro? Does it have an AI video enhancer? Learn how to improve your video quality using Premiere Pro here.
 Smooth Animation: How to Make Your Animations Look Fluid
Discover how to make smooth animation with easy steps, After Effects tricks, and VidHex that enhance motion for seamless, realistic results.
 5 Best Free Video Enhancers (Online & PC) [2026 Review]
Compare top free video enhancers like CapCut, Media.io, and Picwand. Fix blurry videos, upscale to 4K, and remove noise. See the pros, cons, and best AI desktop alternatives.

Video Converter Ultimate is excellent video converter, editor and enhancer to convert, enhance and edit videos and music in 1000 formats and more.
![]() 100% Secure. No Ads.
100% Secure. No Ads.
![]() 100% Secure. No Ads.
100% Secure. No Ads.
*Required field
*Please enter a valid email
