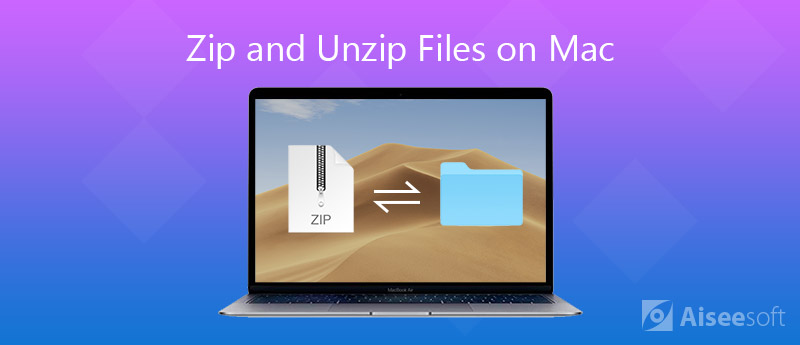
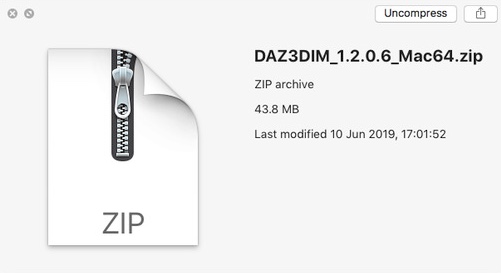
By creating a zip file on Mac, you can compress a single file, multiple files, or an entire folder into an archive .zip. Both Mac OS X and macOS operating systems have the built-in compression systems. Thus, you can zip and unzip files on Mac without installing extra software.
Zip files take less storage space on Mac. Moreover, you can share the same content with less time by compressing zip files. Many people prefer to zip files to reduce the email-transmission time. By the way, you can upload more files as email attachments without the space limit.
If you are not familiar with zipping and unzipping files on Mac, you can refer to the following paragraphs. This article introduces the detailed steps to create a zip archive in different cases. You can also unarchive zip files to extract whatever you need.
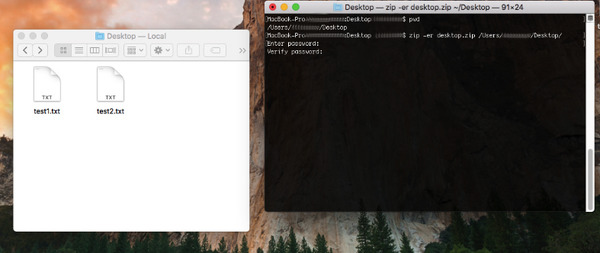
Zip is an archive file format created by Phil Katz and PKWARE in 1989. It is a standard format designed for lossless data compression. When you create a zip file, the filename extension is .zip or .zip (newer compression algorithms). A zip file contains one or more files under the zip compression. You can set password protection when you zip a file on Mac.
You may also see rar files in many situations. What's the difference between zip and rar? Well, the rar format was released in 1993 as a proprietary archive file format. In the zip VS rar round, zip has the better popularity than rar format. You need to install WinRAR to open rar files. But if you want to open zip files on Mac, you can solve the problem with simple clicks easily.
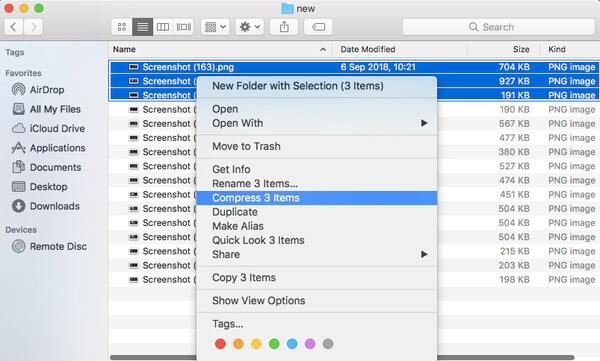
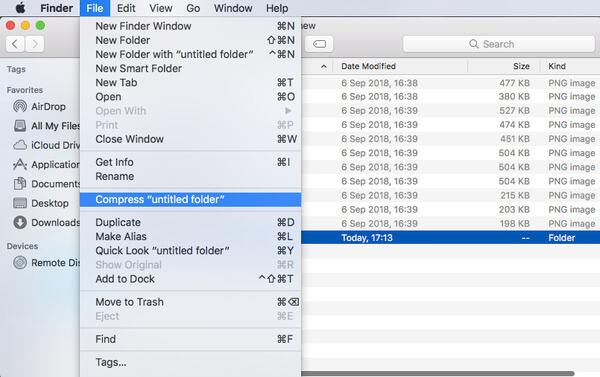
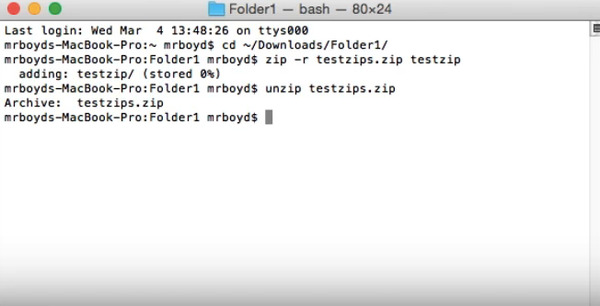
There is a pre-installed tool named "Archive Utility". You can make zip files on Mac directly with the help of Archive Utility. Of course, you can also type command lines to compress a zip file on Mac.
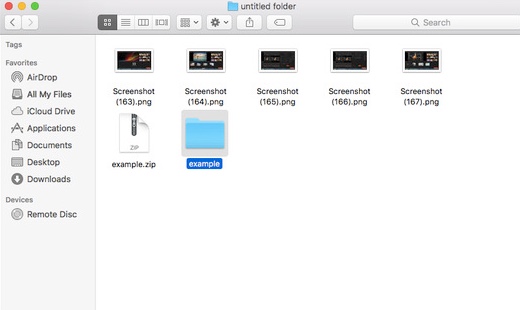
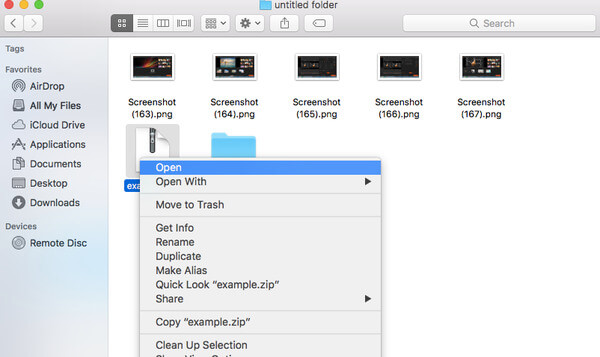
If you download files from some online sites, you can find that the downloaded files are archived as zip files too. How to unzip files on Mac to decompress them? You can get the answer here.
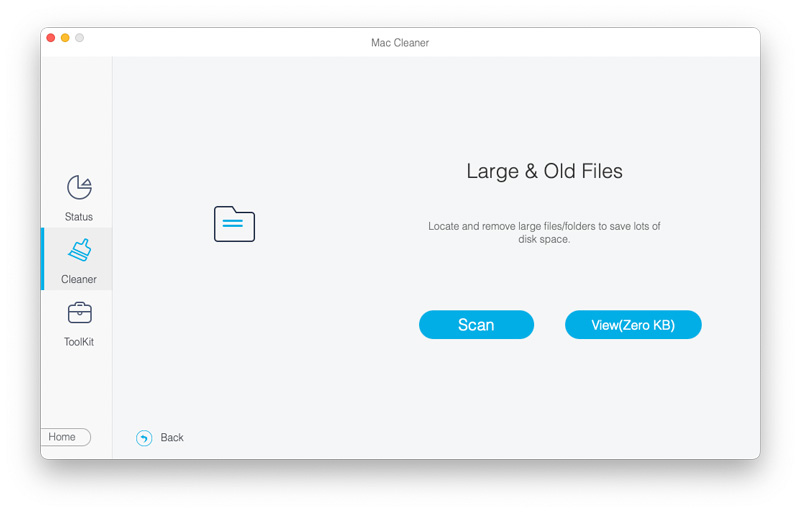
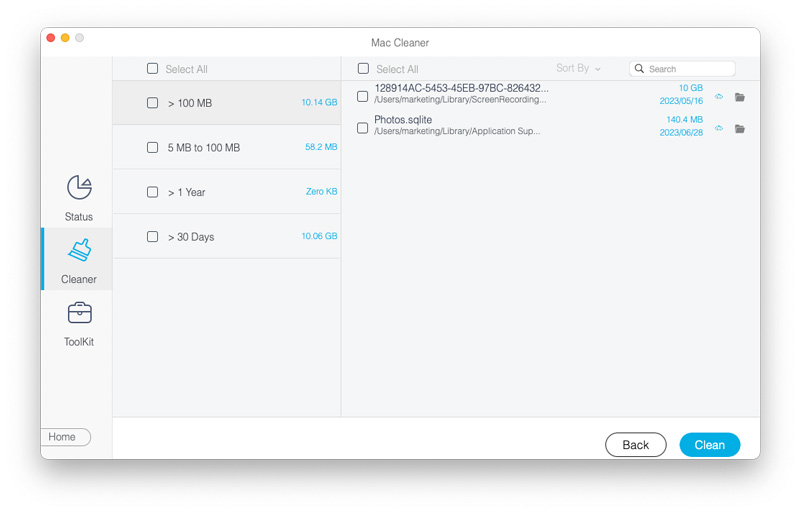
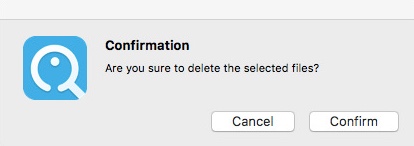
Though you can compress large files by zipping, those files still exist in your storage space. As time goes by, more and more zipped files will take place your limited storage space. You may forget those zipped files without opening for months. Well, why not clean up your Mac with Aiseesoft Mac Cleaner to get more free space? You can delete unneeded, large and old files selectively. The smart preview window can help you figure out whether you want to delete the junk file or not.
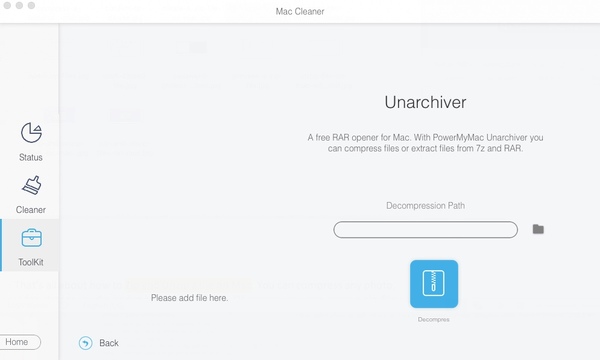
By the way, there is a built-in archiver. You can decompress 7Z and RAR files in one click. It is also supported to unzip GZ files on Mac here. You can uninstall apps, clean up cookies, encrypt files, manage Microsoft documents and do more changes within Mac Cleaner. It is more than a simple Mac cleaning software.

Downloads
![]() 100% Secure. No Ads.
100% Secure. No Ads.
![]() 100% Secure. No Ads.
100% Secure. No Ads.
Note: You can compress any file or folder as a RAR file by using its "Unarchiver". After adding your files, you can click the "Compress" or "Decompress" icon to extract and compress files on Mac. Thus, you can open any RAR file directly.
That's all about how to Zip and Unzip a file on Mac. You can compress any photo, video, image, audio and more into a Zip file. Of course, you can open a zip file with the above steps easily. If your computer is still short of space after zipping files and folders, you can use Mac Cleaner to quickly delete downloads on Mac and compress/extract RAR files. The built-in duplicate finder, unarchiver and many other functions are also worth to try.
 What Does Encrypt SD Card Mean and How to Encrypt SD Card/USB Flash Drive
What does encrypt SD card mean? How to encrypt SD card to better protect privacy? How to access and recover data from an encrypted SD card or USB flash drive? All your questions will be answered here.
 Step-by-Step Guide (with Images) to Encrypt and Recover Excel 2007/2013/2010/2016/2019
This tutorial shows you how to encrypt your Excel file to protect your worksheet and restore the file without password, even it is deleted or lost, and you could still restore it in this page.
 How to Get Rid of Protection of Encrypted iTunes Backups (with/without Password)
You are able to remove the protection of encrypted iTunes backups for erasing data permanently from iPhone, iPad and iPod, even if you forgot the password.
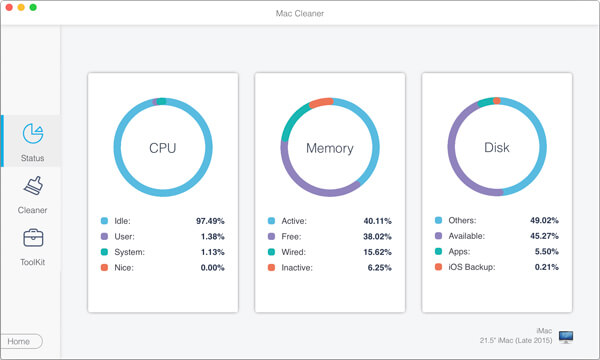
Mac Cleaner is a professional Mac management tool to remove junk files, clutter, large/old files, delete duplicate files and monitor your Mac performance.
![]() 100% Secure. No Ads.
100% Secure. No Ads.
*Required field
*Please enter a valid email
