With a logo or text watermark, you can easily add digital ownership of your photography before you post them on the web. Whether you like it or not, adding a watermark on your photographs is a must, mainly if you have posted it on the web, so that no one can easily take advantage of your artwork for personal gain. Though you can remove the watermark with the help of tools on the market, you will need well-developed skills. Before you post them, you better protect them by adding a watermark to photo with the app we have listed here.
There is no need for you to perform with maximum effort, especially if you have followed the steps below.

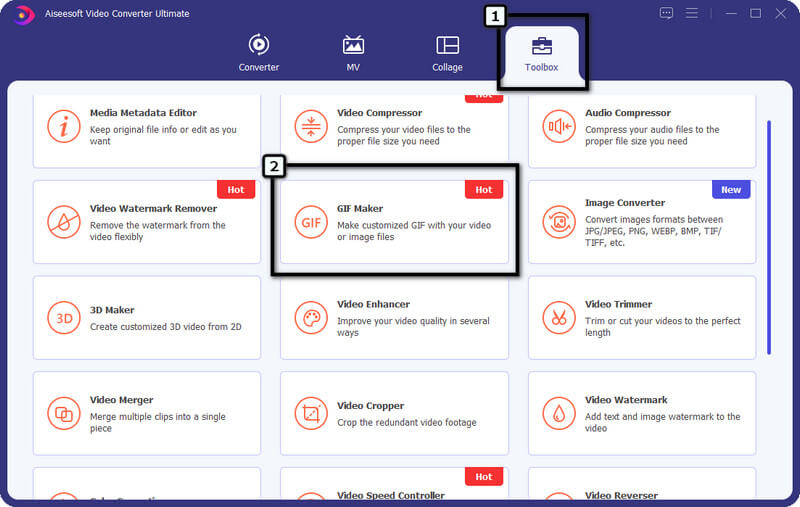
Aiseesoft Video Converter Ultimate has the easiest way to add a watermark to photos compared to the additional tool you can use on the market. Adding a watermark wouldn't be a piece of a cake task for beginners, but if you used this app, then it should be. Here, you can freely add an image watermark based on your preference and turn it into a looping GIF.
Aside from adding a watermark, you can also use the app for other solutions such as editing MP4 videos on Windows & macOS, trimming, cutting, converting, and many more. Since the app is multipurpose, let us introduce you to practical ways to add the watermark you want on the photos by copying the tutorial here.
![]() 100% Secure. No Ads.
100% Secure. No Ads.
![]() 100% Secure. No Ads.
100% Secure. No Ads.


Adobe Lightroom is one of the finest applications that Adobe created for users who need to enhance their portrait into a better outcome, but now the app has a way that you can use to add a watermark. Since the app is widely supported by one of the most prominent digital marketers, you can access the premium-level editing features once you have it. However, you will need to purchase a plan supported by this app, especially if the free trial has ended. You can visit its main website of it to know what are the supported plans of the app.
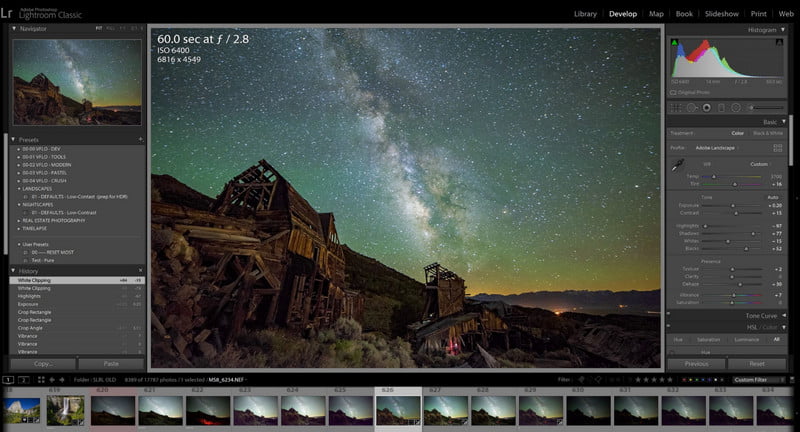
Also, there are times that you will have problems like importing HEIC in Lightroom, but there is no need to worry because there is a solution. If you are still here, you should know how to add a watermark to photos in Lightroom by following the indicated steps.
Steps to Use Adobe Lightroom:
Like Lightroom, Adobe produces Adobe Photoshop for the users to have a better digital graphic photo editing feature that is more kin in detail, unlike the enhancer we mentioned. Despite having two editors that Adobe supported, Photoshop has an in-depth level of resizing images and editing. It has sound photo manipulation that you can easily use to create professional-grade images, like adding a watermark. Using this app, you can add text and graphic watermarks to the photos you want to edit here. Even though the free trial lets you experience the whole app, you will still need to purchase it to continue using it as your editor.
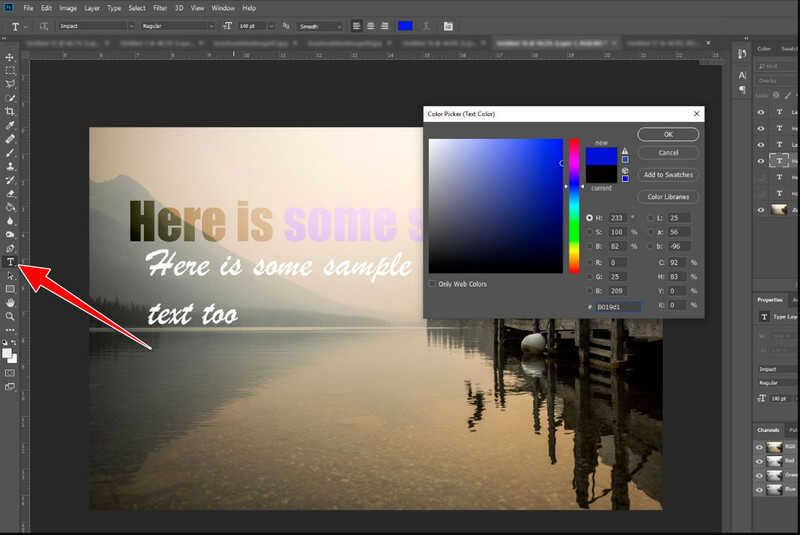
However, the app is much more strenuous than the ultimate editor we mentioned. But, if you are here looking for steps to add a watermark to photos in Photoshop, you can frantically follow the steps we have added here.
How to Use Adobe Photoshop:
If you are an iOS user, you can easily follow the enlisted steps on adding a watermark to your iPhone's photo using the built-in editor app.

Can anyone delete the watermark added on Photos?
Yes, anyone can easily remove the watermark on the photos, especially if they have a high skill level in image manipulation. However, lazy thieves on the web find this complicated, so adding a watermark to the image is still necessary for additional protection from them.
Where should I place the watermark?
Well, you can place the watermark in the middle so that when thieves use a watermark remover, a streak will be left on the area they have removed. Yet, tracing the watermark and layering it might not leave a smudge on the area with the original watermark attached. Still, professional image editors can only do that with advanced editors, not beginners.
What might be the problem with adding a watermark to photos?
Even you can add protection to the image with a watermark; there are times when the image's focal point won't be the image itself but the watermark embedded. Viewers can't enjoy and appreciate an image with a watermark attached to it. But without a watermark, photographs you post on the web can be used by anyone freely and claimed as their property.
Conclusion
With the tutorial we have added above, you can now add a watermark to photos you have captured so that no one can claim them as their work. Whether you want to add or not, that decision will remain yours. There is no need to become professional as long as you have the tutorial that we have mentioned.
 Best Free Online Way to Add Text to Photo (Mac/Windows/Android/iPhone)
How do you add text to a photo or add captions to photos? There are many add text to photo apps on the market can help you put text over an image on Windows 10/8/7 PC, Mac, Android phone and iPhone 6/7/8/X/XS/11/12. This post collects all free, online and professional solutions.
 2 Flexible Solutions to Add A Background to A Photo for Free
Looking for a tool to add a background to your photo? This post shows desktop and online methods to change, adjust and add a different background to photo.
 Add People to Photo - How to Add a People in a Photo 2024
How can I add a person to my photo without Photoshop? How to manually add faces to photos on iPhone? Here you can learn 2 effective ways to add people in photo.

Video Converter Ultimate is excellent video converter, editor and enhancer to convert, enhance and edit videos and music in 1000 formats and more.
![]() 100% Secure. No Ads.
100% Secure. No Ads.
![]() 100% Secure. No Ads.
100% Secure. No Ads.
*Required field
*Please enter a valid email
