
Video Converter Ultimate
 100% Secure. No Ads.
100% Secure. No Ads.
Dealing with noise in video is one of the toughest dilemmas that post-production professionals face. You might invest a lot of time in refining a shot but discover that grain and digital artifacts are so prominent that they divert the audience's attention away from the content. Also, it's not simply a matter of making the footage look cleaner by removing noise. You still need to retain the details, textures, and sharpness. This is where an After Effects denoiser plays a role.
After Effects offers various noise reduction tools, from simple built-in effects to high-level plugins. And here I will reveal the most efficient noise removal techniques, advise on when to use each one, and guide you on how to get rid of noise while maintaining natural-looking and crisp footage.

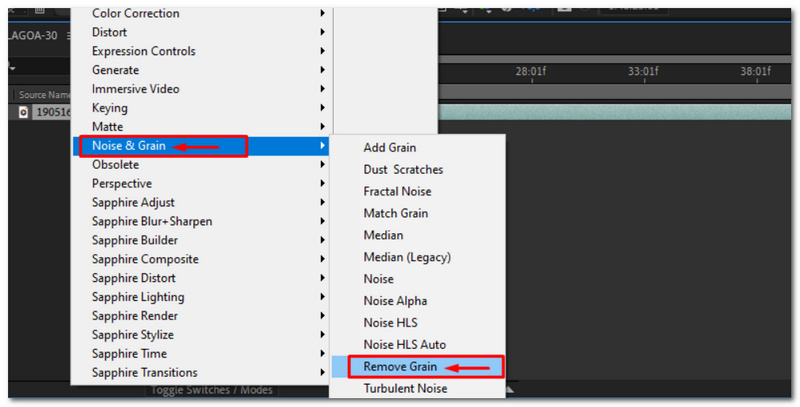
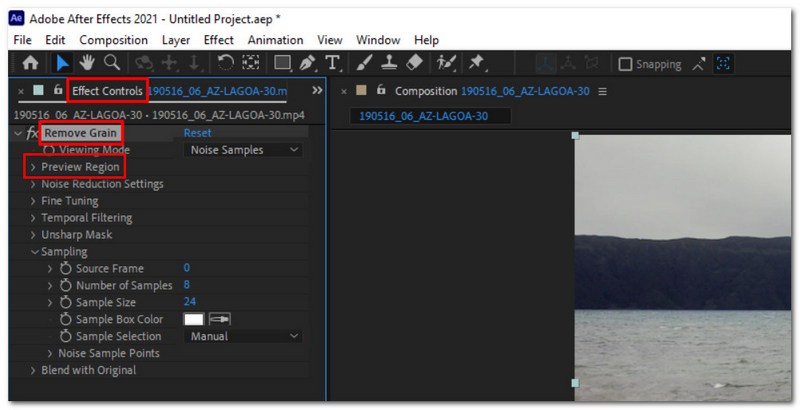
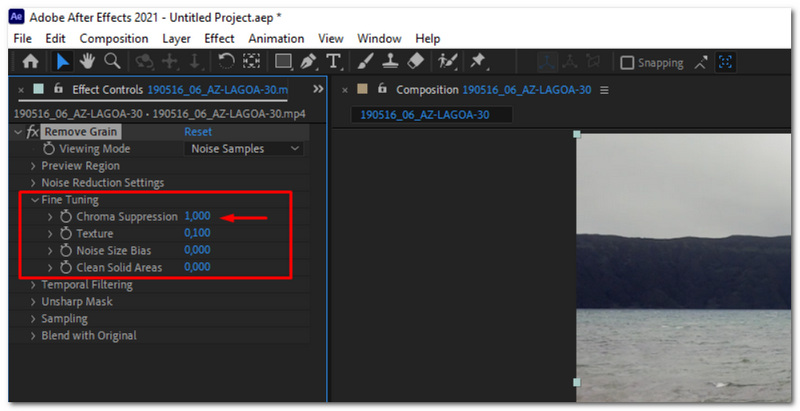
Remove Grain effect in After Effects is the proper method of After Effects for reducing video noise while trying to keep maximum detail at the same time. It has sophisticated features like Preview Region and Statistical Noise Reduction, which enable editors to pinpoint the noisy areas more accurately. If you want a way of denoising After Effects without the need for additional plugin installs, this effect is very helpful and can be set as your starting point.
Steps to Use the Remove Grain Effect
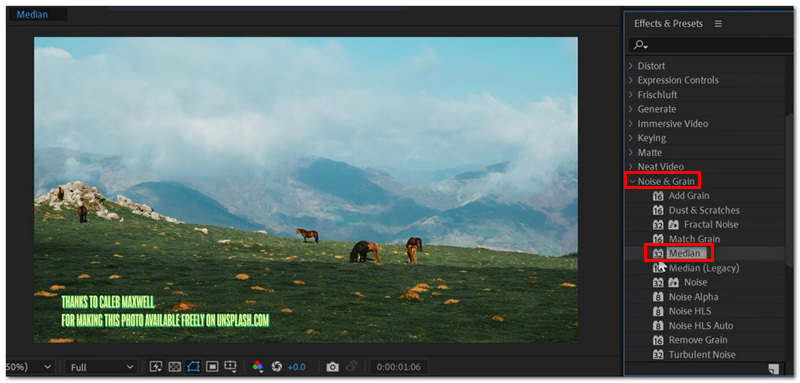
The Median effect is not an explicit denoising tool, but it is an excellent way to deal with grainy and stylized noise. Neighboring pixels are mixed in this method, which makes the artifacts less visible, and the resulting smoother image looks satisfactory. The Median effect can be a simple solution to your noise problem if you want to know how to denoise in After Effects and don't want to spend much time.
Steps to Use the Median Effect
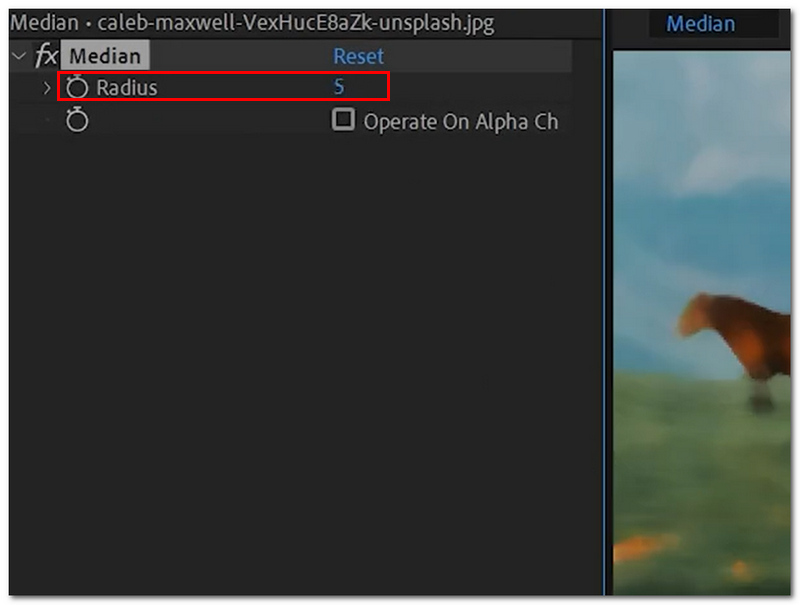
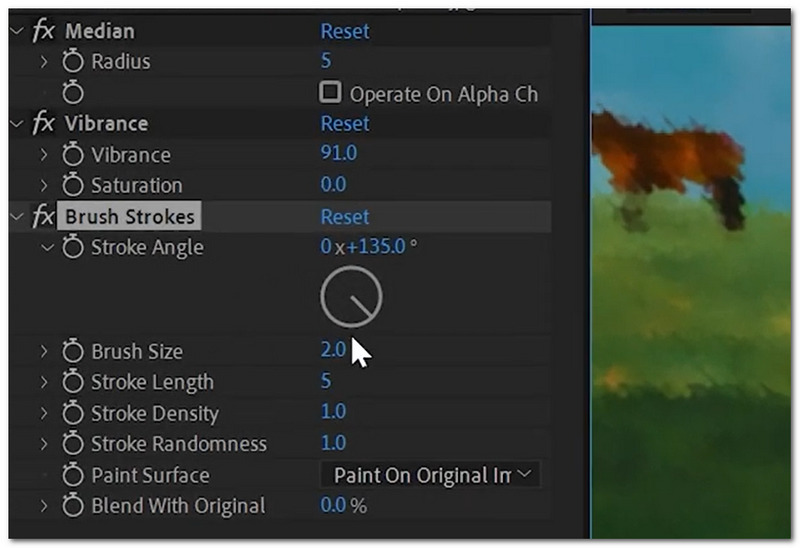
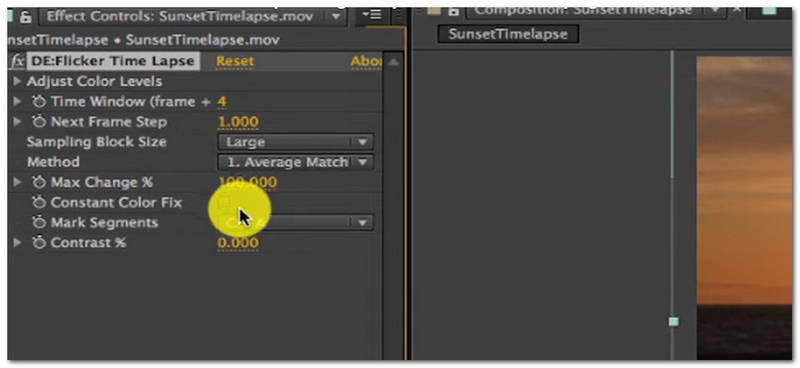
RE: Vision Effects DE: Noise is a professional plugin in particular targeted at removing video noise and maintaining the fine details of the image. Through the use of advanced temporal and spatial filtering methods, it examines the footage frame-by-frame, and because of this, it is a very capable tool for editors who demand the best quality results. If you want to denoise in After Effects, beyond the control offered by the standard effects, DE: Noise will serve you very well.
Steps to Use RE: Vision Effects DE: Noise
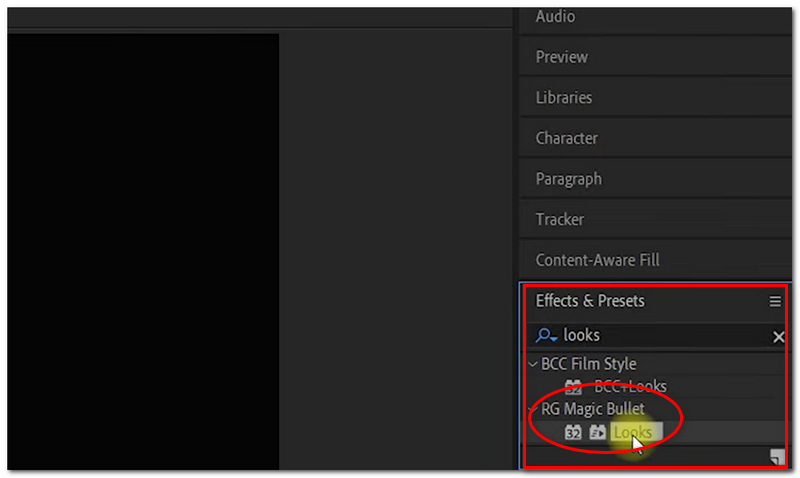
One of the well-liked noise reduction tools that Red Giant offers is Magic Bullet Denoiser, which can effectively remove noise from your video while preserving the original appearance of the image. It is more effective when you have taken your video in such conditions where noise is more visible (e.g., nighttime). If you are looking for an After Effects denoise plugin that is not only easy to use but also fixes burry video and produces top-quality results, you might want to consider Magic Bullet Denoiser.
Steps to Use Magic Bullet Denoiser
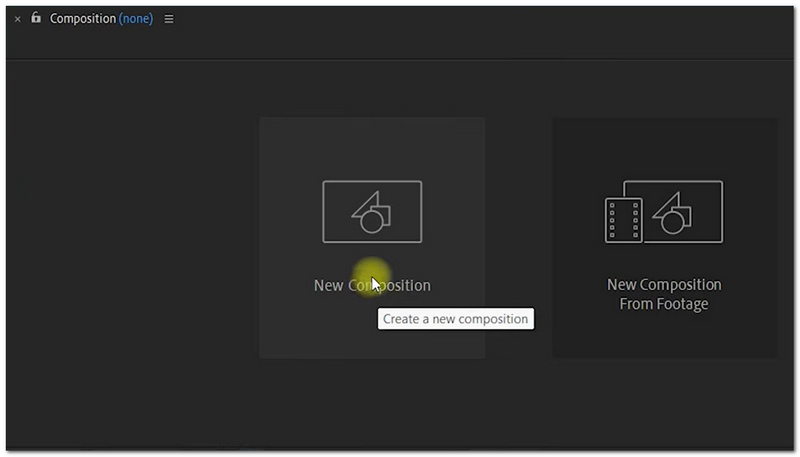
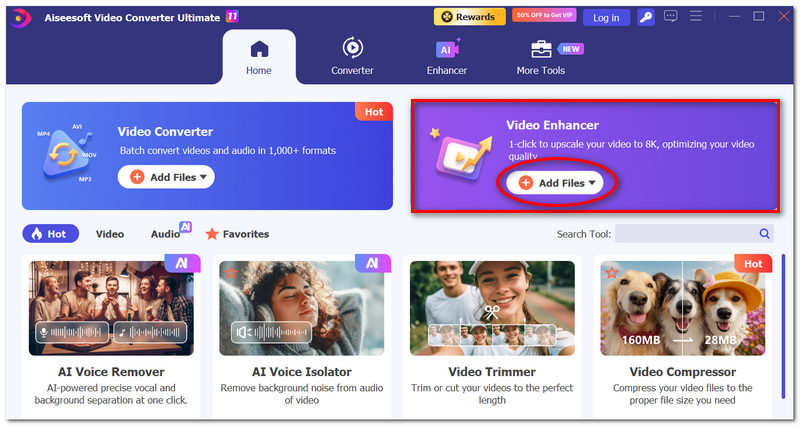
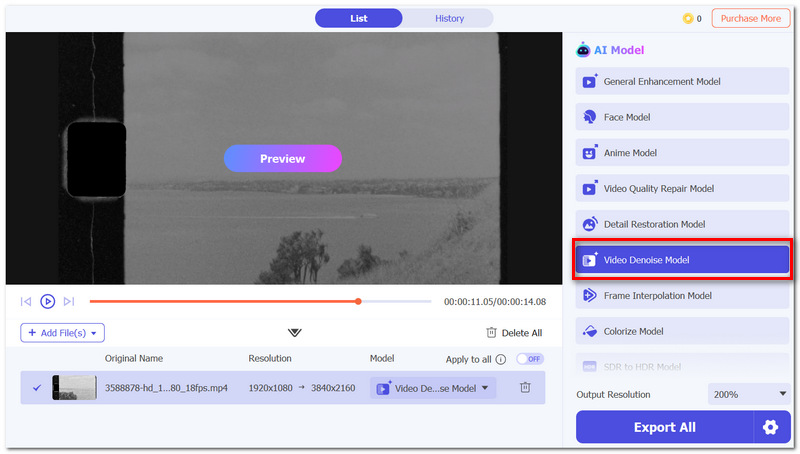
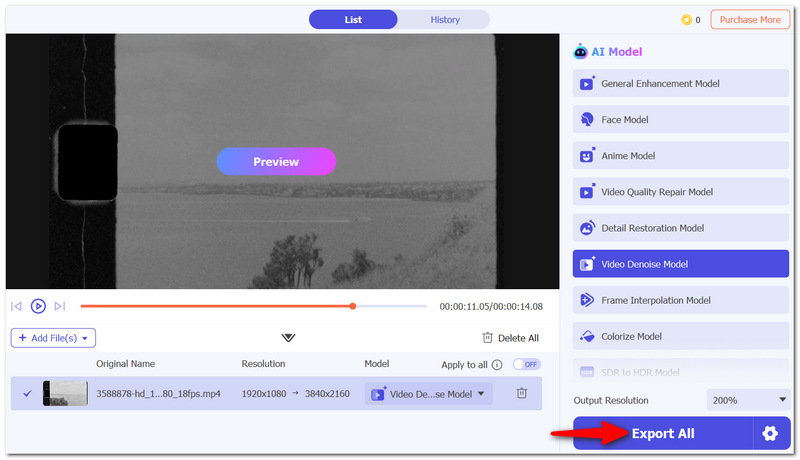
If After Effects seems too complicated just for noise reduction, Aiseesoft Video Converter Ultimate can be easier to use. It has AI-based video enhancement features that can do noise removal, increase sharpness, and improve video quality overall without the need for deep editing skills. This is a good choice for those who want nice and clean videos quickly and easily.

Downloads
100% Secure. No Ads.
100% Secure. No Ads.
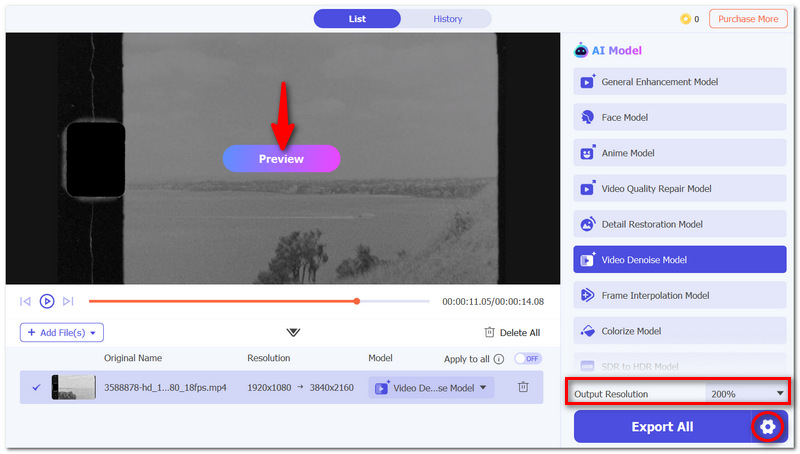
Steps to Reduce Video Noise with Aiseesoft Video Converter Ultimate
Is it possible that the denoising can treat motion blur in a different way than the static objects?
It is a fact. Since motion blur already makes the image details less distinguishable, very strong denoising might cause the moving objects to be less sharp than the stationary ones.
Does the denoising of the footage for streaming differ from that of the footage for cinema projection?
Definitely, streaming services compress the video, whereas the cinema projector enlarges the image details, so the denoising methods may be different based on the ultimate viewing environment.
What is the reason why two clips from the same camera could need different denoising settings?
Differences in the lighting conditions, the exposure, and the ISO values, as well as the complexity of the scene, can all determine the type and the amount of the noise in any given shot.
Conclusion
It's your project that will determine the optimal way to denoise After Effects footage. You can clean up with basic filters like Remove Grain and Median, which come with the software. In contrast, professional plugins will give you enhanced control over the process and the highest quality results. In fact, whatever technique you select, try to find a harmony between noise reduction and maintaining details, as it is possible to overdo noise removal, and the footage may end up looking fake.
 How to Reverse Video Clips in After Effects and Alternative
In this tutorial, you will learn how to reverse a video clip in Adobe After Effects, and find an alternative to get a clip reverse easily.
 How to Upscale Video in After Effects (Best Methods)
Learn how to upscale video in Adobe After Effects using Detail-Preserving Upscale and AI tools for sharper, high-quality results.
 Three Methods of Making Slow Motion Videos in After Effects
Have difficulty in making videos in slow motion with After Effects? This article will offer three ways which are time stretch, timewarp, and time remapping for you.
 Leave your comment and join our discussion
Video Converter Ultimate is excellent video converter, editor and enhancer to convert, enhance and edit videos and music in 1000 formats and more.
100% Secure. No Ads.
100% Secure. No Ads.

*Required field
*Please enter a valid email

