
Aiseesoft Screen Recorder
![]() 100% Secure. No Ads.
100% Secure. No Ads.
![]() 100% Secure. No Ads.
100% Secure. No Ads.
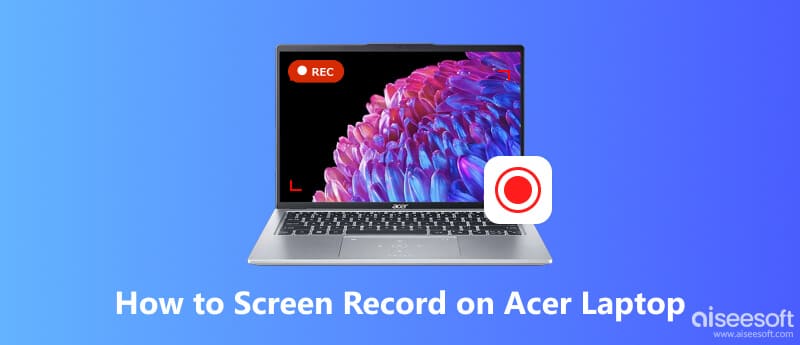
This guide covers three different ways to screen record on an Acer laptop. Whether you are capturing funny gameplay moments, saving important online meetings, or creating professional tutorials, you should learn to capture your computer screen. In fact, knowing how to record your Acer laptop’s screen is a necessary skill. Keep reading and select your desired recording tool, from built-in Windows 11/10 solutions to third-party, dedicated software.
For most general users, recording their Acer laptop using the Windows built-in tools is adequate. The first section explains how to screen record on your Acer laptop using the two built-in recorders.
Xbox Game Bar is primarily designed for capturing gameplay on Windows 10 and 11. It is ideal for quickly recording application windows. However, it cannot capture the Windows desktop or File Explorer. That can be a significant drawback for many users.
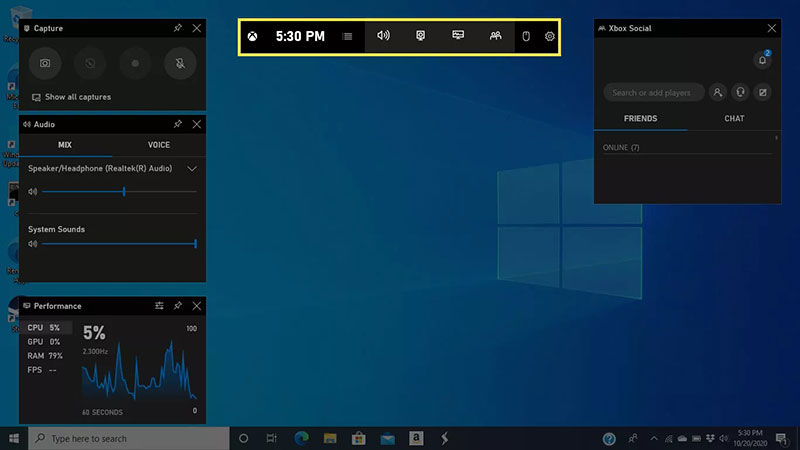

The Xbox Game Bar is perfect for casual users to make short recordings. It integrates with Windows 11/10 and features simple controls. However, the software is not designed for professional or complex projects.
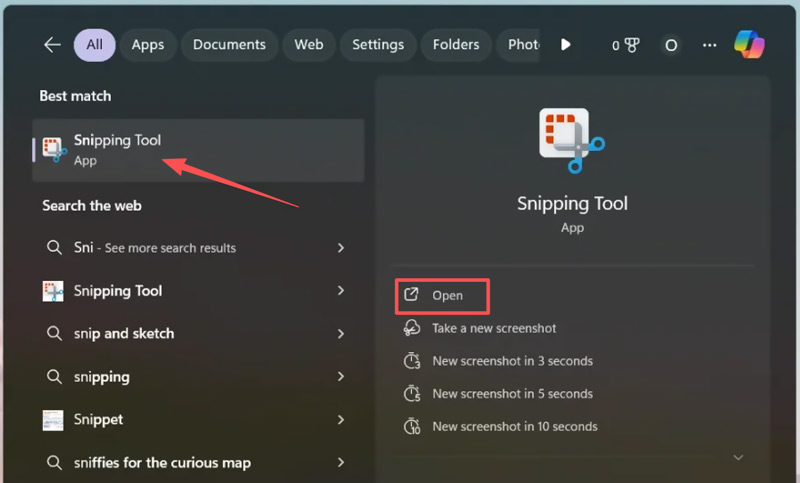
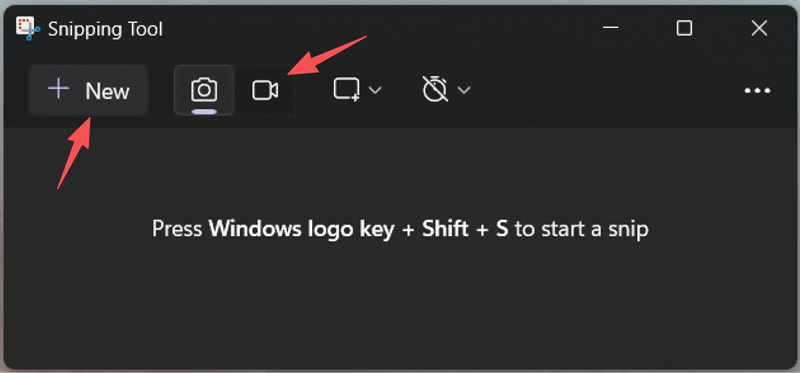
The Snipping Tool in Windows 10 is only used to take screenshots. However, the updated version in Windows 11 includes a new screen recording function. This built-in tool excels at capturing quick video clips of a specific area of your computer screen.
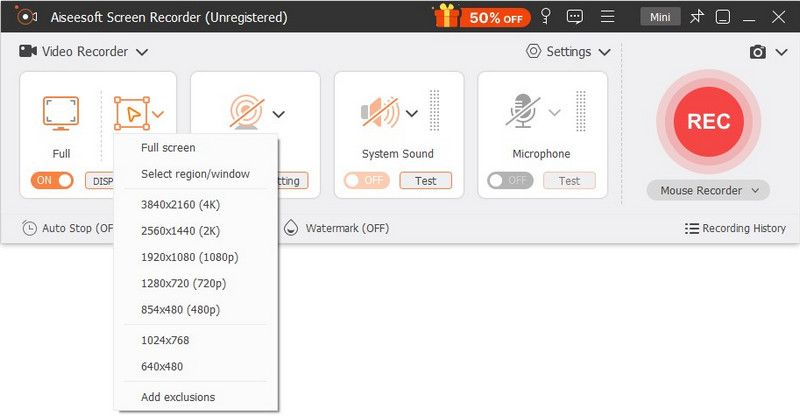
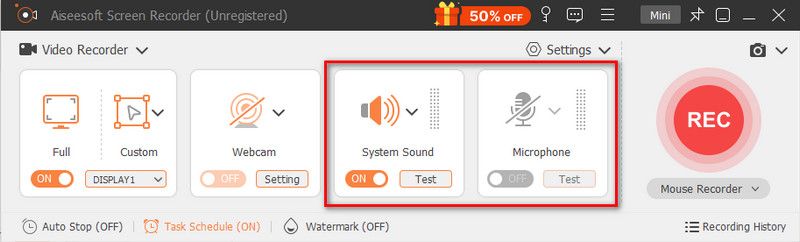
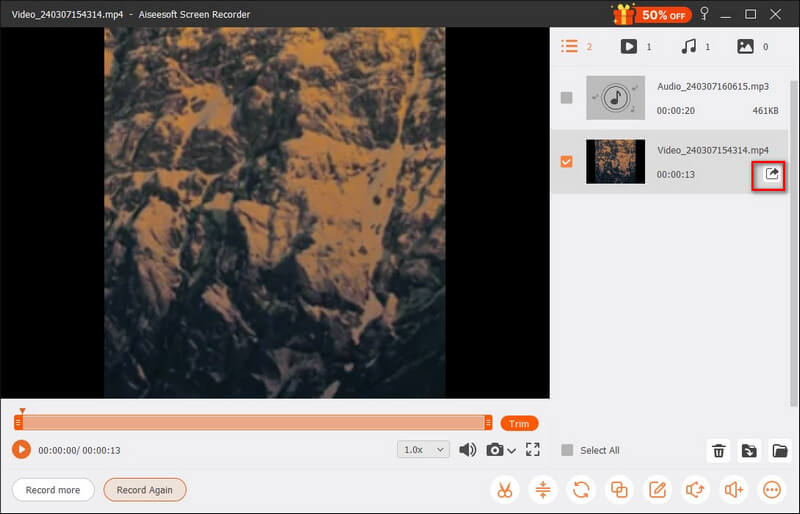
If you are unsatisfied with the Windows built-in tools, whatever the reason, it’s time to use a dedicated third-party application, such as the reputable Aiseesoft Screen Recorder. The software is a powerful option that provides advanced features for various recording tasks.
Downloads
![]() 100% Secure. No Ads.
100% Secure. No Ads.
![]() 100% Secure. No Ads.
100% Secure. No Ads.
Question 1. Can I record my Acer laptop (Windows 10) screen using the Snipping Tool?
No, you cannot capture your Windows 10 laptop screen using the Snipping Tool. This built-in tool in Windows 10 can only be used to take screenshots. Its screen recording function is available for Windows 11. You can update your Acer laptop to the latest Windows 11 and then use the Snipping Tool to record videos.
Question 2. How do you screen record on an Acer laptop without the Windows key?
Even without a Windows key, you can still screen record on your Acer laptop with ease. You can use a dedicated recorder like Aiseesoft to capture your laptop screen with high quality. The software does not require a working Windows key to perform or control screen recording on an Acer laptop with Windows 10/11. If you prefer to capture your computer screen with the Windows built-in tools like the Snipping Tool or Xbox Game Bar, find and open them using the Search Box.
Question 3. What is the best way to screen record on an Acer Chromebook?
You can use the built-in recorder in Chrome OS to capture content on an Acer Chromebook. To quickly open the tool, you can press Shift + Ctrl + Show Windows keys at the same time. A toolbar will appear on the screen. Click the video camera icon to select the recording area. Then, click the Record button to start. This method is often considered the best way to screen record on an Acer Chromebook.
Conclusion
When you want to screen record on an Acer laptop, start with the built-in tools in Windows 11 or 10 for everyday tasks. If you prefer high-quality recordings with advanced controls, turn to professional software like the recommended Aiseesoft Screen Recorder.
 [Guide] Screen Capture with Audio Recording on PC & Mac
How to record screen with audio? Here is the step-by-step guide with the most powerful screen recorder to enable capture on your Windows PC, Mac, and iPhone.
 How to Fix Windows 11 Snipping Tool Not Working Quickly
Windows 11 Snipping Tool sometimes doesn’t work well. Don’t worry. This article will tell you the reasons and offer 8 easy solutions with detailed steps.
 How to Restore My Acer Laptop to Factory Settings via 3 Ways
How do you complete the factory reset on your Acer laptop? What is the reset key for my Acer laptop? Learn to restore Acer laptops to factory settings.

Aiseesoft Screen Recorder is the best screen recording software to capture any activity like online videos, webcam calls, game on Windows/Mac.
![]() 100% Secure. No Ads.
100% Secure. No Ads.
![]() 100% Secure. No Ads.
100% Secure. No Ads.
*Required field
*Please enter a valid email
