Aiseesoft Screen Recorder
 100% Secure. No Ads.
100% Secure. No Ads.
Nowadays, knowing how to capture your computer screen is an essential skill. Fortunately, macOS provides native recording tools that let you easily capture your Mac screen with no software installation. However, in some cases, for more advanced needs, such as capturing internal system audio, you need to look beyond Apple’s default options.
You can easily screen record on a MacBook Pro using either the native recording tools or third-party recorders. This guide shares three efficient methods to help you do that.
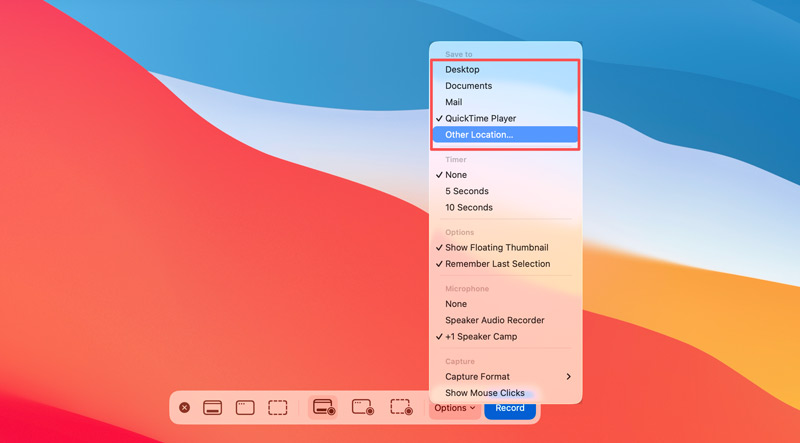
If your Mac runs macOS Mojave or later, you can start with the built-in tools to screen record. Besides, if you are using an older system, you can rely on the native QuickTime Player to capture videos on your MacBook Pro.
The Screenshot Toolbar offers a quick, convenient way to record your Mac screen. It allows you to capture either the entire display or a specific section.
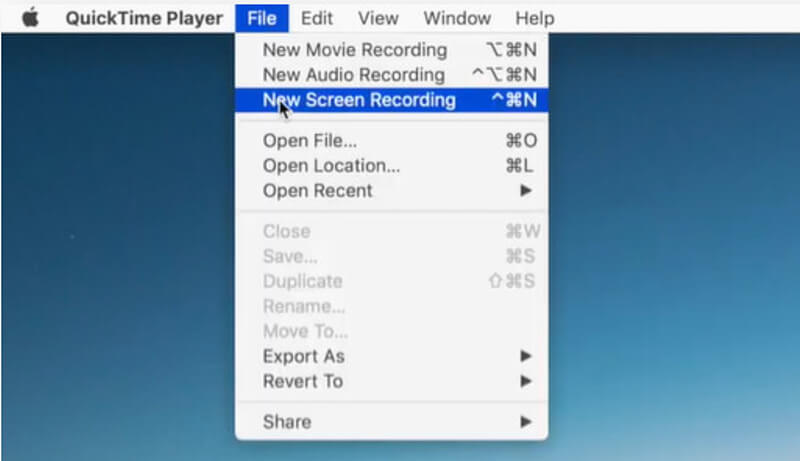
QuickTime is pre-installed on every Mac for playback needs. It can help you record your Mac screen with your face using the built-in webcam.
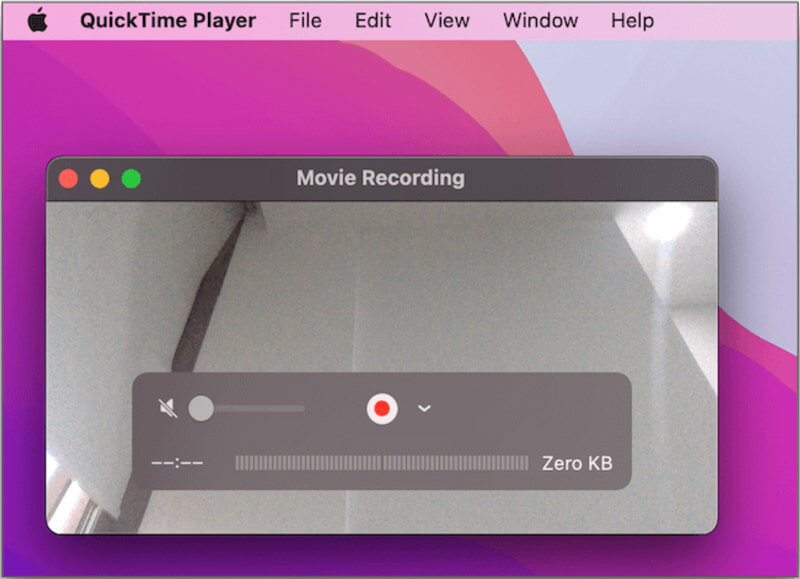
If you use the built-in methods above to screen record on a MacBook Pro, you can only capture sound from its microphone. In some cases, when you try recording a YouTube video, a video game, or a Zoom meeting, the captured video may have no audio track.
The native screen recording tools are specially designed to only support microphone recording. That is for copyright protections and privacy concerns. Apple does not allow native apps to directly access and record Mac system audio. In that case, sounds captured from your microphone will be of low quality.
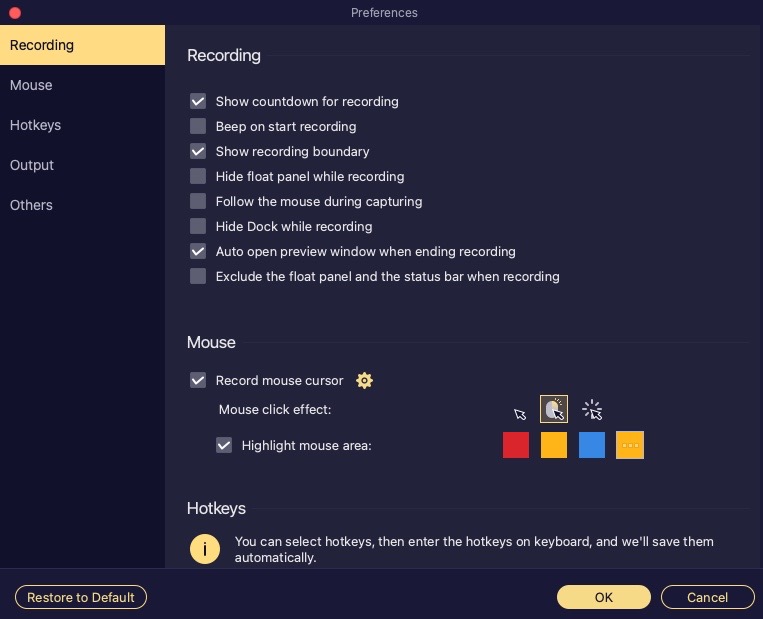
If you prefer to bypass Apple’s audio restrictions and record audio directly from the system sound, you should turn to dedicated screen recording software. Aiseesoft Screen Recorder is a reputable, all-in-one video and audio recording tool designed to solve the limitations of macOS built-in tools.
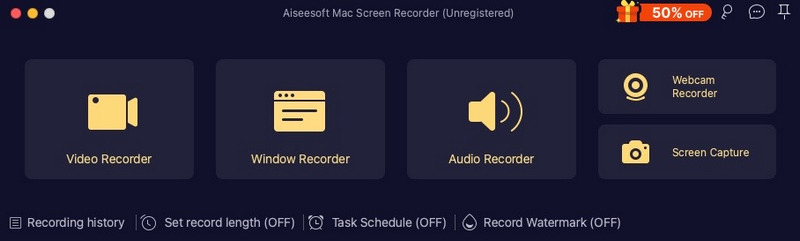
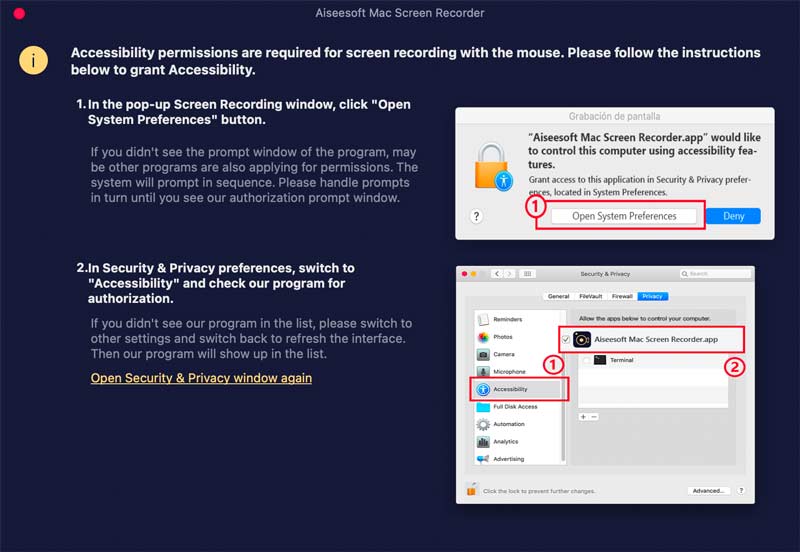
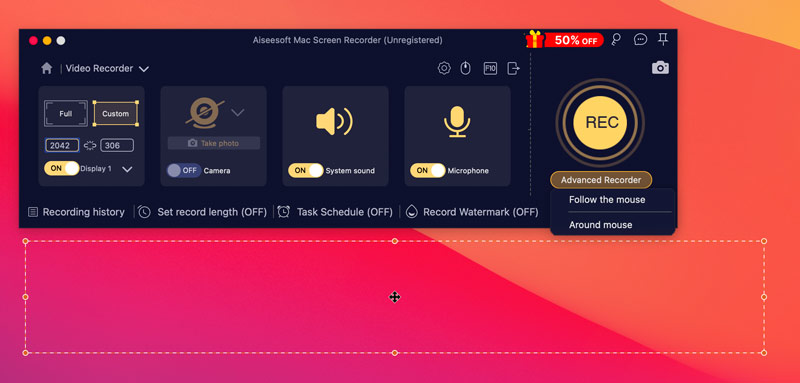
It can capture high-quality videos alongside clear internal system audio. You don’t need to install any audio plugin or driver for the recording. The software is ideal for recording gameplay, streaming audio, video calls, online meetings, and more. One significant advantage is that its screen and sound recording operations won’t be detected by the platform/app and macOS. Your actions won’t trigger a notification message or an alert.
100% Secure. No Ads.
100% Secure. No Ads.
Where are screen recordings saved on my MacBook Pro?
If you use the built-in ways to capture your Mac screen, the recorded video will be saved directly to the Desktop as a .MOV file. If you need to change the default screen recording destination, you can press Command + Shift + 5 and go to Options. If you use a third-party app like Aiseesoft to screen record on your MacBook Pro, you can freely select a different location for your recording.
Does the native Screenshot Toolbar support webcam recording?
No, the built-in macOS Screenshot Toolbar (Command + Shift + 5) does not record your face through the webcam. It is mainly designed to capture your screen and your microphone audio.
Does Windows allow system sound recording?
Yes. Unlike macOS, Windows doesn’t have internal audio recording restrictions. You can directly capture internal system sound with native recording tools. For instance, you can use the Snipping Tool or Xbox Game Bar to record system audio.
Conclusion
You can learn three methods to screen record on a MacBook Pro. For quick screen captures and basic tasks, Apple’s built-in Command + Shift + 5 toolbar is often the best choice. However, if you want to capture the internal system sound on your Mac, whether for creating high-quality tutorials, saving gaming moments, or recording live streams, a dedicated application like Aiseesoft Mac Screen Recorder offers the most efficient way.
 Full Review of OBS Screen Recorder: Features, Pros, Guide
Unlock OBS Screen Recorder's full potential with our detailed review and step-by-step usage guide. Learn its free but powerful features and find its great alternatives.
 Top 5 Snipping Tools for macOS in 2026 [Easy & Fast]
Looking for snipping tools for Mac? Learn about the macOS built-in snipping tool and professional alternatives to capture, edit, and share high-quality snips easily in 2026.
 3 Easy Ways to Record Audio on iPhone with No Quality Loss
Need to record audio, music, meeting, lecture, class and more on your iPhone? You are at the right place since this guide will tell you three ways to do the job.
 Leave your comment and join our discussion
Aiseesoft Screen Recorder is the best screen recording software to capture any activity like online videos, webcam calls, game on Windows/Mac.
100% Secure. No Ads.
100% Secure. No Ads.

*Required field
*Please enter a valid email

