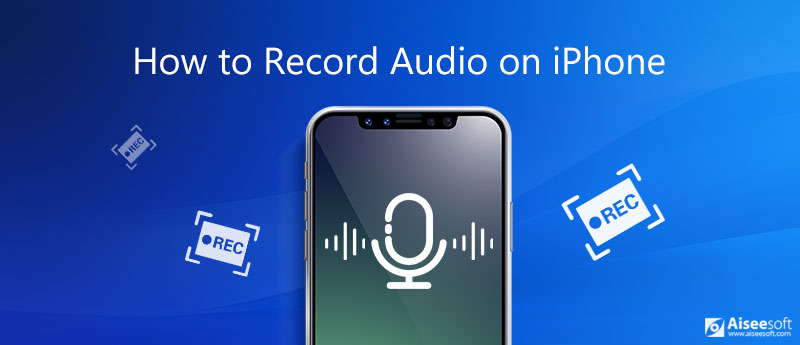
There are many reasons why you need to record audio on iPhone. Suppose you are interviewing a celebrity, for example, you do not need an extra voice recorder since your iPhone can meet your need. Sometimes, you want to listen to podcast or music stream but do not have a good internet connection. Music recording on iPhone may be a solution. Anyway, this guide will show you the best ways to do the job on iPhone easily.
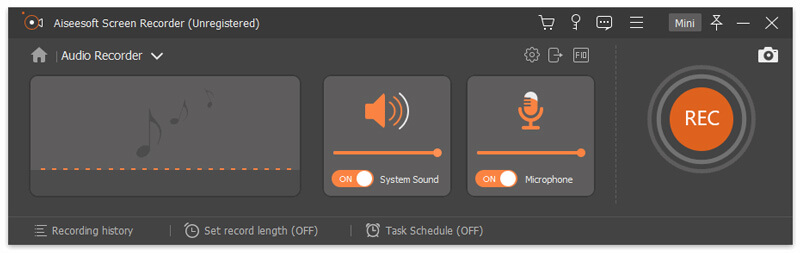
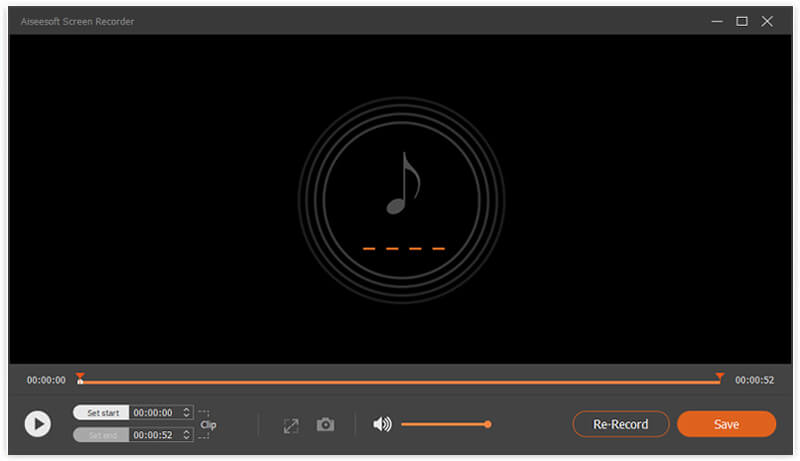
Many users complained that it is not convenient to record audio on iPhone. That is partly because the small screen. The best alternative solution is to use Aiseesoft Screen Recorder to record internal audio on iPhone with a computer.
Downloads
Aiseesoft Screen Recorder – Best iPhone Audio Recorder
![]() 100% Secure. No Ads.
100% Secure. No Ads.
![]() 100% Secure. No Ads.
100% Secure. No Ads.
In brief, it is the best option to record internal audio on iPhone with a computer.
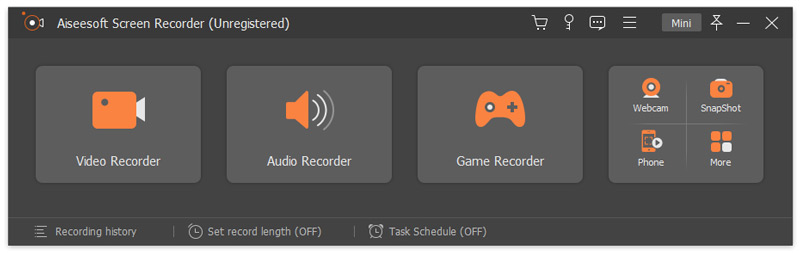
Certainly, this tool can also be used to record a conference on ClickMeeting, capture Instagram Story, and more effortlessly.
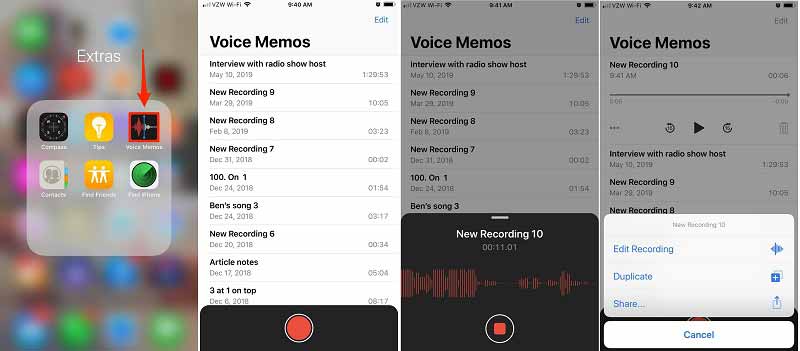
It is well-known that iOS has a preinstalled voice recorder app, the Voice Memos app. It is able to record your voice or sound surround you on your iPhone. Moreover, the app offers basic audio editing features. Unfortunately, it cannot record internal audio on iPhone, such as online music, phone calls, etc. Here are the steps to record voice on iPhone with Voice Memos.
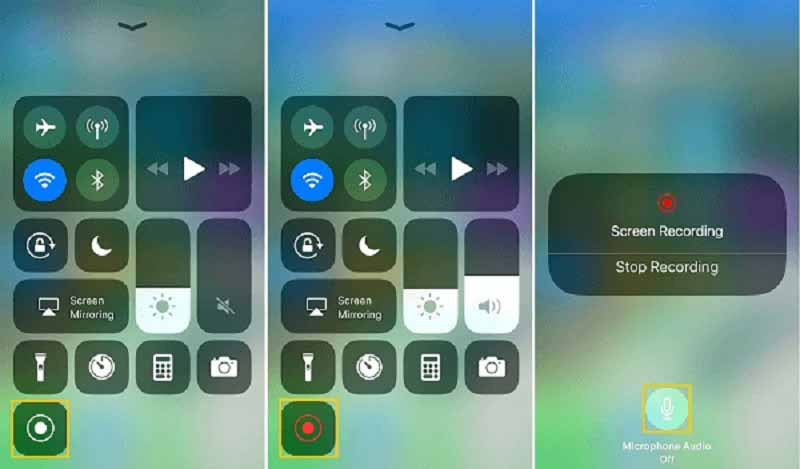
Another way to record internal audio on iPhone is the built-in screen recording feature. Since iOS 11, Apple introduced a screen recording feature into iPhone. It has the capacity to capture screen along with audio. In another word, you still need an audio converter to extract audio from the screen recording. If you do not mind the file format, it can meet your need without extra software or hardware.
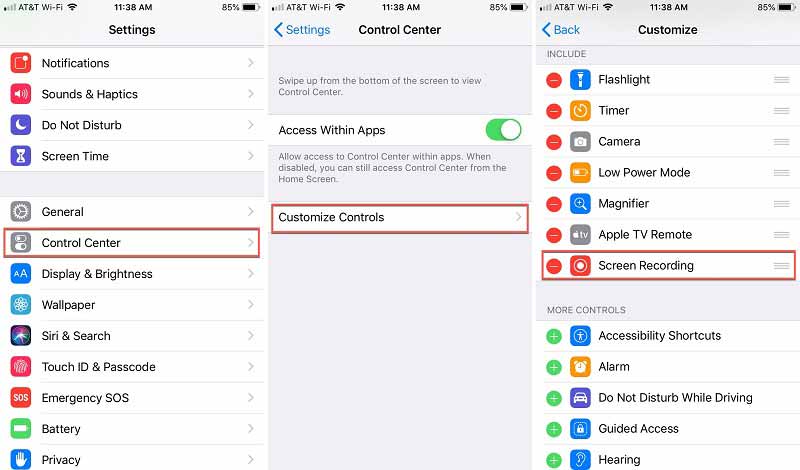
Tip: For earlier iOS, choose Customize Controls in Control Center setting screen.
Note: Both Voice Memos and screen recording feature cannot record phone calls on iPhone.
How do I secretly record audio on my iPhone?
The built-in Voice Memos app is the easiest way to record audio on iPhone secretly. It can turn your smartphone into an audio recorder device and capture voice and sound secretly. There are limited third-party audio recorders for iPhone.
How long can an iPhone record audio?
Most audio recorder apps do not have the length limit, but your iPhone must have enough space. Audio recording requires a lot of storage. The longer the recording and the larger the result file. We suggest you to record audio on iPhone no more than one hour. You can also record audio in multiple clips.
Why is there no sound when I record on my iPhone?
There are two main reasons why iPhone screen recording does not have sound. Firstly, the Microphone is turned off when recording screen on iPhone. Or the sound is locked and not allowed you to record. Therefore, you should get the permission and set the screen recording feature correctly.
Conclusion
This guide has talked about how to record internal audio or external voice on iPhone. The preinstalled Voice Memos app is the easiest way to capture your voice on iPhone. If you do not mind the output format, the iOS built-in screen recording feature can not only help you record internal audio on iPhone, but also capture the iPhone screen with ease. For beginners, we suggest you to try Aiseesoft Screen Recorder. It is not only easy to use, but also able to record iPhone audio simply. If you have more problems, please leave a message below this post.
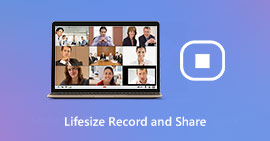 A Step-by-step Guide on How to Record a Video Call or Meeting on Lifesize
Lifesize Record and Share makes it convenient to record and share the video conferencing, video calls, conversations and more. Check out this guide to know the detailed information.
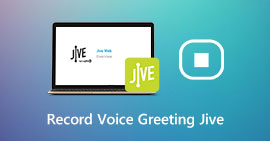 How Can You Record Personalized Voice Greeting for Jive Mailbox
This article will share you three best methods to record voicemail greetings for Jive, so that you can keep in touch with customers and partners when absent.
 How to Record Your Vonage Phone Calls without Losing Important Information
To record your phone calls on Vonage and save important chats, all you need to do is to read our step-by-step guide and follow it to get what you want.
Record Audio
Best Audio Recorder Record Audio on Mac/PC Record Audio on iPhone Record Vonage Phone Calls Record Voice Greeting for Jive Record Voicemail on Nextiva Record Voice Recordings on Sansa Fuze Record System Audio Mac Record Internal Audio on Windows Free Online Mic Recorder Record Audio from Mac/PC/iPhone/Android
Aiseesoft Screen Recorder is the best screen recording software to capture any activity like online videos, webcam calls, game on Windows/Mac.
![]() 100% Secure. No Ads.
100% Secure. No Ads.
![]() 100% Secure. No Ads.
100% Secure. No Ads.
*Required field
*Please enter a valid email
