Aiseesoft Screen Recorder
![]() 100% Secure. No Ads.
100% Secure. No Ads.
![]() 100% Secure. No Ads.
100% Secure. No Ads.
We now communicate using images and videos, whether it is epic gamer moves or important notes from meetings. So, how do you quickly take a screenshot on your Mac PC? Not to panic – there is an abundance of choices available in the Mac universe. No matter whether you just want a regular screenshot or something more professional, these are the top 5 Snipping Tools for Mac that are going to improve your experience.

| Tools | Key Strengths | Best for |
| Default Tool | System integration, no installation required, and fastest response | Basic demand users |
| Aiseesoft Screen Recorder | Support screenshot, long screen recording, editing, and all-in-one integration | Tutorial production/professionals in the workplace |
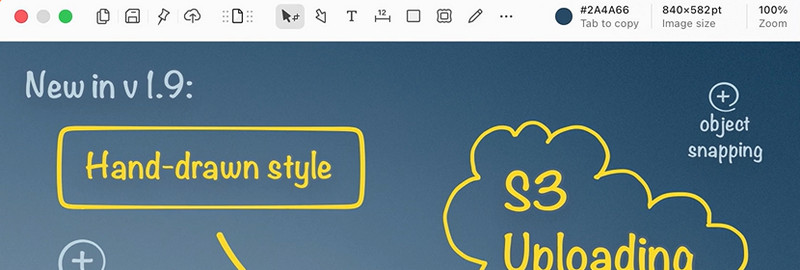
| CleanShot X | Beautiful interface, supports textures, hides desktop icons | Aesthetic pursuer/blogger |
| Shottr | Fast running, supporting OCR text recognition | Developer/Efficiency seeker |
| Monosnap | Quickly upload to the cloud for easy team collaboration and sharing | Remote work/team |
| Snagit for Mac | Powerful post editing and document annotation functions | Professional documentation/technical support |
Apple did offer snipping tool with keyboard shortcuts. You can capture the entire screen, a window or a portion of screen. Follow the tips to take screenshot on Mac with keyboard shortcuts.
To take a screenshot, you need to hold Shift + Command + 3 at the same time. Then click on the thumbnail of the screen, edit or save the screenshot to Mac.
To capture a portion of your screen, just press and hold Shift + Command + 4 together. Then drag the crosshair to select the screen you want to capture. Release the mouse to save the screenshot.
To capture a window, press and hold Shift + Command + 4 + Space bar until you see the camera icon. Then click the window to take a keyboard screenshot.
With the built-in snipping tool, all the screenshots will be saved as PNG file on your Mac desktop. You can also change the default location of screenshots in macOS Mojave or later.
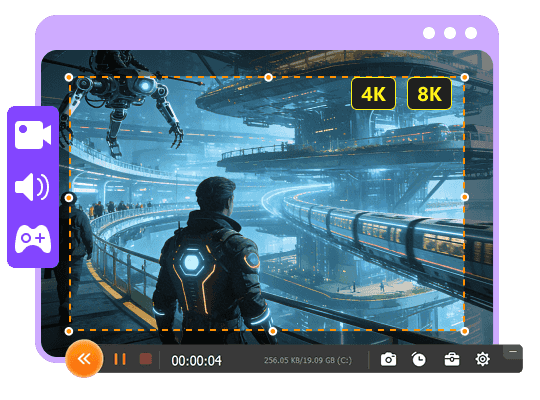
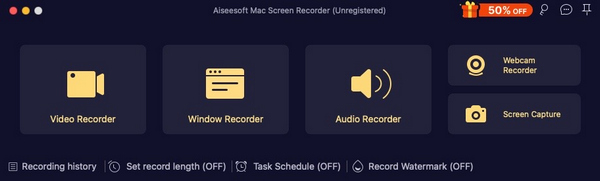
Aiseesoft Mac Screen Recorder is the best Mac Snipping Tool that enables you to record screen and take screenshot with keyboard shortcuts on your Mac. Besides acting as a snipping tool, it also works as a good video game recorder, Skype call recorder, audio recorder, webcam recorder, etc. After screenshot, you can edit the pictures like adding text, arrow, color paints, etc.
Downloads
![]() 100% Secure. No Ads.
100% Secure. No Ads.
![]() 100% Secure. No Ads.
100% Secure. No Ads.
Step 1 Click the download button above to free download and install the Snipping Tool on your Mac. Open it and then choose the Screen Capture option.
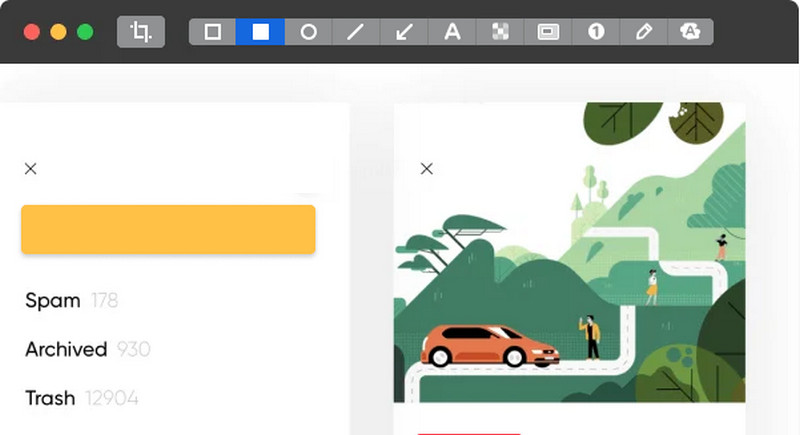
Step 2 Then you can select the screenshot area to take a screenshot on Mac. This snipping tool for Mac also supports keyboard shortcuts.
Step 3 After capturing, you can add different labels the screenshot. Then click Save button to save the snapshot on your Mac.
CleanShot X is regarded as the best screenshot software out there. It allows you to take screenshots with elegance because it removes icons on your desktop and features an internal editor. It has all you need to capture, edit, save, and even record your screen. Everything from scrolling snapshots to recording screens in GIF format is provided by this powerful app.
Pros
Cons
Shottr is an extremely compact, incredibly fast, and very functional screenshot tool designed especially for the modern Mac computer. The application is particularly loved by developers because of its absolute precision in capturing images and the presence of such useful features as OCR and object deletion. Despite being exceptionally compact, it provides functionality that even paid applications cannot provide.
Pros
Cons
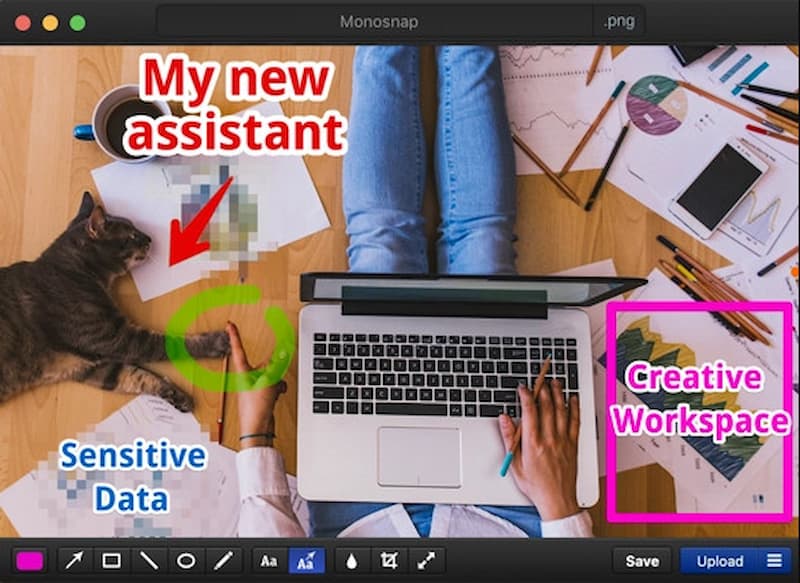
Monosnap offers great flexibility to those who are required to take snapshots, mark them up, and upload them straight into cloud storage. This service perfectly combines the functionality of a snipping app with that of an online community, providing room to store your snapshots in a convenient way as well as integrating multiple third-party services.
Pros
Cons
Snagit for Mac is a comprehensive snipping tool that lets you capture screenshots and videos anytime you want. It is equipped with a handful of editing tools to shape and enhance screenshots. Snagit is devoted to benefit anyone with the powerful functions no matter he is a journalist, gamer or presenter. After clipping an image, there multiple format choices to choose from JPG, GIF, BMP, PDF, PSD, and others.

Pros:
Users can adjust the color, highlight, add watermark or blurs after snipping.
After capturing, you can upload it.
You can use a single hotkey/keyboard shortcut or a click to get a quick screenshot.
Cons:
It doesn't support webcam recording or audio recording. (Find best webcam recorder here)
The video recording function lags than other software.
To get updates for a new version, users are required to purchase it again.
How do I access the Snipping Tool?
To open Snipping Tool on Windows 10, you can click Start button, search Snipping Tool and select it in the search results.
How do you cut a picture on Mac?
With the built-in editing tools in Photos, you can edit your photos on Mac like a pro. Open your picture and drag the selection rectangle by its edges or corners.
How do you blur a picture in Snipping Tool?
You can use the Smooth filter or the Pixelate feature in Snagit to blur photos. Set the smooth filter with 25% intensity, and draw a box around the area of the picture you want to blur out.
Conclusion
We mainly introduced the top 5 Snipping Tool alternative for Mac. Snipping Tool is not only limited in Windows operating system but works well on macOS. Start taking screenshot with the Snipping Tool you desire. Aiseesoft Mac Screen Recorder is the best Snipping Tool with keyboard shortcuts that enables you to snip a screenshot, capture videos and audio on Mac without hassle.
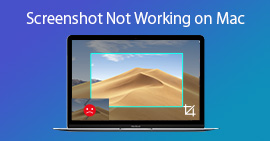 What You Can Do to Fix Screenshot on Mac not Working Problem
Here're 5 powerful solutions to fix screenshot on Mac not working. You can also get 2 screenshot alternative to screen capture on Mac for free. Just read and check.
 Three Methods to Take Screenshots on Mac
Want to capture the impressive moments on your Mac screen? Here is an introduction about the best snipping tools for Mac and how to use them.
 How to Make A Screen Recording on Mac/iMac/MacBook/MacBook Pro/MacBook Air
Want to capture and record your screen with sound on your Mac? This article will show you 4 solutions to do screen recordings on Mac.

Aiseesoft Screen Recorder is the best screen recording software to capture any activity like online videos, webcam calls, game on Windows/Mac.
![]() 100% Secure. No Ads.
100% Secure. No Ads.
![]() 100% Secure. No Ads.
100% Secure. No Ads.
*Required field
*Please enter a valid email
