Aiseesoft Screen Recorder
![]() 100% Secure. No Ads.
100% Secure. No Ads.
![]() 100% Secure. No Ads.
100% Secure. No Ads.
Contents

How to screenshots without a print screen? Millions of users have the same problem, and the reason behind it couldn't be easily traced. But is there any alternative key you can use to screenshot everything on your screen? If the classing hitting the PrintScreen isn't working, we have added other ways to successfully take screenshots on Dell, HP, Lenovo, Asus, and also on your devices.
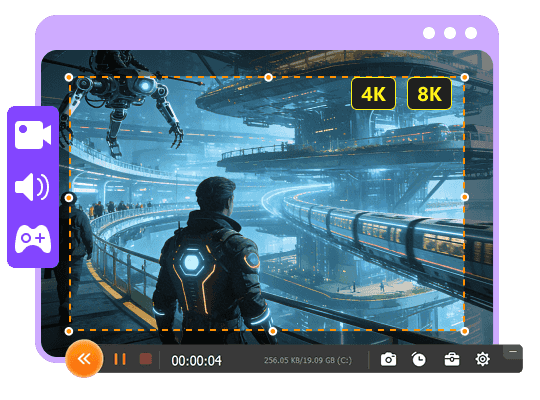
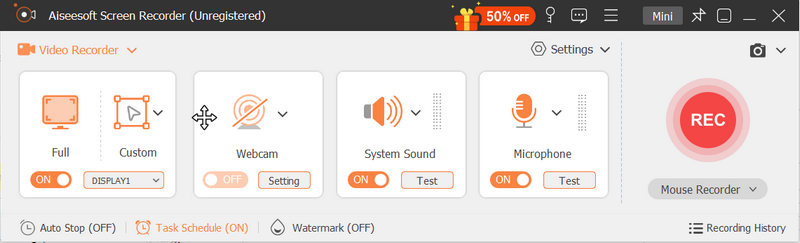
The easiest way to take a screenshot without the Print Screen button is by downloading the Aiseesoft Screen Recorder. This app has an option where it allows the users to capture an area without hitting a button or shortcut keys. With this app, after you capture the image, you can process it by editing the image based on your preferences. Here, you can doodle the image, add text, add numbers, layer images to the screenshot, and more.
Moreover, it works perfectly fine on Windows and Mac, which means it is not limited only to a single system. The lock-in screen feature is an excellent addition to the app because it doesn't capture the floating toolbar even if it is placed right in the middle of the area you captured. Amazing right? Learn more about how this app works by following and reading the easy and complete steps we have added here.
![]() 100% Secure. No Ads.
100% Secure. No Ads.
![]() 100% Secure. No Ads.
100% Secure. No Ads.

Where do screenshots go on Windows?
After you have screenshot the image, there are only two possible destinations; the first is the clipboard, and the file folder compiles all of the screenshot images saved on Windows. We can go into much more detail on where screenshots go on Windows if you read an article related to this question.
How do screenshots on Mac?
You can press the command shift 3 to capture the macOS' screen. What if you want to capture a specific area on your screen? Is it possible? It is if you use the partial screen capture or individual windows, icons, or menu. You can learn all of that once you know how to take screenshots on Mac with the tutorials that are available on the web.
Why is screenshot essential?
A screenshot is important because it lets you preserve images on your display to share with others or use later as a reference. Instead of downloading an image, some users prefer to use screenshots because it quickly processes the final output, and there is no waiting in downloading needed.
Conclusion
Which way suits you best to take a screenshot without the Print Screen button? Indeed, the listed solutions in this article are vast and incredibly useful in screenshotting on Windows-type devices. But if you are going to ask us which way we think is the best, the answer will be downloading the Aiseesoft Screen Recorder because the app isn't just a recorder but is also used for screen capturing. There is no need for a key shotcut in Print Screen when you use this app.
 Proven Ways and Alternatives for Screenshot on Mac Not Working
Here're 5 powerful solutions to fix screenshot on Mac not working. You can also get 2 screenshot alternative to screen capture on Mac for free. Just read and check.
 Screenshot Part of Screen - How to Screenshot Specific Area on PC
How do I do a screen capture? How do I take a screenshot on Windows PC? Is there any simple way to screenshot specific area on PC? This post shares 3 easy ways to help you screenshot part of screen on your computer.
 5 Ways to Screenshot Specific/Full Webpage on Chrome
How do you take a screenshot on Chrome? Here are 5 ways of snapping a full or selected webpage on Google Chrome via top 5 snipping tools on Windows and Mac.

Aiseesoft Screen Recorder is the best screen recording software to capture any activity like online videos, webcam calls, game on Windows/Mac.
![]() 100% Secure. No Ads.
100% Secure. No Ads.
![]() 100% Secure. No Ads.
100% Secure. No Ads.
*Required field
*Please enter a valid email
