Actually, iPad screen replacement is one of the most common iPad repair services for most iPad users. It is quite annoying to use iPad with a cracked screen. And you have to pay a lot to go to the local Apple iPad repair store. To repair an iPad screen, there are two solutions you can follow.
If you bought your iPad in few months, then you can ask for screen damage from iPad Repair or iPad Express Replacement Service. However, it costs a lot if you are out of warranty. During this time, you can replace a new iPad screen with the broken one by yourself. No matter which iPad screen repair solution you choose, you can get the detailed information here.

iPad Express
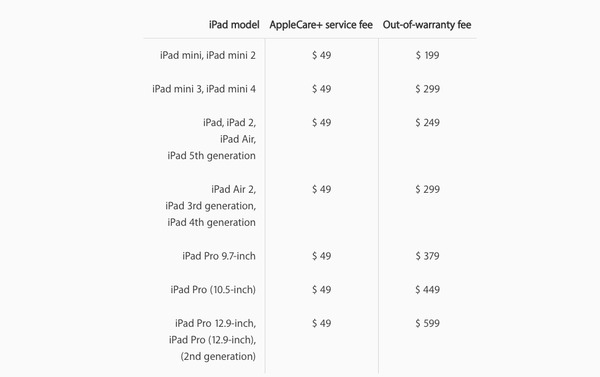
iPad Express Replacement Service allows users to change a new iPad with the damaged or non-working Apple device. You can contact Apple to ask for an iPad Express Replacement with your AppleCare+ coverage. As a result, Apple will send you an iPad before you return the old one. You will be charged with some fee ($49) if you are covered under warranty, AppleCare+ or customer law. But you have to pay hundreds of dollars (starts from $199) for the out-of-warranty fee.
Most people broke iPad screens due to these or those reasons. Therefore, you can learn how to fix a broken iPad Air screen by yourself without iPad Express Replacement Service in this section.
Step 1 Heat up the iOpener
Clean your microwave first. Put the iOpener into the microwave, then heat it up slightly for about 30 seconds. Be aware that you should not overheat the iOpener. Otherwise, the iOpener may burst. And you can wait for a while to cool it down before using it. In addition, the heated iOpener can stay warm up to 10 minutes.
Note: You can put a plastic lens film over the screen to stick to the iPad screen as well.

Step 2 Lift up the front screen
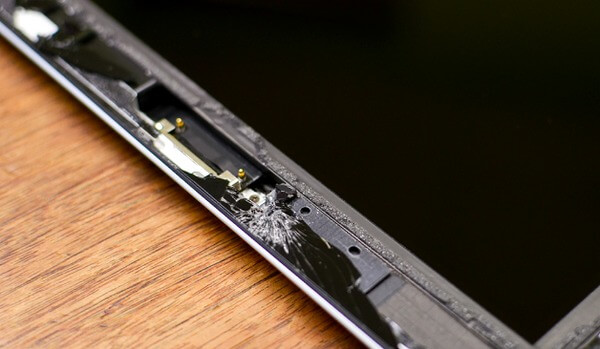
Use the heated iOpener on the front glass carefully. Later, put a suction cup completely flat on your iPad screen. Use the opening tool to lift up the screen. When you take out the front screen, you can see 4 screws on each corner. Therefore, you should screw and remove them out.

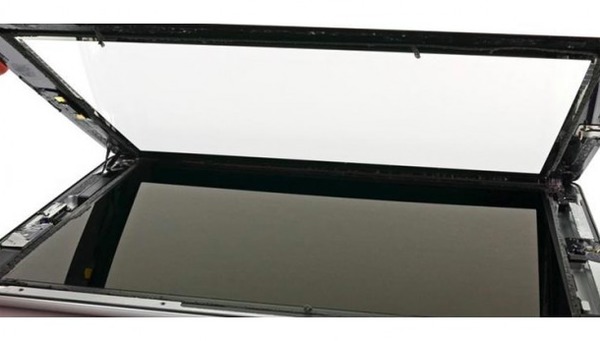
Step 3 Disconnect the LCD screen
After you have removed the screws on the LCD frame, you can take the LCD screen up. Then take out the flex plate to disconnect the LCD flex. Remember to keep the screws and flexes.

Step 4 Clean up the frame
Use a gate type connector to pull out the Home button. After that, use a clean and soft cloth to clean up the frame carefully. To remove annoying adhesive, you can use a metal scraper tool and isopropyl alcohol. Remember to flush the frame.
Step 5 Replace a new iPad screen
During this time, you can follow above steps to reconnect components and the new screen together. You can replace other damaged iPad parts if necessary. In addition, you need to clean the LCD with a wipe cloth to remove your fingerprint gently. Otherwise, you can also use a fine haired brush instead. Be careful when you low down the new iPad screen.
After that, you can open your iPad to check if everything goes well. To prevent other unnecessary screen crashes, you can put a screen protector on your iPad. Next time it falls from the high place, the iPad screen may still be in a good condition. And you can avoid screen crashes by using screen protector too.
Here are some solutions to fix common iPad problems. You can try the following operations to fix iPad back to its normal state with ease.
Question 1: My iPad won't turn on.
Answer 1: You can reboot your iPod by holding the Power button for a few seconds. Later, you can charge your iPad to a power source for half an hour at least. If it does not respond, you can check its charging port or change a new Apple USB cable.

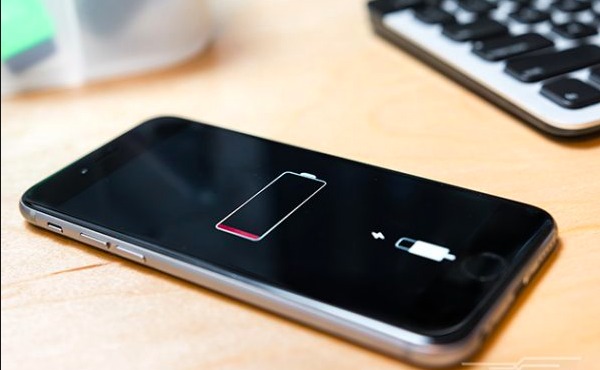
Question 2: iPad is not charging or is slow to charge.
Answer 2: Clean up your lightning port, USB port and other related parts. Then you can try to charge your iPad to a power outlet or connect to your computer. It is a useful way to check the real cause of your iPad not charging problem.
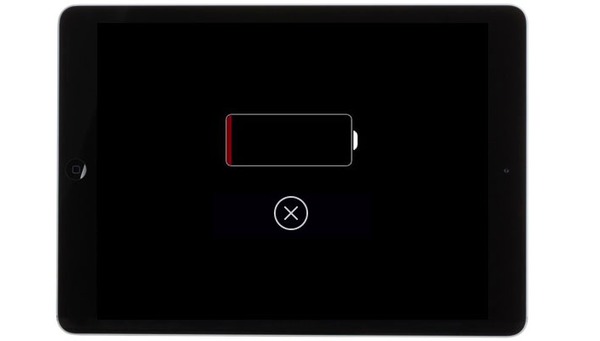
Question 3: My iPad battery is draining.
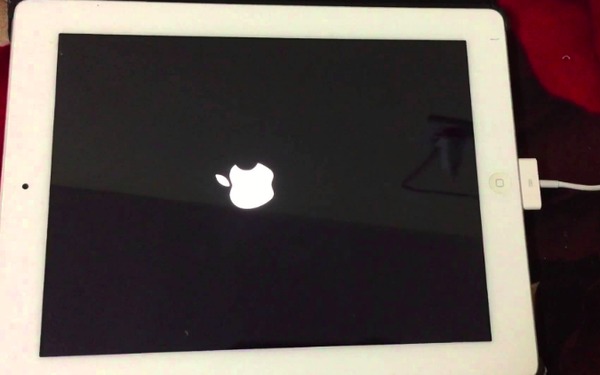
Answer 3: Switch off the data roaming settings first. Later, you can try to do a soft reset to refresh your iPad. Just hold and press the Power button and Home button until the Apple logo appears. In addition, you can charge the iOS device until 100% and then use it to see if it makes any difference.
Question 4: My iPad is stuck in a reboot loop.
Answer 4: During this time, you can plug in iPad to another power source to have a test. Remember not to plug iPad into your computer. After that you can press Power button and Home button together to prevent reboot loop.
All in all, you can use Aiseesoft iOS System Recovery to fix all system problems on iPad, iPhone and iPod with ease. With all iOS models supported, you can fix iPad from DFU mode, recovery mode, Apple logo and many other abnormal cases back to the normal state. Well, the whole process will not cause any data loss. So it is safe to use iOS System Recovery to repair iPad system errors. That's all for iPad Express Replacement service and related iPad problems, thanks for your time.

June 12, 2018 10:02 / Updated by Louisa White to Fix iOS Problems
 All things You Should Learn about iTunes File Sharing
If you still use iTunes for sharing files, then you will be interested in the details about iTunes File Sharing.
 Two Ways to Extract/Restore iPhone MMS/SMS/iMessage from iTunes Backup
After backing up iOS messages to iTunes, how to restore them? This article shows you two ways here.
 How to Convert AVI to iTunes for iPhone and other Apple devices
Want to play AVI videos on iTunes or iPhone? Then convert AVI to iTunes firstly.
