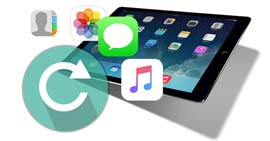
With the increasing applications and files in our digital devices, there is no need to emphasize on the importance of backing up files. For iPad, iTunes is one of the main choices to back up our data. There are many advantages to sync your iPad to iTunes, for example, instead of managing your music, movies, apps, etc. individually on your iPad, you can manage them directly in iTunes. Managing your iPad's apps and home screen layouts is much easier in iTunes than on your iPad and so on.
Since iTunes does so much favor to iPad, it is necessary to sync iPad with iTunes. The following are two methods that can both carry out the process.
Sync your iPad with iTunes on PC/Mac may be the most direct and free way.
Step 1 Download the latest version of iTunes. Connect your iPad to your computer via USB cable and wait until iTunes recognizes your iPad automatically. If iTunes can not recognize your iPad, try to fix iTunes does not recognize iPad.
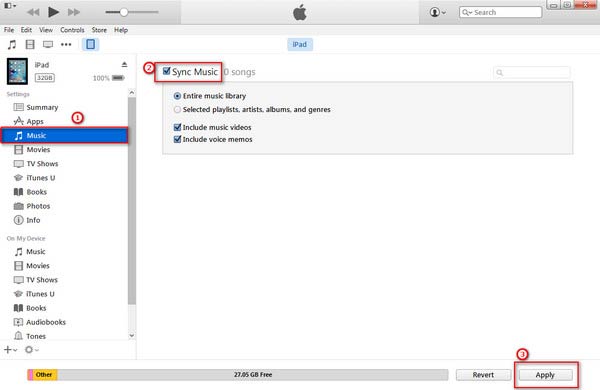
Step 2 Click the name of your iPad on the toolbar, and then tabs will appear on the left side of iTunes windows under Settings.
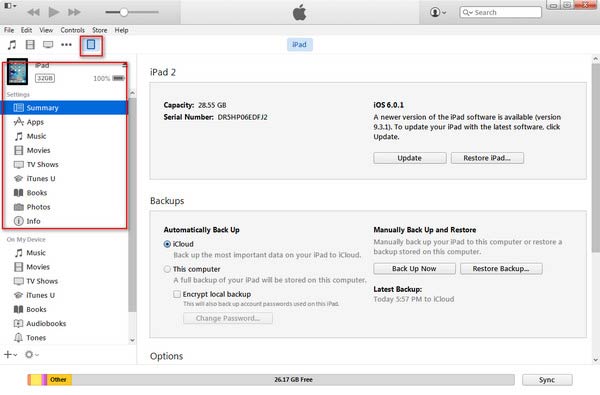
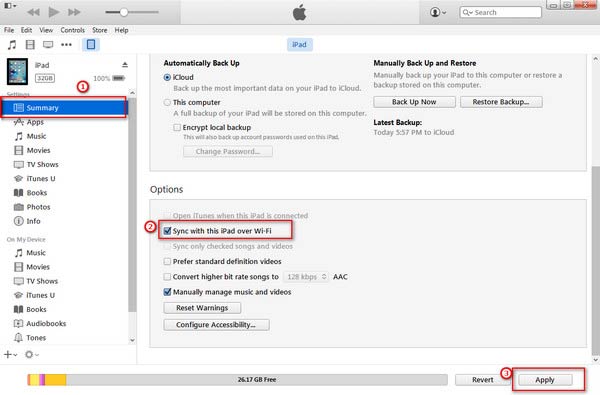
If you want to sync your device with iPad wirelessly, click "Summary" in the left list, select "Sync with this iPad over Wi-Fi", and then "Apply". Now you can disconnect the USB cable.
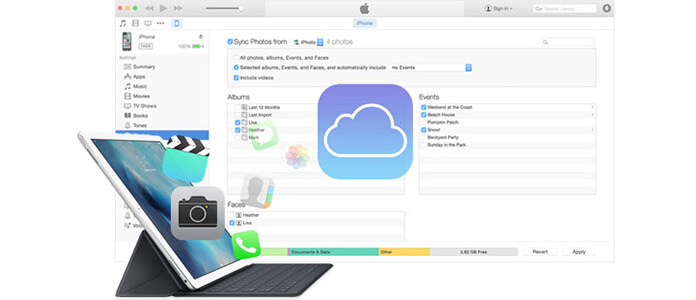
Step 3 Every tab, "Apps", "Music", "Movies", "Photos", "Books", "Tones", etc. corresponds to relative contents in your iPad. Click the content type you want to sync, then check the box next to "Sync" on the right. Click "Apply" on the bottom. The information in the content list you've enabled syncing will be copied to your iPad.
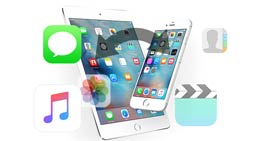
Even though iTunes has been used for data management widely, it is not the best tool for iPad syncing. You may run into the following situation: when you sync iPad to iTunes, an iTunes sync error appears, or there is some data that just cannot be transferred to iTunes directly, or you can not view the detailed backup data. It almost maddens you. To take advantage of the management function of iTunes, we may need to adopt another method to sync iPad with iTunes, through third-party software, FoneTrans.
Step 1 Download and run this third-party iPad syncing software.
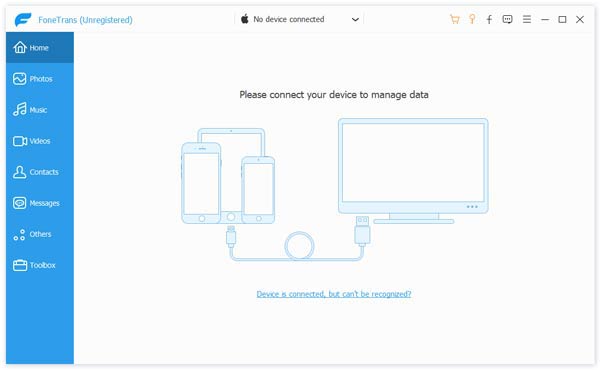
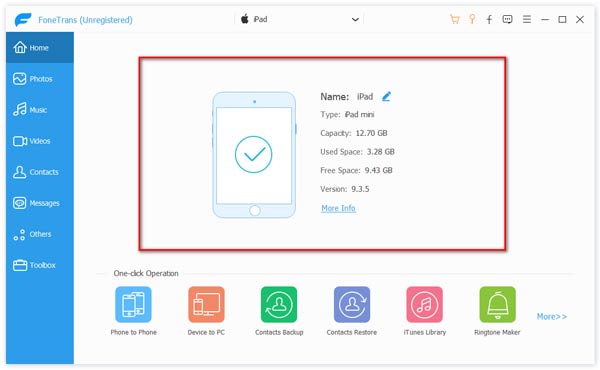
Step 2 Connect iPad to your computer. The iPad syncing software can automatically recognize your iPad. Some basic information about your iPad comes into view like this below:
Step 3 The info as category on left side of the interface is displayed in detail. You can choose the files to be transferred. Take Music as an example. Click "Music" and then all music files will be displayed on the right in default.
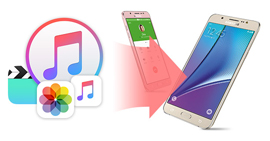
Step 4 Check the music files you want to sync from iPad to iTunes. Then click "Export to" and then "Export to iTunes Library".
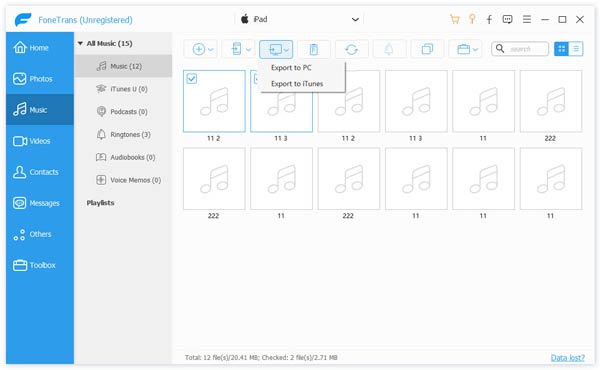
Now the music files form your iPad have been synced to iTunes Library. Same way with other files. You can use this iPad sync software to sync all files in your iPad to iTunes Library.

After syncing iPad to iTunes, you can easily restore iPad from iTunes when you deleted iPad data acccidentally.

December 14, 2020 10:40 / Updated by Louisa White to Transfer iOS Data
 How to Restore Disabled iPad without iTunes
Is there any way to recover iPad to its previous state after resetting? This guide will instruct you to restore a disabled iPad without iTunes.
 How to Sync iPhone to iPad
Many options of syncing iPhone to iPad are available to you. You can use Apple iCloud, iTunes, or Google Contacts to sync all files from iPhone to iPad, and vice versa.
 iTunes for Android
iTunes for Android? Yes, you can get this iTunes for Android app to transfer iTunes music, videos, and more to Android with one click.
