If you have ever used iPhone, iPad or iPod, you must know how wonderful Apple devices are. Simple yet fashion design, powerful functions as well as the exclusive system - iTunes. For Apple users, iTunes provides a safe way of syncing, sharing and playing files. If you love music just as I do, you should know that iTunes is more than a player. As a player, iTunes allows you to enjoy music, movie or audio-book in one click.
As cleaning software, iTunes collects all your music and movies together, saving you much time searching among piles of CDs. Fast browse all your collections with iTunes and classify them as per your own favor. As a syncing tool, iTunes enables you to transfer files to your portable devices and listen to them anytime you like. Meanwhile, Genius would search your data bank for music in same style and classify them into lists. Besides, iTunes Store, a music store run by Apple, has abundant music resources for you to download and play. You need iTunes to connect to this store.
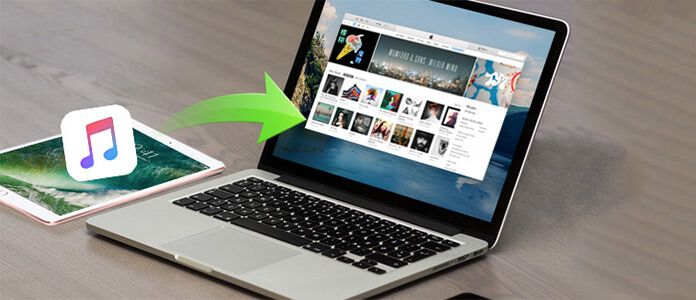
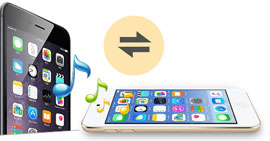
Does this iPad music transferring process bothers you too?
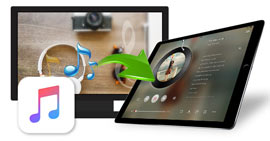
As a closed system of Apple, iTunes is a great invention. But after using, I believe you have found the disadvantage. This is a one-way transfer tool which means you could just transfer files out from iTunes. It is not so easy transferring files from iPhone, iPad or iPod to iTunes. Sometimes we want to share the music we saved with friends on iTunes, but stuck by the difficulty of importing to iTunes. To solve this problem and fully boost the ability of iTunes, you need a third-party transfer tool to overcome this. Aiseesoft FoneTrans plays this role perfectly. It makes up the deficiency of iTunes and provides you a perfect solution before using iTunes. Following is the full walkthrough of how to transfer or sync music from iPad to iTunes. With reading the following steps, you will get the easiest way to solve the problem.
Step 1 Install and run this iPad music to iTunes Transfer
Download the free trial of this FoneTrans and install it on your computer, then double click to launch it.
Step 2 Connect your iPad to computer
Connect your iPad with computer with its USB cable. After your iPad is connected, you will come to the main interface of the program. To find the target music file, find "Music" in "Media" and click. All the songs in your iPad will be listed on the right.

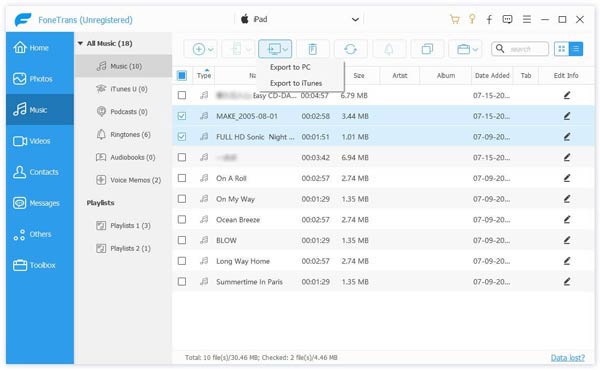
Step 3 Choose the songs you want to transfer
Check the targeted songs one by one. Then click "Export to" > "Export to iTunes Library".
Step 4 Start to transfer music to iTunes
Select output folder where you want to save music on your computer. And the files you selected will be transferred to iTunes Library in no time.

Commonly, transferring music from iPhone iPod iPad to iTunes is a good way to make backup or management. Howeever, without iTunes, how do you transfer music? Ge the solution to transfer music without iTunes.
1. Right click the song, you are allowed to delete or edit the ID3 information.
2. Double click the music file, you can pre-listen it in a new window.

December 14, 2020 10:56 / Updated by Louisa White to Transfer iOS Data
 How to Transfer Music from Computer to iPad
How to transfer music from computer to iPad? You can find the best way to transfer music from computer to iPhone/iPad/iPod in this post.
 How to Transfer Music from iPod to iPhone
How to download iPod music to iPhone? You can learn how to transfer music from iPod to iPhone without iTunes in this post.
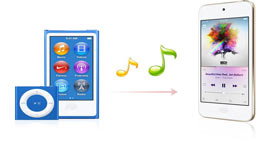 The Easiest Way to Transfer Music from One iPod to Another One
How to copy music from one iPod to another iPod? iTunes definitely. Without iTunes, you still could transfer music between iPods with music transfer software.
