Best for: Most casual users, content creators, educators, gamers, and live streamers who need a powerful all-in-one solution for screen capture on a laptop, video/audio/webcam/phone recording, and quick edits.
Aiseesoft Screen Recorder
![]() 100% Secure. No Ads.
100% Secure. No Ads.
![]() 100% Secure. No Ads.
100% Secure. No Ads.
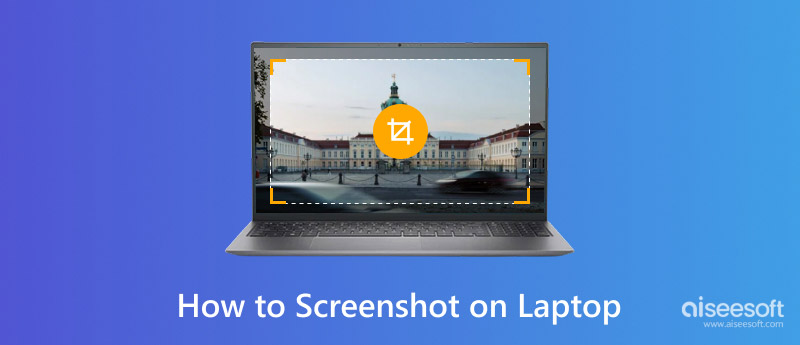
It can be an everyday necessity to take screenshots on your laptop.
You need to take screenshots for different reasons, such as capturing some important information, saving funny moments, creating training materials, documenting issues, and more. Knowing how to screenshot on a laptop efficiently can save you time and smooth your usage. This guide shares several ways for you to easily take screenshots on any Windows, Mac, or Chromebook laptop, covering the built-in shortcuts and professional-grade screen capture tools.
The first section tells the standard method to screenshot on a HP/Dell/Lenovo/Samsung Windows PC, MacBook, and ChromeOS Chromebook. If you need to know the fastest universal shortcut native to your system (Windows, macOS, or ChromeOS), check the related guide below.
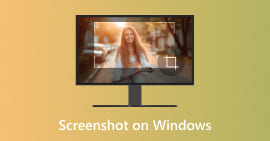
Whether you are using the latest Windows 11 or the older Windows 10, you can use its built-in Snipping Tool to screenshot on your laptop. It integrates shortcut commands directly into the OS.
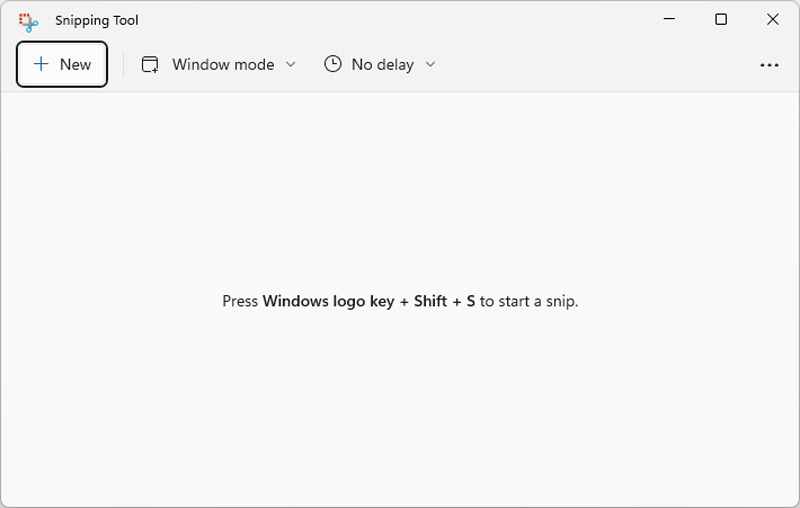
You can press Windows + Shift + S to take a screenshot with ease. After pressing the hotkeys, your screen will dim and display a small screenshot toolbar. Your mouse cursor will turn into a crosshair for screen capturing. Click and drag to select the specific region you want to capture. Besides, you can choose Freeform, Window, or Full Screen from the top toolbar.
The screenshot image will be saved to your Clipboard. You need to press Ctrl + V to paste it into a chat window, an email, or a social app.
If you prefer to directly save the screenshot, press Windows + Print Screen (PrtScn) at the same time. The current screen will be captured and saved as a PNG file.
To capture a single active window, you can press Alt + Print Screen.
macOS has a reliable set of screenshot shortcuts for daily use. You can rely on its “Command + Shift” combinations to capture any content on your MacBook efficiently.
To take a screenshot of the full Mac screen, you can press Command + Shift + 3. You will see a small thumbnail of your screenshot appear in the bottom right corner. By default, the captured pictures will be saved as PNG files to your Desktop.
Learn More: Where are screenshots saved on a Mac
If you need to capture a specific region of your display, press Command + Shift + 4 and then drag the crosshair to draw the area you want to capture. When you want to take a screenshot of an open window, you can press Command + Shift + 4 and then press the Spacebar.
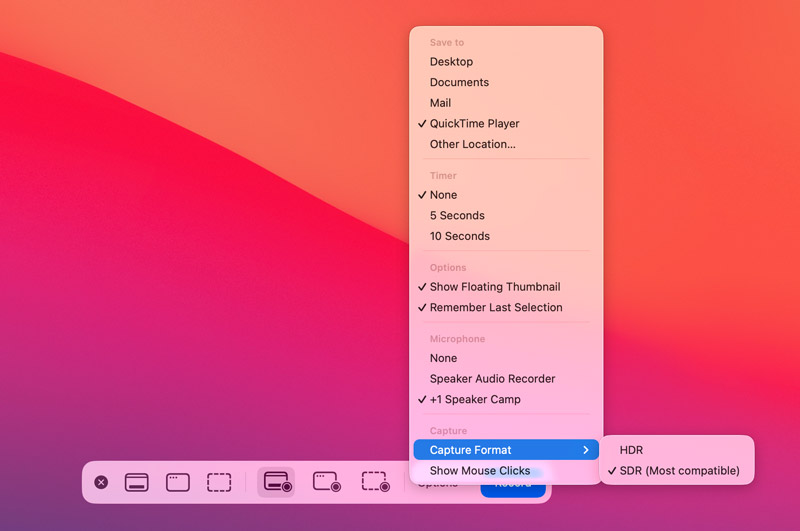
To access the screen capture menu, you can press Command + Shift + 5 to display a toolbar. Click Options to customize more settings based on your needs.
If your laptop runs ChromeOS, you don’t have a dedicated “Print Screen” key to quickly take a screenshot. Instead, you need to use the Show Windows key (often located above the number 6).
To screenshot on Chromebook, you can press Ctrl + Show Windows to capture the entire screen. You will see a notification confirming that the screenshot was taken.
To take a screenshot of a partial screen, you should press Shift + Ctrl + Show Windows.
If you don’t want to use keyboard shortcuts, click the clock in the bottom right corner of your Chromebook to display the Quick Settings panel, and then click the Screen capture icon.
The built-in shortcuts are ideal for quick and casual use. However, if you often need to take screenshots on your laptop and need some advanced functions, you should turn to dedicated screen capture tools.
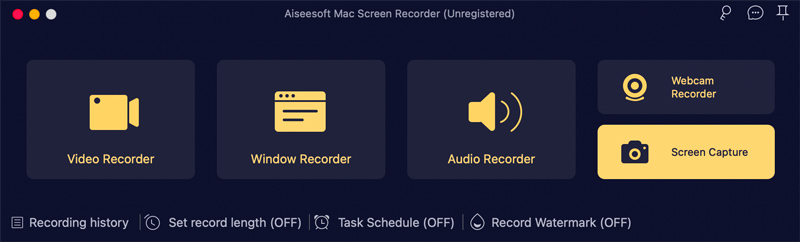
Best for: Most casual users, content creators, educators, gamers, and live streamers who need a powerful all-in-one solution for screen capture on a laptop, video/audio/webcam/phone recording, and quick edits.
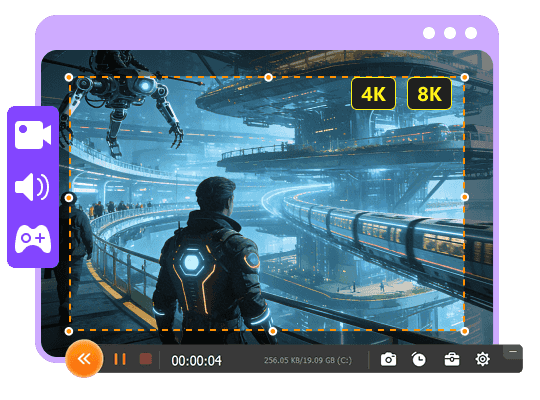
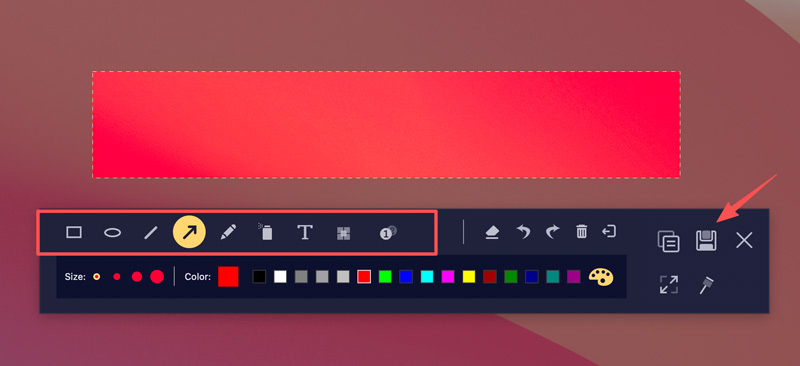
Aiseesoft Screen Recorder is known for its high-quality video and audio recording capabilities. This high-powered video recording suite also offers an individual Screen Capture tool for you to screenshot on both Windows and macOS laptops. It allows you to capture a full or selected region of your screen and then directly edit the screenshot.
![]() 100% Secure. No Ads.
100% Secure. No Ads.
![]() 100% Secure. No Ads.
100% Secure. No Ads.
Snagit is a popular, powerful screen capture tool developed by TechSmith. It is not just a screenshot or snipping tool; it also carries various editing features. Besides, Snagit enables you to capture long, scrolling web pages.

Open Snagit and choose the Image mode on the left. Select your preferred capture region and adjust other options according to your needs. After that, click the Capture button. Once captured, the image instantly opens in the built-in editor.
Lightshot is a free, lightweight screen capture tool designed for speed. It is known for its ability to instantly upload your screenshots to a secure server and generate a web link for sharing.
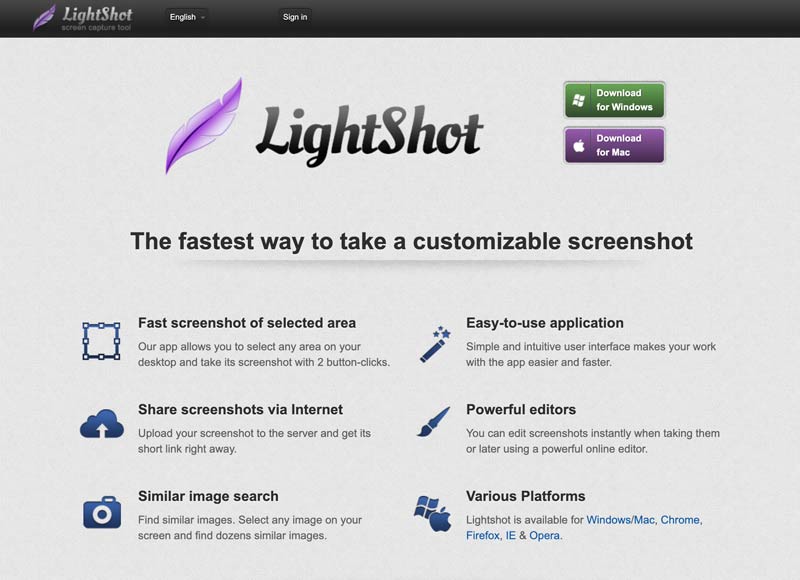
Download, install, and open the Lightshot application. Once it is running in the background, you can simply press the Print Screen key to take a screenshot on your laptop. Similarly, you can click and drag to select the area you want to capture. A minimal toolbar will appear for you to make some basic highlighting or drawing.
Question 1. How can I take a long screenshot on Google Chrome?
Your Chrome browser has a built-in way to capture a full-page screenshot. You can access the feature through the Developer Tools. Open the specific web page you want to capture, open Developer Tools, open the Command Menu, and then type the word screenshot. You can select “Capture full size screenshot” from the dropdown list. If you often need to take long screenshots, you’d better use a dedicated screen capture tool or browser extension. You can give the popular GoFullPage a try.
Question 2. Where are my screenshots saved on a Windows 11 laptop?
If you use the standard hotkeys to take a screenshot, your captured picture will be saved in File Explorer under Pictures > Screenshots. However, if you use the Print Screen key or “Windows + Shift + S” to screenshot, the image will be copied to the Clipboard. As mentioned, you have to open an app like Paint or Word and then paste and save it.
Question 3. Does Mac have a screen recorder?
Yes, macOS has a built-in screen recorder that is free to use and can handle basic recording needs. If your Mac runs macOS Mojave or later, you can simply press Command + Shift + 5 to access the tool. Moreover, you can rely on QuickTime to record screens on a Mac.
Conclusion
This guide has mainly talked about how to screenshot on a laptop. Besides the methods above, you can use the specific screenshot feature in some social apps to get the job done. Generally, for daily tasks, you can use the native shortcuts to capture your laptop’s screen. If your workflow requires constant screen captures, turning to a dedicated tool like Aiseesoft is always a better choice.
 [Solved] How to Screenshot Without a Print Screen Button
How to screenshot your computer without a PrintScreen button? You can solve this problem using several options we have listed below.
 7 Easy Ways to Take Screenshots on Windows PC in 2026
How can I take a screenshot on Windows 11 without a third-party app? What are the screenshot hotkeys on Windows 10? Learn to capture Windows screenshots.
 Top 5 Snipping Tool Alternatives for Taking Screenshots
Do you need to take snapshots on Windows and the Snipping Tool can’t meet your needs? Let's see 5 best but different screen capture tools. Read and pick one.

Aiseesoft Screen Recorder is the best screen recording software to capture any activity like online videos, webcam calls, game on Windows/Mac.
![]() 100% Secure. No Ads.
100% Secure. No Ads.
![]() 100% Secure. No Ads.
100% Secure. No Ads.
*Required field
*Please enter a valid email
