Aiseesoft Screen Recorder
![]() 100% Secure. No Ads.
100% Secure. No Ads.
![]() 100% Secure. No Ads.
100% Secure. No Ads.
Contents
Have you ever been having a FaceTime session when suddenly the person on the other end of the line changes their facial expression dramatically, your friend shares some great news, or your family is together for a wonderful time, and you wish you could have snapped it right away? Many FaceTime users want to immortalize their special moments in video calls, but they do not know if screenshots are permissible, where the photos are saved, or if the other party will be informed.
The good news is that snapping a FaceTime screenshot is a lot simpler than you would have imagined. There are a handful of ways to keep those precious moments with you. In this helpful article, you are going to get to know the easiest methods, key privacy issues, and where to get your FaceTime pictures after the fact.
Usually, you can take standard screenshots on FaceTime without the other person getting a notification. If you take a screenshot using the iPhone's or Mac's built-in screenshot feature during a FaceTime call, the other party generally won't get an alert that you have captured the screen.
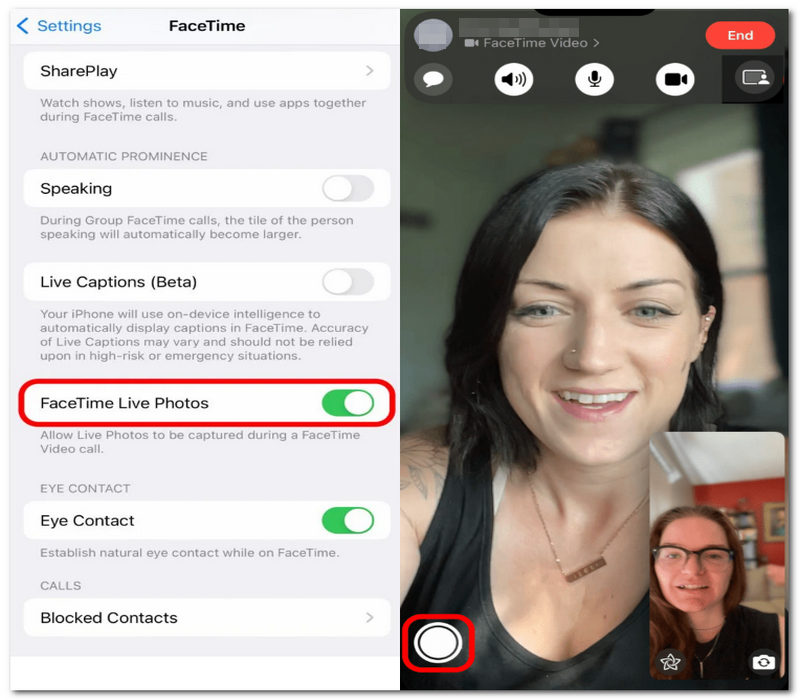
Yet, things change with FaceTime Live Photos. If Live Photos is turned on and you are taking a Live Photo during the call, FaceTime will show a notification to inform all the participants in the call that a Live Photo has been taken. This is Apple's method of helping users be aware when a moment from the conversation is being saved. Besides, it is also crucial to consider that privacy expectations are still in place. Even if FaceTime doesn't inform the other person about your normal screenshot, being respectful when saving or sharing images from a video call is a must.
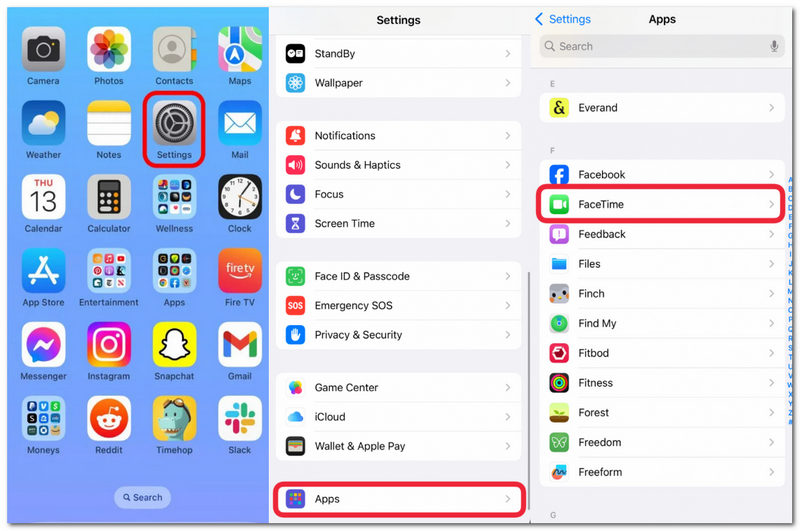
FaceTime Live Photos is the official approach employed by Apple for capturing those cherished moments when having a video chat. It is not just a normal photo capture but a quick recording of motion images. To address your question, does FaceTime notify screenshots, you will get the differences between the two.
FaceTime Live Photos is Apple's way of allowing you to save your precious or funny moments in a video chat. By pressing the FaceTime screenshot button, you can get a Live Photo straight from FaceTime.
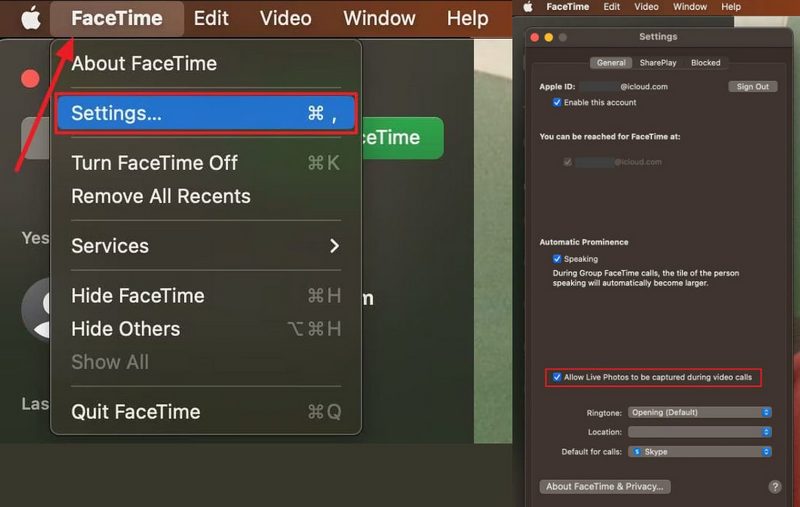
If you're a FaceTime user on a Mac, you can also take Live Photos while on a video call. This handy feature allows you to save the precious moments straight to your Photos library.
But if you only want to get a still image but not a Live Photo, taking a normal screenshot would be the fastest way. It is possible to snap the FaceTime screen on your iPhone or Mac by using some built-in shortcuts. So, these methods actually save the things displayed on the screen at the time of capture, unlike a FaceTime audio screenshot, which is not possible since a screenshot only captures visuals.
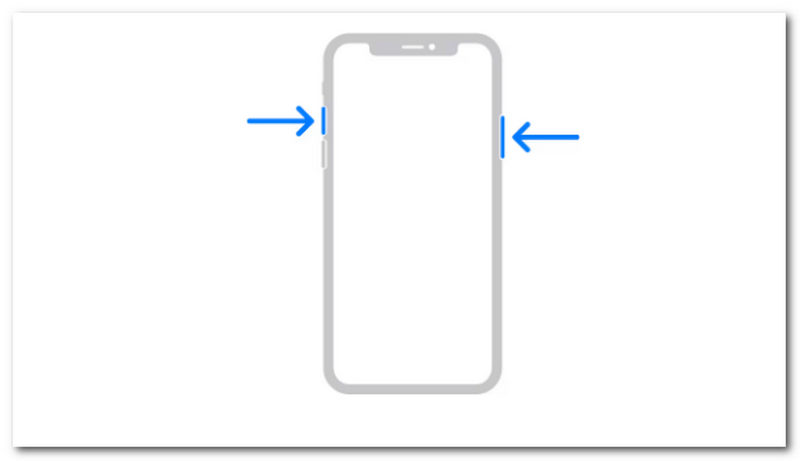
This is the usual and quickest method of recording a FaceTime call on the latest iPhones. You don't have to interrupt your call. So, you can save any moment that you want during a conversation.
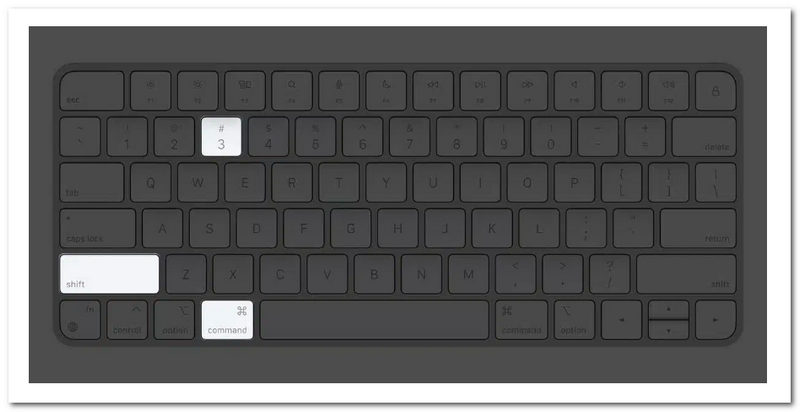
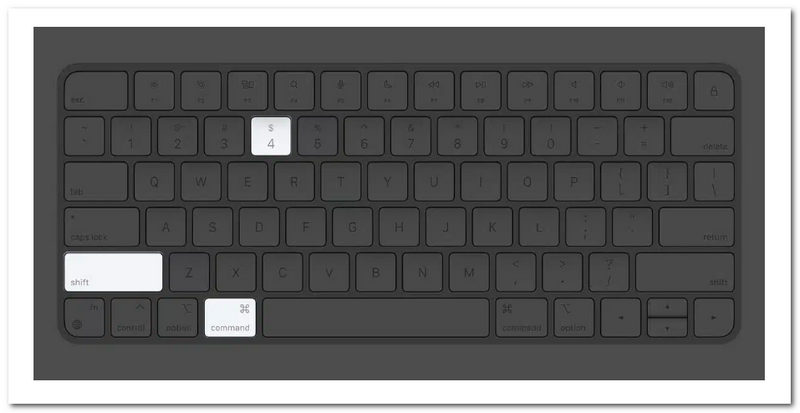
Mac has built-in screenshot shortcut keys, with which it is very easy to capture your FaceTime call. Based on your preference, you may grab the whole screen or just a portion of it.
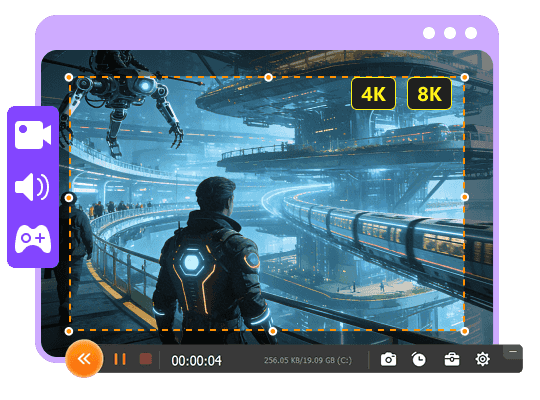
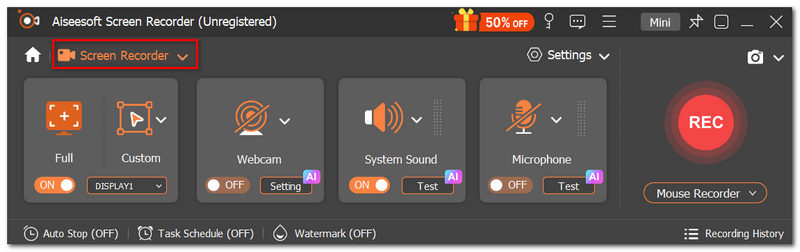
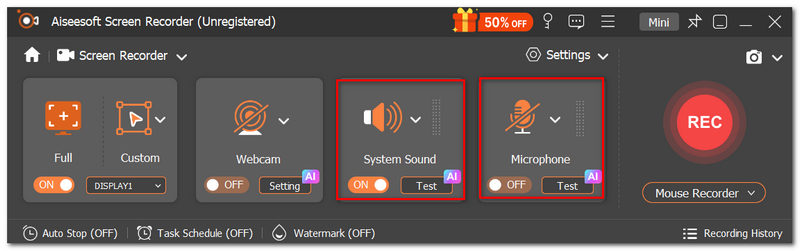
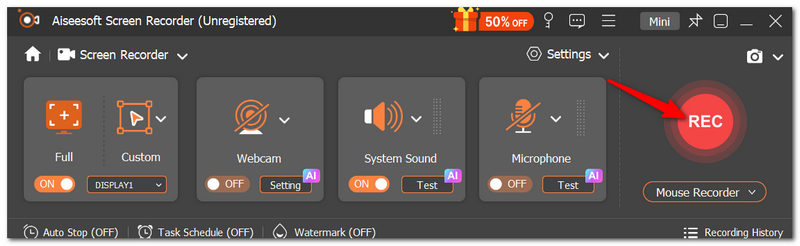
Adding to screenshots, capturing FaceTime calls through videos enables you to save the whole conversation, including the entire video and audio. If you want to record a FaceTime call in the highest quality, want flexible capture options, and an easy-to-use interface, then you should consider Aiseesoft Screen Recorder as your recording tool. The program supports saving FaceTime, be it with family, work meetings, or just special moments, and the FaceTime recording is one of several features with which it can help you.
Downloads
![]() 100% Secure. No Ads.
100% Secure. No Ads.
![]() 100% Secure. No Ads.
100% Secure. No Ads.
If you don't manage to locate your FaceTime screenshot, consider looking up by the date it was taken or reviewing your device's recently saved images.
Why are my FaceTime screenshots not saving?
One of the reasons could be that your device is running out of storage space, the Photos app permissions are turned off, or the syncing with iCloud has been temporarily delayed. So first things first, find out whether you have enough storage and whether the Photos settings are correct for you.
Can a FaceTime screenshot look different from what I see during the call?
Of course. According to your device, the FaceTime screenshot may show the control buttons, notifications, or even a little bit different frame than the exact second you have noticed.
Do FaceTime screenshots keep the Portrait Mode blur effect?
The answer is generally yes. If Portrait Mode has been turned on during the call, the screenshot should, as a rule, capture the visual effect displayed on your screen.
Conclusion
It’s very easy to capture your unique FaceTime moments, whether you take Live Photos, normal screenshots, or even a screen recorder. When you get to know these features and find out where they keep the captures, you will be able to save your memory more confidently. Just one thing to keep in mind. Be very mindful of the privacy issues when you decide to take screenshots on FaceTime. Also, make sure to use these tools in a value-responsible way.
 How to Share Screen Using FaceTime on iPhone, iPad, and Mac
Why can't I share my screen in a FaceTime call? Can you share your screen on FaceTime? Learn how to share your screen on FaceTime on iPhone, Mac, and iPad.
 Top 5 Alternatives to FaceTime for Android
Want to know how to FaceTime with friends on your Android phone? This article will introduce to you with five best alternative facetime for Android apps.
 6 Step-by-step Solutions to Fix FaceTime that is not Connecting
If you experience problems with FaceTime on your iPhone, iPad or Mac, check out our top troubleshooting solutions to fix the problem that FaceTime is not connecting.
Record iPhone Screen
1.1 iOS Screen Recorder 1.2 Record iPhone Screen 1.3 View iPhone Screen 1.4 iPhone Screen Mirror
Aiseesoft Screen Recorder is the best screen recording software to capture any activity like online videos, webcam calls, game on Windows/Mac.
![]() 100% Secure. No Ads.
100% Secure. No Ads.
![]() 100% Secure. No Ads.
100% Secure. No Ads.
*Required field
*Please enter a valid email
