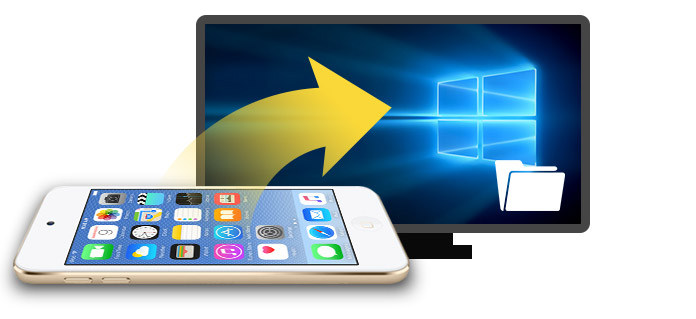
How to transfer data like photos or videos from iPod to computer?
iPod seems to be the most famous music player worldwide. After improvements of generations, iPod series have more functions now. We can not only listen to music on iPod, but also take photos, enjoy movies, shoot videos, surf on the Internet and more. However, the more files our iPods saved, the more we'll worry about losing them. To solve this problem, it would be necessary to back up your iPod songs/photos/videos on your computer, so that you won't regret so much when your iPod crashes suddenly, or you restore your iPod to factory defaults accidently.
The following are two methods enabling you to transfer your iPod music, pictures and videos from iPod to computer.
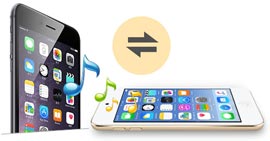
Even though transferring iPod data to your computer via iTunes is easy enough, it can be inconvenient and unreliable to view and manage your iPod songs/photos/videos in iTunes. To protect privacy, users are not allowed to view iTunes backup files, which, as a kind of SQLiteDB file, very secure, can be transferred only as a whole, but not separately. Therefore, if you want to listen to your iPod songs or watch your iPod photos on PC, you might need to turn to other iPod transfer software, instead of iTunes. And FoneTrans is highly recommended here.
Step 1 Download and install FoneLab, this best iPod transfer software on your computer.
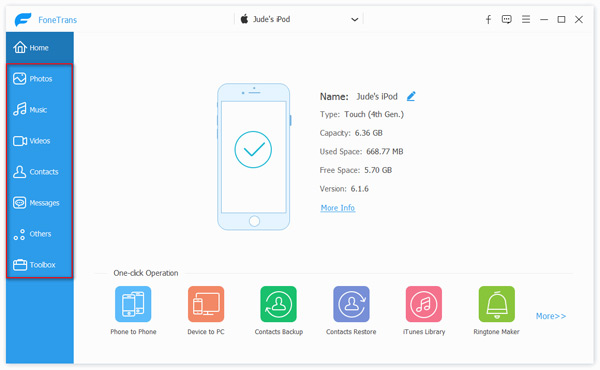
Step 2 Connect iPod to your computer via USB cable, run the software and wait until this software recognizes your iPod automatically. All your iPod data will be categorized as "Media", "Playlists", "Photos", "Books", "Contacts", "SMS", and "Toolkit" in the left list.
Step 3 You can transfer any iPod file separately if you want. For example, click "Media" option, and then select "Music" from the toolbar above in the preview window, then you can check songs you want to copy to your computer.
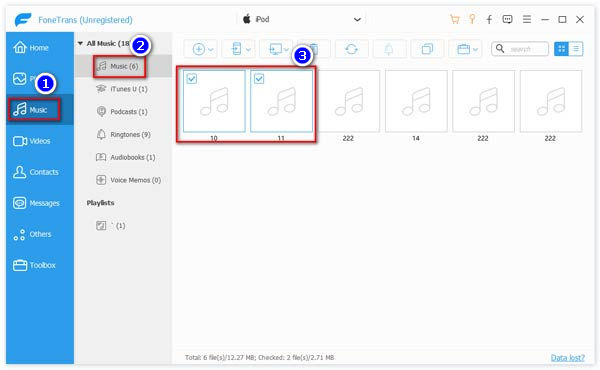
Step 4 Click "Export to" button, then select "Export to PC" from the drop-down menu. Now you can choose a folder to save the exported songs.

By the way, FoneTrans is also able to manage your iPod files, so you are able to delete duplicate contacts from iPod and transfer contacts, text messages from iPod to computer as well.
To copy your iPod files on your PC, the most direct way would be backing up via iTunes, which is the professional tool for iOS management. Here is the tutorial:
Step 1 Download and launch the latest version of iTunes. Connect your iPod to the computer via USB cable. Wait until iTunes recognizes your iPod automatically.

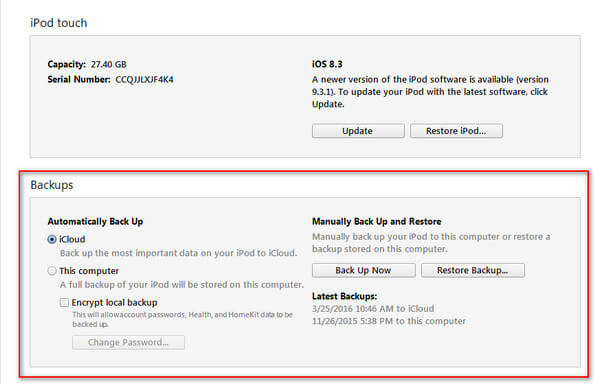
Step 2 Click the icon of your iPod next to "Music", "Movies", "TV Shows" and more. Then you can view the basic information of your iPad.
Step 3 Click "Summary" on the left list, and then find "Backups" on the right panel.
Step 4 Choose "Automatically Back Up This computer", and a full backup of your iPod will be stored on this computer automatically, or you can Click "Back Up Now" to manually back up your iPod to this computer.
Now your iPod files including songs, videos, photos and more have been transferred to your PC successfully.
For your iTunes backup including iPod data, you can find the iTunes backup location. But you can only view the music files. For its other data like photos, you need to jump to view your iTunes backup on PC.
Whether using iTunes or other third-party software to transfer iPod files to computer, the critical part would be connecting iPod to your computer. Unfortunately, it is a common situation that iPod cannot connect to computer. So what would we do when we run into this situation?
Here are a few tips:
Step 1 Reset your iPod
Usually, it is not your computer's problem but your iPod. Resetting your iPod would solve the problem. Check the model of your iPod and reset it accordingly. Don't worry, your files won't lose after the resetting.
Step 2 Connectivity
If resetting can't work, you need to check that if there is something wrong with the connectivity. Change your iPod USB cable or the computer's ports to see if they are wrong. Besides, you can disconnect all other devices to get rid of their influences.
Step 3 Security software
Some of iPod connection problem may come from third-party software, mainly security software, which would prevent your PC from recognizing iPod. Shut them down if they are running, and then try again.
Step 4 USB Drives
Make sure that the USB drives on your computer are working well. If necessary, you can reinstall USB drives to ensure that it's okay. If it still fails to work, Apple USB driver disabled fix.
In this article, we mainly introduce you with a best iPod to computer transfer tool, FoneTrans. With FoneTrans, you are able to easily transfer media files like photos, music, videos, TV shows and so on from iPod to computer without any hassle. In addition, you can use this iPod to computer tool to manage iPod messages, contacts, etc. What's more, we show you how to use iTunes to backup and sync iPod to iTunes for transfer purpose. If you have any useful idea for iPod to computer transfer, welcome to tell us.

June 05, 2018 19:20 / Updated by Louisa White to Transfer iOS Data
 How to Retrieve Deleted Photos from iPod
"This article shows you how to recover deleted photos of iPod touch 4/5/6.
 How to Transfer Music from iPod to iPhone
How do you transfer iPod music to iPhone? With iTunes? Read this post.
 How to Put Videos on an iPod
How to put videos to an iPod? Find the free guide from this post to help you.
