Contents
Throughout the daily use of your iPhone, various types of files are gathered on the iOS device. If your iPhone storage is running out, you should think about making a backup of your iPhone to iCloud, iTunes, or a PC/Mac. A huge number of photos, videos, contacts, and other data on your iPhone are so precious that you can’t even imagine losing them. The question arises: how to back up an iPhone to an external hard drive? Actually, besides backing up your iPhone to iTunes, it’s a good idea to back up your iPhone directly to an external hard drive. This guide will show you step by step how to back up your iPhone to an external hard drive so you can safely store your valuable photos, videos, contacts, and more.
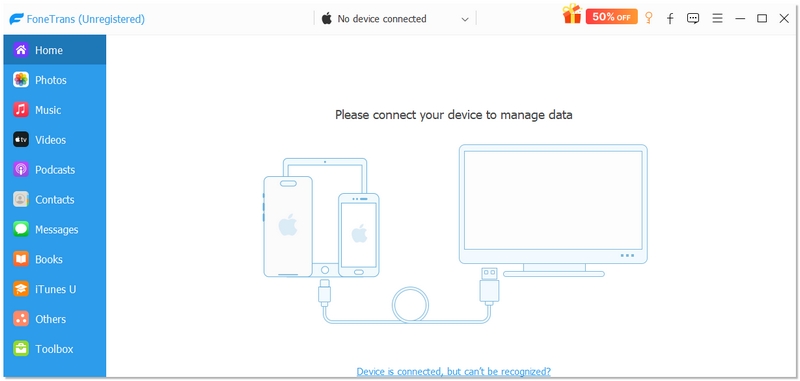
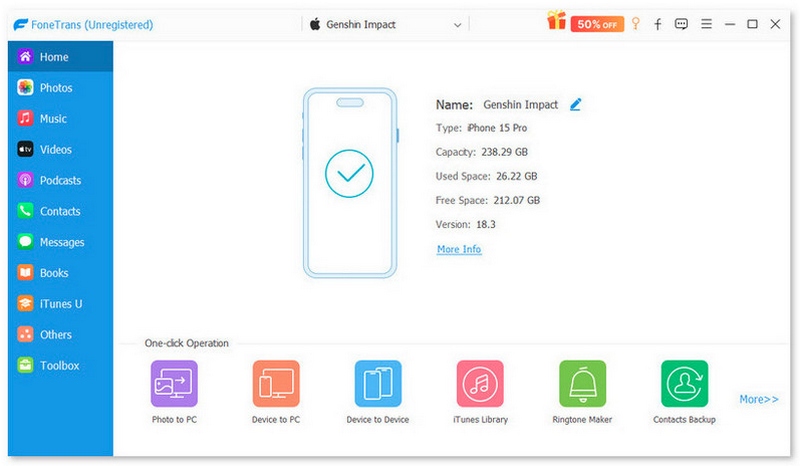
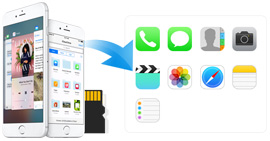
If you are considering how to backup iPhone to an external hard drive simply and effortlessly, Aiseesoft FoneTrans could be a great option. Compared to iTunes or Finder, this software gives you the freedom to selectively pick the items you want to back up, like photos, videos, contacts, messages, and more, without producing a full device backup. This is a great way for those who want to have more control over their files and prefer saving iPhone data directly to an external drive without complicated steps. If you want to be able to access your backed-up files on your computer or external storage quickly, this is a good option for you.

117,006 Downloads
FoneTrans - Sync iPhone Messages
![]() 100% Secure. No Ads.
100% Secure. No Ads.
![]() 100% Secure. No Ads.
100% Secure. No Ads.
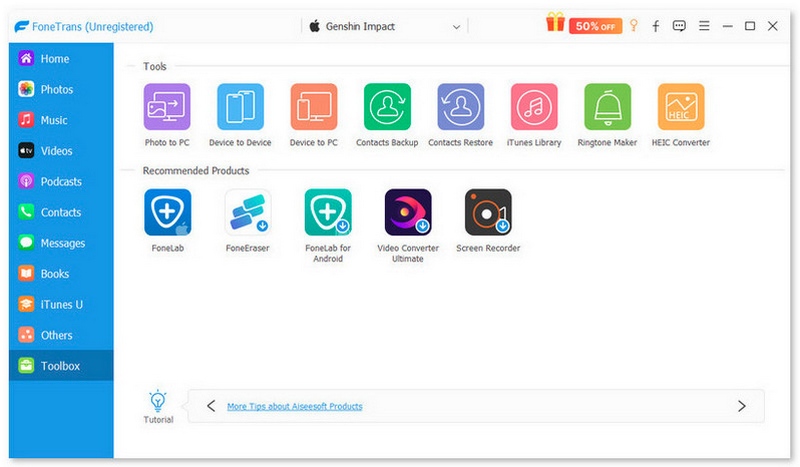
What’s more, if you want to back up all data on your iPhone to your hard drive in just one step, you can choose Toolkit > To Folder > Start, and choose your external hard drive as the destination folder. This helps you back up the phone to an external folder.
If you want a free and effective way to learn how to back up an iPhone to an external hard drive without using third-party software, the Symlink method is a smart solution. This technique redirects the default iTunes or Finder backup folder to your external hard drive. Instead of saving backups on your computer’s internal storage, your system will automatically store them on the external drive. While this method requires a few technical steps, it’s free and works well on both Windows and macOS.
On Windows:
Go to:
C:\Users\[YourUsername]\AppData\Roaming\Apple Computer\MobileSync\Backup
On Mac:
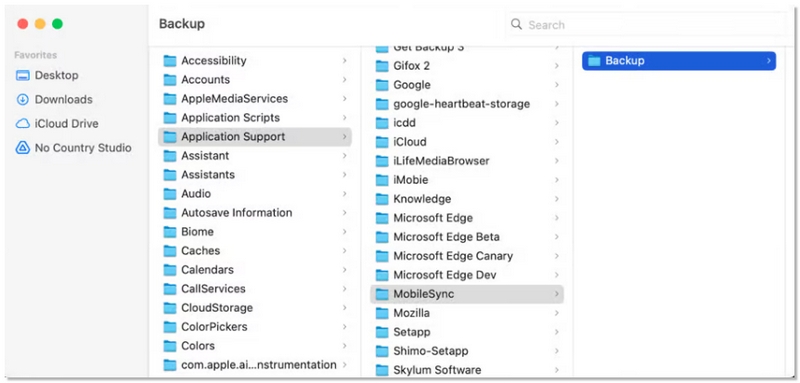
Open Finder >Click Go in the menu > Hold Option > Click Library >
Go to:
Application Support/MobileSync/Backup
On Windows:
Open Command Prompt as Administrator.
Type the following command:
mklink /J "C:\Users\[YourUsername]\AppData\Roaming\Apple Computer\MobileSync\Backup" "E:\Backup"
(Replace E:\Backup with your actual external drive path.)
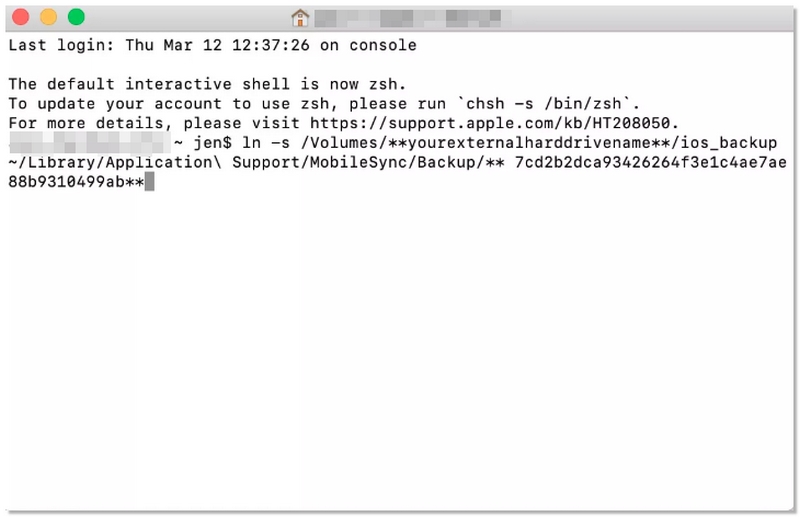
On Mac:
Open Terminal.
Enter the command:
ln -s /Volumes/ExternalDrive/Backup ~/Library/Application\ Support/MobileSync/Backup
(Replace “ExternalDrive” with your drive name.)
Important Notes
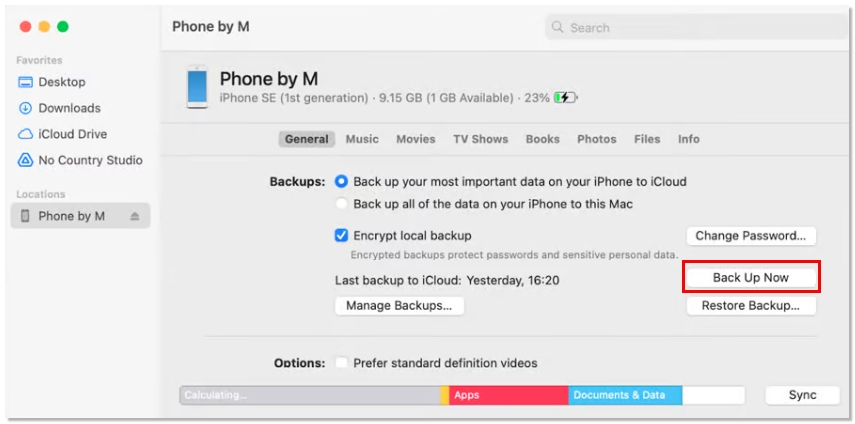
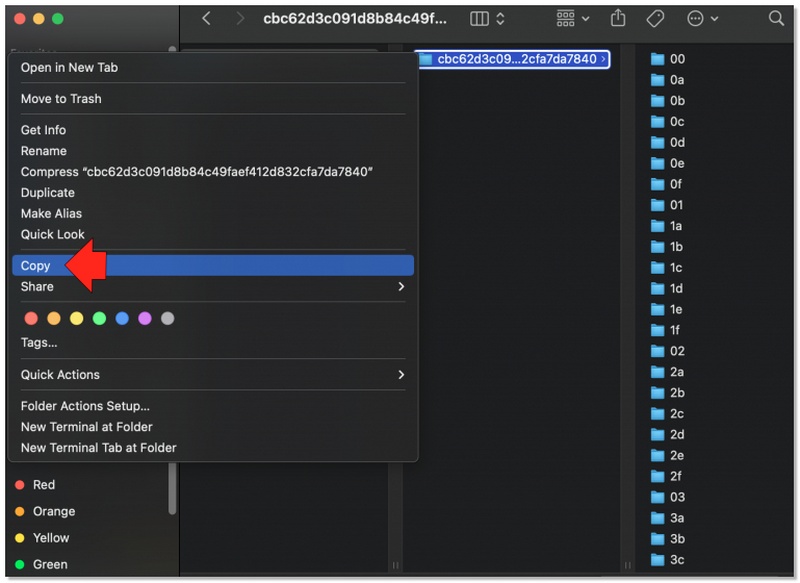
If you are a fan of Apple’s official tools, Mac Finder or iTunes works very well for making a full backup of your iPhone. Generally, the backups are saved locally, but after that, you can manually move the backup folder to your external hard drive. This way is perfect for users who want a fully secure device backup without installing any third-party software but still keeping their data on an external drive.
If you’re using a newer model like iPhone 15, 16, or 17, you have a big advantage. USB-C connectivity makes the backup process faster and more flexible compared to older Lightning models. With the right cable or USB-C hub, you can connect my iPhone and external hard drive directly to my computer to create a local backup more efficiently. If you’re looking for a faster way to back up an iPhone to an external hard drive, this modern USB-C setup is one of the most convenient options available today.
Can I back up my iPhone without a computer by utilizing an external hard drive?
No, iOS does not officially support creating a full system backup directly to an external hard drive without a computer. A Mac or Windows PC is required to generate the backup file before storing it on external storage.
Can I use any external hard drive format?
Not all formats work smoothly. For best compatibility: On Mac: APFS or Mac OS Extended (Journaled), On Windows: NTFS, For cross-platform use: exFAT.
What happens if the external hard drive is disconnected during backup?
The backup process will fail. You will need to reconnect the drive and restart the backup. Avoid disconnecting cables while data transfer is in progress.
Conclusion
Backing up your iPhone to an external hard drive is one of the safest ways to keep your photos, videos, contacts, and all other data secure while at the same time giving you more storage space to use. This article explains various ways to back up, such as through Finder/iTunes, Symlinks, Aiseesoft Fonetrans, and USB-C direct backup, so that you may pick the backup method that is most suitable for your iPhone model and preference. It clearly explains how to back up an iPhone directly to an external hard drive, making the process simple, secure, and reliable.
 iPhone Backup Extractor - Extract iPhone Backup from iTunes/iCloud
Need iPhone backup extractor to view and extract iPhone contacts, photos, text messages from iTunes or iCloud? Find best iPhone Backup Extractor here.
 How to Backup My iPhone to My Mac With/Without iTunes
This article shows you how to backup your iPhone files to Macbook with or without iTunes. Besides, you can know how to view iPhone backup on Mac.
 Backup Assistant - How to Backup Android with Backup Assistant
What is Backup Assistant? How to use Verizon Backup Assistant to copy your Android contacts? Learn more information in this post.
Backup iPhone
1.1 How to backup iPhone 1.2 How to backup iPhone to iCloud 1.3 How to backup iPhone to iTunes 1.4 How to backup iPhone to computer 1.5 How to backup iPhone to Mac 1.6 Backup iPhone to external hard drive 1.7 iPhone backup extractor 1.8 iPhone backup location 1.9 iPhone backup password 1.10 iPhone won't backup
Transfer data from iPhone/iPad/iPod to your computer or reversely.
![]() 100% Secure. No Ads.
100% Secure. No Ads.
![]() 100% Secure. No Ads.
100% Secure. No Ads.
*Required field
*Please enter a valid email
