Similar to other hard drives, Buffalo external hard drive can be used to store all kinds of data. However, there are also many problems you may encounter. The most serious one is data loss. Yes, many people asked how to rescue lost Buffalo data due to different reasons.
If you have the same question, then you just come to the right place. This article introduces why you encounter data loss cases and how to perform Buffalo data recovery. Thus, you can protect the safety of your important files effectively.
Buffalo Data Recovery
According to various questions in forums, these are common causes of data loss in your daily life. You can read and have a checkup. What's more, it can also benefit the further Buffalo hard drive data recovery.
Well, this can be the top reason of losing data in Buffalo portable hard drive. you just delete something or overwrite the parts you need by mistake.
Viruses can influence many parts of your activities. However, you may not notice this potential risk. As a result, damages can cause not only Buffalo data loss, but also Internet connection misuse, personal information leakage and more.
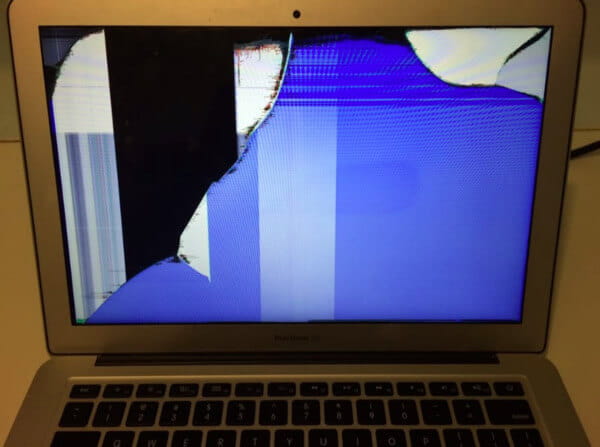
If your personal computer gets physical damages, then the service repair may charge you a lot of money. Moreover, your stored files may be inaccessible or unrecognized.
If your computer is out of juice before you save a long article or other files, then you may lose data, too. Sometimes the power failure is caused because of wrong operations or viruses. For instance, your computer just shut down suddenly.
Well, once your computer gets stolen, you cannot access the stored data any more. So it is a good habit to back up files in the cloud storage or external hard drive. Thus, you can perform Buffalo data recovery from the previous backup file easily.

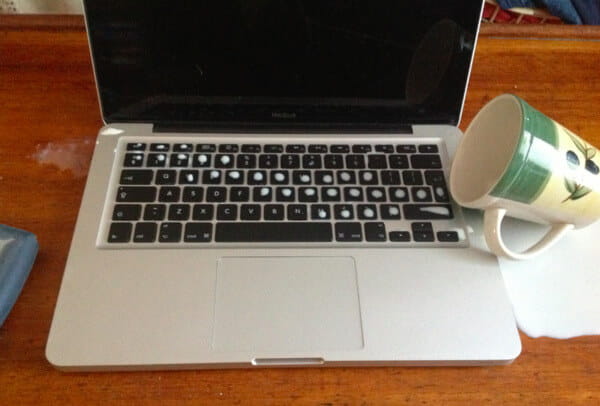
If you spill coffee or milk on the computer or its keyboard without extra covers, then liquids may cause short circuits of electronic components. Consequently, your Buffalo hard drive not recognized or detected after the connection. Things will be worse if the internal parts get soaked.
In another word, overheating may destroy your digital devices. If you put your computer under direct sunshine in hot weather, it may even cause fire accidents.

Is it possible to get back the deleted or lost data from your Buffalo hard drive?
Of course, the answer is "Yes". By using Aiseesoft Data Recovery, you can recover almost all files from deletion, formatted partition, hard drive problem and other data loss cases.
So if you are looking for easy and powerful Buffalo data recovery software, then Aiseesoft Data Recovery can be your first choice.
Step 1Launch Data Recovery
Free download and install Aiseesoft Data Recovery on your Windows computer. Then launch the Buffalo hard drive data recovery software. Plug the Buffalo hard drive to your computer.
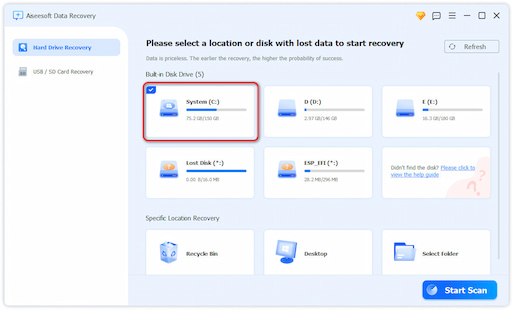
Step 2Select a hard drive to recover
When you enter the main interface, choose disk drive(s) where you may find the lost files. Then click Start Scan
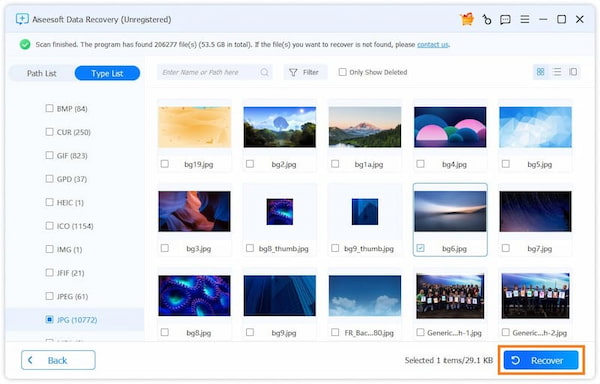
Step 3Choose the data that you wish to recover
After scanning, all the deleted or lost files will be listed in the interface. You can also use the Filter feature to quickly locate the files you want to recover. Once they are selected, click Recover.
Step 4View the recovered data
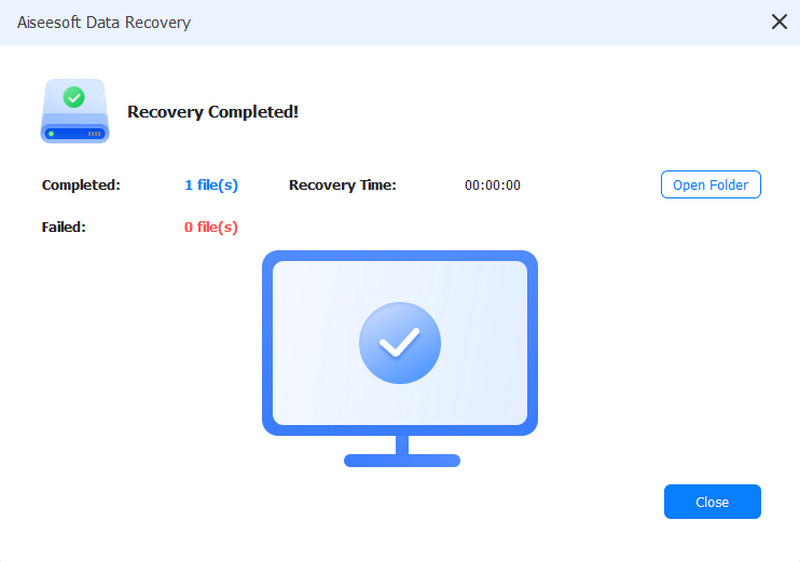
Wait for a while to complete the data recovery process. Sooner, you will be notified with the Recovery Finished notification. Click Open Folder to access the recovered files quickly.
After the Buffalo hard disk data recovery, you should also know some measures to prevent data loss. In another word, here are some tips you can follow to bypass and protect important files from data loss.
Be careful when you are using your computer. For instance, it is not a good way to leave a computer in your vehicle, because of the extreme temperature shifts and thieves. In addition, do not slide a computer across carpet due to the static electricity.
Do not overlook error messages from your computer, though these messages pop up every day. Furthermore, you can install a powerful anti-virus program to keep the maintenance of your computer regularly.
Too much files stored in your computer may lag your operating system and cause other problems. Well, overloading your Buffalo external hard drive is also harmful. You need to pay attention to its capacity. Using the junk file cleaner to free up more space.
From above tips and tricks about Buffalo data recovery, you can get back any deleted, corrupted or lost file to your computer selectively and safely. If you still have doubt about Aiseesoft Data Recovery, you can free download it and have a try right now.

August 20, 2018 10:30 / Posted by Andrew Miller to Recover Windows Data
 Recover USB Drive - How to Repair and Recover Files from USB Flash Drive
USB not working on laptop? Lost files due to accidental deletion, formatting or virus attack on USB flash drive? Learn how to recover files from USB drive and repair dead USB from this page.
 SSD Data Recovery - How to Recover Data from a Failed SSD Hard Drive
Is it possible to recover data from a failed SSD? Are you facing the SSD failure situation and looking for the best way to restore your lost data? Best SSD data recovery tool is recommended here to help you make the SSD data recovering.
 G-Technology Data Recovery from Drive/RAID on Windows and Mac
Whether you lost data on your G-Technology drive or RAID, you could learn from this page to recover files from your G-Technology external storage device on Windows and Mac.
