Ringtones could be interesting. Back in the days when we were not able to listen to songs, take photos, or watch videos with our portable devices, ringtones used to occupy a very big part of our mobile life. Yet they still mean something now. Going through the Internet, you'll find so many websites providing free, funny iPhone ringtones, or teaching you how make your own ringtones, how to convert your songs to iPhone ringtone files and so on. However, getting your ringtone files on PC is not the end. To set ringtones on your iPhone, there is one final step, sync ringtones to your iPhone, and that's tricky as well.
In the following, two methods are provided to help you get through the final step. You can sync ringtones to iPhone through iTunes library, or by using other transfer tools.

iTunes, as the world's easiest tool to organize and add digital media collection, is of great use when comes to syncing ringtones. The following are specific steps:
Step 1 Download iTunes
Download and launch the latest version of iTunes. Connect your iPhone to your computer via USB cable, wait until iTunes automatically recognizes your iPhone.
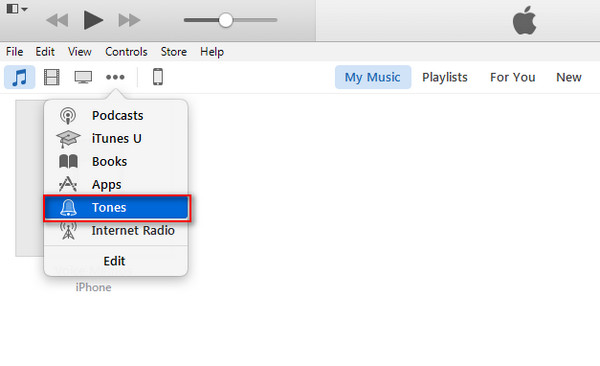
Step 2 Find Tones Library
There is a Tones library you can find in iTunes. Find the Tones icon next to Music, Movies, Books, Apps, etc.
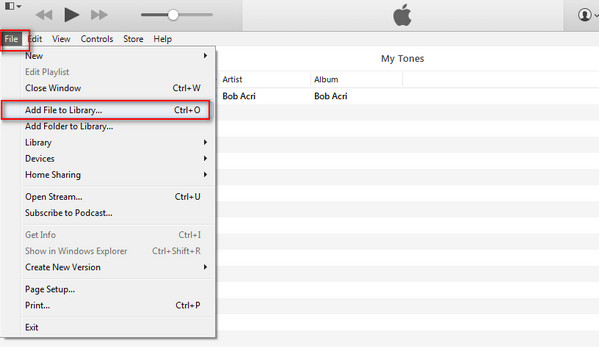
Step 3 Add Ringtones into Tones Library
Import the ringtones from your PC to Tones library. You can Click "File Menu" on the top left corner, and then "Add File to Library", or you could just drag and drop the ringtone files to Tones library. After this, your ringtone files appear in the list.
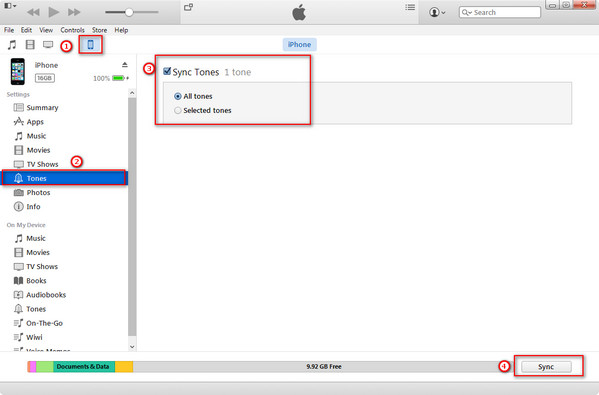
Step 4 Sync Ringtones From iTunes to iPhone
Click the icon of your iPhone on the toolbar. Then select "Tones" from the Settings menu on the left list. Check the box in front of "Sync Tones". According to your needs, you could change "All tones" to "Selected tones" to sync specific ringtone files. Click "Sync" on the bottom right corner to start the syncing process.
Now you can find ringtones in your iPhone.
When you use iTunes to put ringtone on iPhone, you need to have ringtones made before for syncing. Here you can get more information about creating free ringtones for iPhone.
iTunes is indeed a easy tool to sync ringtone files from your PC to your iPhone, but you may encounter some unexpected situations due to the instability of iTunes or wrong operations. What to do when ringtones can't sync to iPhone through iTunes?
To begin with, it is necessary to know that although iPhone ringtone files are very similar to other iPhone audio files, there are still some critical differences. Ringtones must be M4R format, not M4A or any other format, and there is a strict time limitation with no more than 40 seconds.
Therefore, if iTunes syncing doesn't work, check your ringtone file, is it M4R format? Is it less than 40 seconds? If not, use an audio editing tool and edit your file at first.
Of course, even if your ringtone files are fine, there are possibilities that syncing still fails. In that case, you could turn to another audio transferring tool.
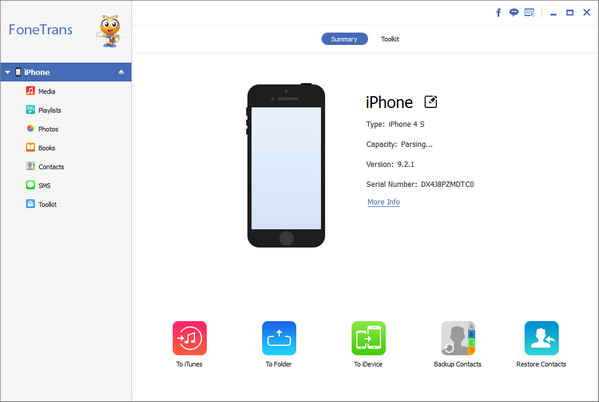
Step 1 Download and run audio transferring tool. Connect your iPhone to computer via USB cable. Wait until audio transferring tool recognizes your device.
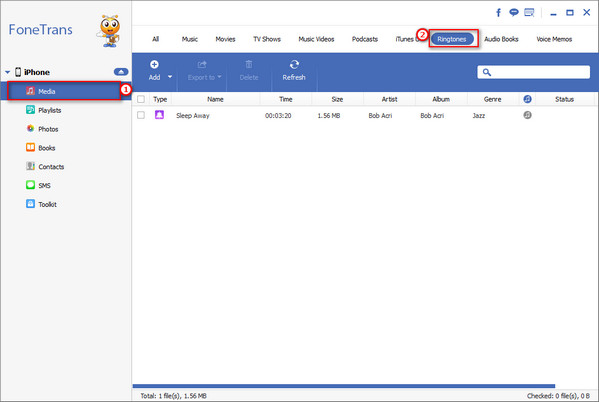
Step 2 Click "Media" on the left list, all media files in your iPhone are shown in the preview window. Click "Ringtones" from the toolbar above to ringtones section.
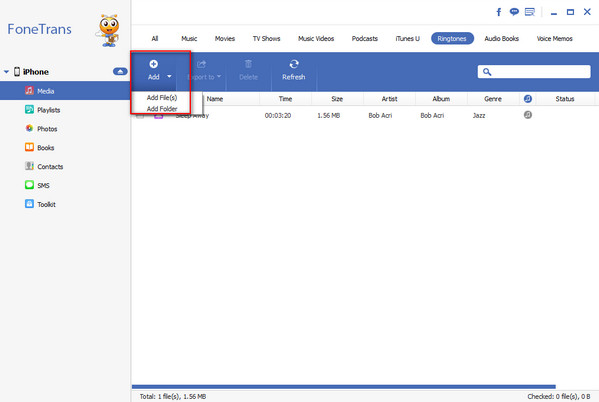
Step 3 To put ringtones into your iPhone, click "Add" to add files or folder. Wait for a few seconds, your ringtones will be synced to your iPhone.
As you can see, audio transferring tool has a way simpler interface. It can transfer not only ringtones, but also other media files, such as videos, movies, voice memos, audio books and more.
Have piles of data that want to move to iPad from iPhone? Take the way here to transfer iPhone data to iPad.

June 21, 2018 11:00 / Updated by Louisa White to Transfer iOS Data
 How to Transfer Photos from iPhone to PC/Mac
Read this post to know how to import photos from iPhone (X/8/7/SE/6s Plus/6s/6 Plus/6/5s, etc.) to Mac or computer.
 With/Without iTunes You Can Also Transfer Music from iPad to Mac
This article shows you how to add music from iPad Pro/Air/mini to iTunes on Mac, and move songs from iPad to MacBook without iTunes freely.
 How to Put Ringtones to iPhone/3
After you download ringtones to your computer, you could put the ringtones to your iPhone for portable pleasure.
 Three Ways to Sync Contacts from iPhone to iPhone
Want to transfer your iPhone contacts to new iPhone? This article shows three methods to transfer iPhone contacts to new iPhone safely from iCloud, iTunes and iPhone Contact Transfer.
 How to Sync iPhone to New Computer without Losing Data
Backing up iPhone to computer is easy with iTunes. However, syncing iPhone to new computer without erasing is a problem for many users. Read this post to solve this problem by yourself.
 2017 Best iPhone Apps (Free/Paid) and iPhone Apps Troubleshooting
This post introduces to you best iPhone apps of 2017 including music, photo, video, social networking, etc.
