All of us are familiar with iPhone which can be considered as the most influential phone on the market. However, being affected by its enclosed iOS system, many iPhone users have no idea about how to use this popular iPhone especially for their first time. One of the simplest examples is changing the iPhone ringtones. iPhone itself does not allow users to set your favorite MP3 music on your iPhone to a ringtone directly. So next, we will show you how to change your iPhones ringtones, especially for users who use iPhones at the first time.

First, we will introduce the setting theory of iPhone ringtones. Why iPhone does not support setting the MP3 music as ringtones? The reason is that iPhone does not support ringtones in MP3 format. Only M4R format works. What's more, the total play duration cannot surpass 40 seconds. These limitations make many iPhone users can't change their iPhone ringtones. Well, how to make and transfer ringtones on iPhone X/8/7/7 Plus/SE/6s/6s Plus/6/6 Plus/5/5s? Let's get the way by reading this article.
Click here to learn more info about Convert MP3 to M4R Online/iTunes/Computer.
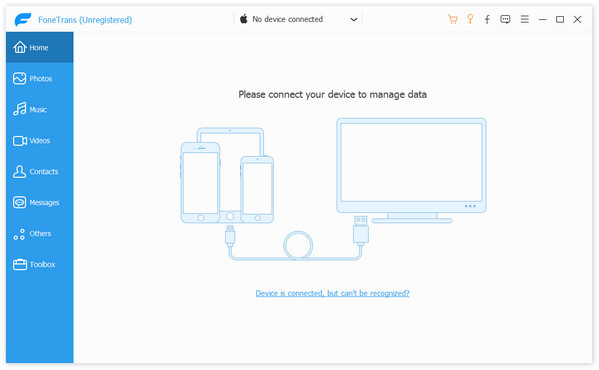
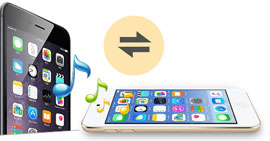
In case to make you quickly transfer your personal ringtones to iPhone, here we sincerely recommend the prefessional iPhone tingtones transfer tool, FoneTrans to help you transfer iPhone ringtones. First, you can free download and install it to your computer.
Step 1 Launch this easy-to-use third-party software on your computer.
Step 2 Connect your iPhone to computer via USB cable and click "Music" > "Ringtone".
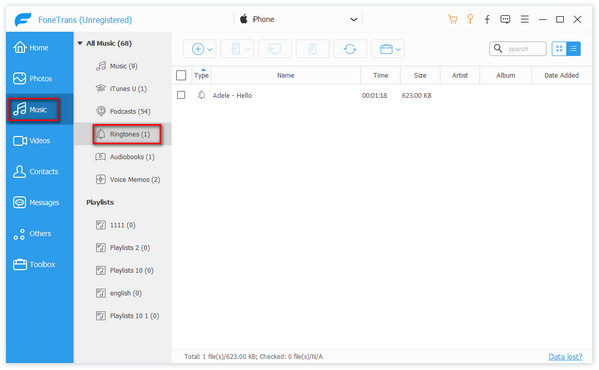
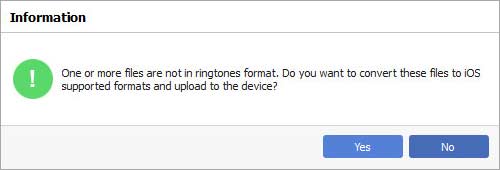
Step 3 Click "Add" to choose the music which you want to transfer as an iPhone ringtone, when you find the following prompt message, click "Yes".
Step 4 Then the music on your computer has been converted to M4R format and transferred to your iPhone directly.
Step 5 Turn on your iPhone. Choose "Settings" > "Sounds" > "Ringtone" to find the converted music there. Tap the one you want to be the iPhone ringtone, listen to it, if you are satisfied, tap Back and it would have become the ringtone of your iPhone.
Within just a few clicks, you can use this iPhone Ringtones Transfer to copy your own ringtones to iPhone. Also, you are allowed to use it to transfer other iOS data like photos, videos, songs, contacts and more between PC/Mac and iPhone/iPad/iPod.
There are many people want to make their own iPhone ringtones as well. You are lucky enough to get the iPhone Ringtone Maker. Find the product page of this software to make your own iPhone ringtones. To meet your requirement, you are allowed to make your own iPhone ringtones with your favorite songs. You can choose the loved parts of the music to be your iPhone ringtone and export to your iPhone directly. In addition, if you'd like to share your iPhone ringtones to your friend with another iPhone, you are able to do so with the help of both FoneTrans and iPhone Ringtone Maker.
For more information to make your own iPhone ringtones, you can read: How to make ringtones with iPhone Ringtone Maker.
You can also learn more the product with the following video guide:


December 16, 2020 15:17 / Updated by Louisa White to Transfer iOS Data
 How to Transfer Music from iPhone to iPhone
This article shows you the step by step guide of transferring music from iPhone to iPhone on Windows and Mac.
 How to Transfer Video from Computer to iPad without iTunes
This article provides you the best solution to transfer your videos from PC to iPad.
 How to Transfer Music/Audios from iPod to iPhone
How to download iPod music to iPhone? With iTunes? This article can help you transfer music from iPod to iPhone.
