Many iOS users will be worry that the music has taken a lot of space on the internal memory of their device. They do not want to delete the music, but would like to release some space of their devices. So many people hope that they can back up the songs on computer for listening later without paying again.

Maybe you need an effective transfer to help you transfer your music from iOS device to computer with high speed. This article will introduce a professional music transfer to you to transfer music from iOS devices to PC. Read this article, and you will find the best way to transfer music to PC quickly.
Aiseesoft iOS Music Transfer is a powerful transfer which can not only transfer music to PC, but also transfer photos to PC, and contacts, videos, messages, PDF files, etc. to PC. With this transfer, you are able to freely transfer any kinds of files from iOS device to PC. What you need to do is to download and install it on your computer.
Below are the detailed steps of how to transfer music to PC.
Step 1 Download iOS Music Transfer firstly
Download and install iOS Music Transfer on your computer. After download this software on your appointed place, you need to install it according to the guide. The whole procedure will take you 2 or 3 minutes.
Step 2 Connect your iOS device to PC
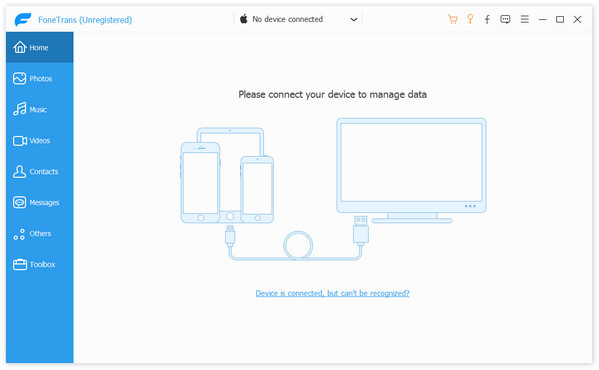
Open this software, and connect your iOS device to PC via USB cable. You will find the interface as the following picture. If it is the first time that you connect your iOS device to PC, please make sure your iPod get trust of the PC.

Step 3 Find out your music on the transfer
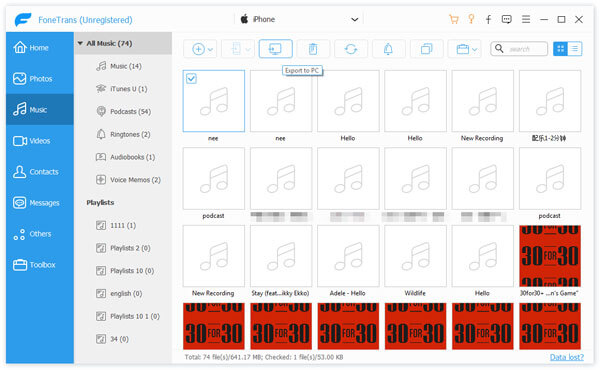
Click Media on the left side. Then click Music on the top of the right part. You will get all the music of your device on the main interface of this software. Next you are able to choose the music which you want to transfer from iOS device to PC.
Step 4 Transfer music to PC
Click "Export to" to choose a destination and the music will be automatically moved to your computer with high speed. Or you can also select "Export to iTunes Library" if you want to backup your music on iTunes at the same time.
Extended reading: How to transfer music from Mac to iPod.
This article mainly talks about how to transfer music from iOS device to PC. With iOS Music Transfer, you can freely transfer much music from your iOS devices to PC with fast speed. Hope it is helpful for you.

June 28, 2018 19:20 / Updated by Louisa White to Transfer iOS Data
 How to Transfer Photos from iPad to Computer
FoneTrans - the best iPad to Computer Transfer - can transfer photos from iPad to computer conveniently.
 [Solved] How to Enter/Exit iPod Recovery Mode
What is iPod Recovery mode? How to put iPod in Recovery mode? How to exit iPod Recovery mode? This post shows everything.
 How to Erase Music from Your iPhone iPod iPad
If you want to remove songs from your iPhone, or you have the need to erase all data including songs, read this article.
