Best for: Users upgrading from an existing iPhone — especially if both phones are nearby and you want a simple, wireless setup.
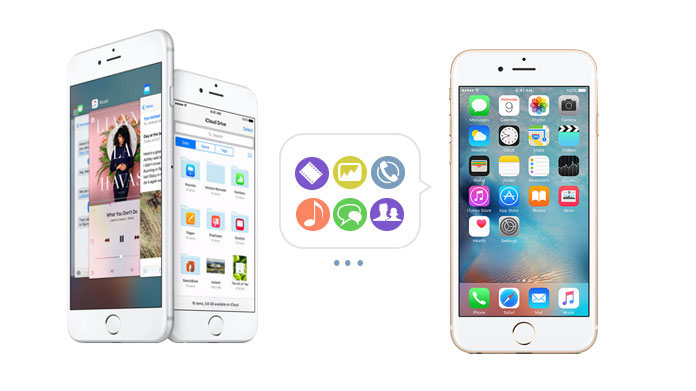
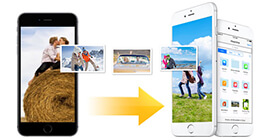
As Apple continues upgrading the iPhone series with better performance, Apple users tend to replace their old iPhone with the latest iPhone 17. During upgrading, it is important to learn how to transfer data from iPhone to iPhone.
In this guide, we'll walk through four reliable methods to transfer data to a new iPhone — including Apple's Quick Start, iCloud backup, Mac Finder/Windows iTunes and a smarter third-party tool called FoneEase for when you need more control. Each method comes with its own pros, so we'll also help you pick the right one for your situation.
How We Tested These Methods
| Feature | Quick Start | iCloud Backup | Finder / iTunes | FoneEase |
| Speed (60 GB) | 30–50 min | 2–4 hours (depends on internet) | 10–20 min | 20–35 min |
| Needs Computer? | No | No | Yes | Yes |
| Needs Internet? | Wi-Fi only | Yes | No | No |
| Selective Transfer | No | No | No | Yes |
| Cost | Free | Free (5 GB) | Free | Free trial |
| Works Without Old iPhone | No | Yes | Yes (if backup exists) | No |
Best for: Users upgrading from an existing iPhone — especially if both phones are nearby and you want a simple, wireless setup.
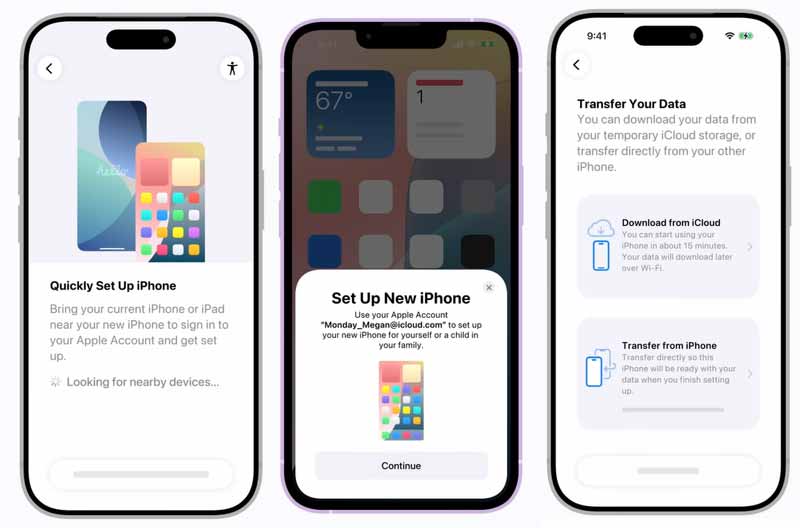
Since iOS 11, Apple has included a feature called Quick Start that lets you transfer data directly from one iPhone to another over a local connection. It's the easiest method for most people — no computer, no cables, no cloud storage limits.
How to Use Quick Start to Transfer Data:
PROS
CONS
Best for: Users who already back up regularly to iCloud, or those setting up a new iPhone without the old phone.
If you've got enough iCloud storage, iCloud Backup is a straightforward way to move your data. Your old iPhone uploads a backup to Apple's servers, and your new iPhone downloads and restores from it.
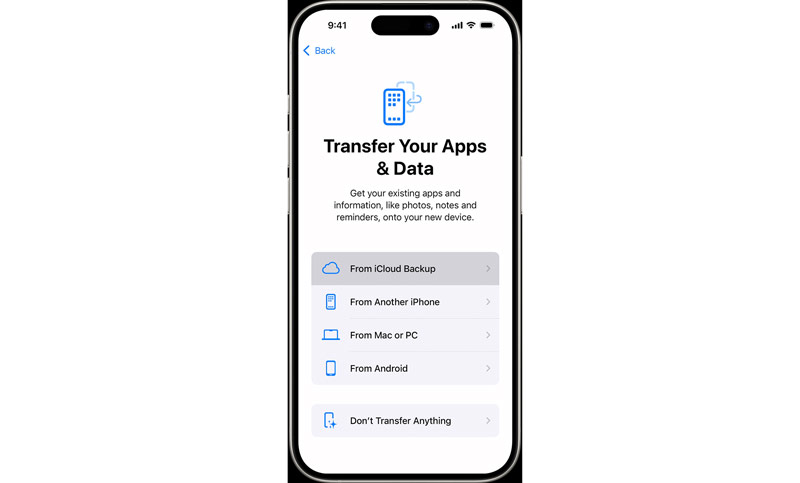
How to Transfer Data via iCloud
PROS
CONS
Best for: Users who want to selectively transfer data to the new iPhone. Also, ideal if you want to simultaneously manage data on both devices from one computer.
Sometimes you don't want to move everything. Or perhaps your internet is too slow for iCloud, and Quick Start keeps dropping the connection.
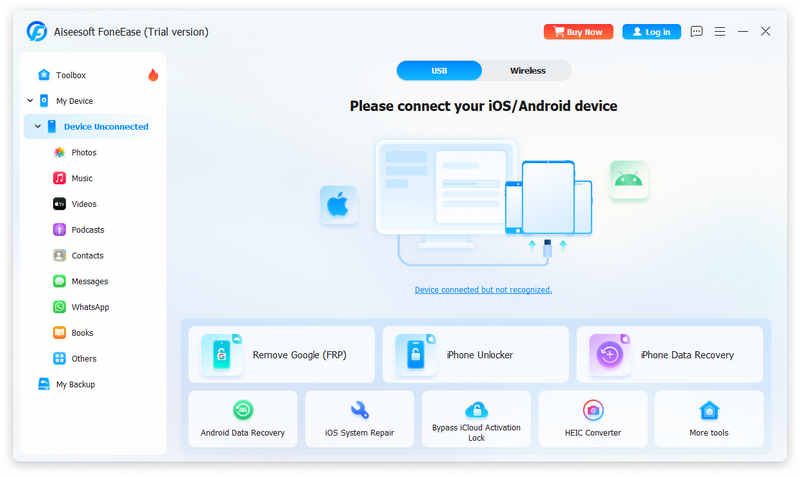
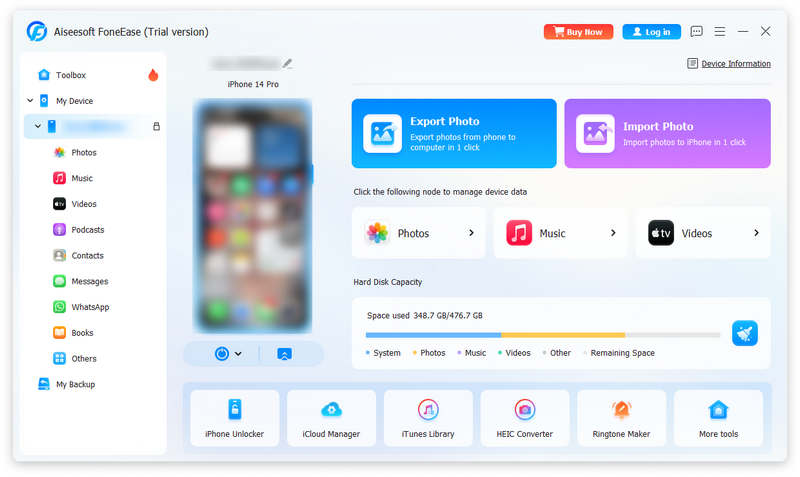
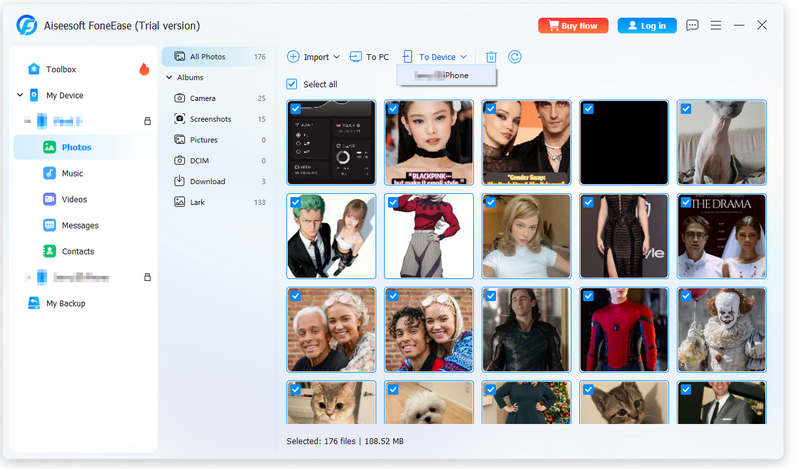
That's where a good third-party tool comes in. Aiseesoft FoneEase is a professional iOS data transfer tool. It connects your iPhones to the computer via USB, giving you full visibility into what's on each device and letting you pick exactly what to move. No cloud uploads, no wireless interruptions — just a direct cable connection.
How to Transfer Data Using FoneEase:
![]() 100% Secure. No Ads.
100% Secure. No Ads.
PROS
CONS
Best for: Users who prefer a wired connection and a full, encrypted backup of everything.
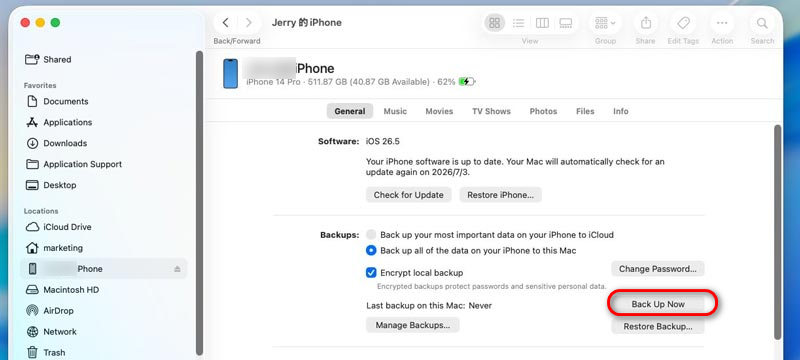
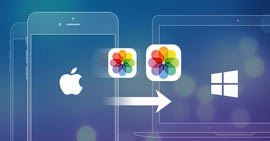
Before iCloud and Quick Start existed, iTunes was the go-to method for iPhone backups. And it's still a solid option today — though on macOS Catalina and later, the job moved from iTunes to Finder.
The biggest advantage is that it saves your passwords, Wi-Fi settings, Health data, and settings configuration. And since everything stays on your computer, the transfer speed depends on your USB connection, not your internet speed.
How to Transfer Data Using Finder / iTunes

PROS
CONS
Does transferring data delete anything from my old iPhone?
No. Quick Start, iCloud Backup, and FoneEase all copy data — they don't delete anything from the source device. Your old iPhone retains everything unless you manually erase it later.
Can I transfer WhatsApp messages to a new iPhone?
Yes. Quick Start can transfer WhatsApp data as part of the overall iPhone migration process. If you’re using iCloud, make sure WhatsApp backup is turned on in the app by going to WhatsApp > Settings > Chats > Chat Backup. With FoneEase, you can also transfer WhatsApp data by selecting the WhatsApp category during the transfer process.
What if my transfer gets interrupted halfway through?
Don't panic. Quick Start and iCloud both resume from where they left off in most cases. FoneEase allows you to restart the transfer for any incomplete categories. For iCloud, you may need to erase the new iPhone and start the setup process again if the restore fails completely.
Can I transfer data from Android to iPhone using these methods?
No. These methods are for iPhone-to-iPhone transfers. For Android to iPhone, use Apple's "Move to iOS" app available on Google Play. It transfers contacts, messages, photos, videos, and some app data wirelessly during initial setup.
Will my Apple Pay cards and Health data transfer?
Apple Pay cards need to be re-added manually on the new iPhone for security reasons — they don't transfer via backup. Health data transfers if you use iCloud Backup (with end-to-end encryption) or Quick Start. FoneEase does not transfer Health data.
Conclusion
Not sure which method is right for you? Use this quick guide to find the best option:
You have both iPhones and a reliable Wi-Fi connection: Choose Quick Start. It’s the easiest option and requires almost no setup.
You no longer have your old iPhone: Use iCloud Backup, as long as you created a backup before switching devices.
You only want to transfer specific data (such as photos and contacts) and skip the rest: Choose FoneEase. It gives you more control over what gets transferred.
You have a large amount of data but only need certain files transferred through a stable wired connection: FoneEase is a better choice for selective transfers.
You want a free solution without cables and don’t mind moving everything together: Quick Start is usually the most convenient option.
 6 Best iPhone to Android Transfer Tools in 2026 (Fast & Safe)
Want to transfer data from iPhone to Android with no data loss? Read our review of the 6 top tools and compare features, speed, and ease of use to achieve fast iPhone to Android transfer.
 How to Transfer Photos from iPhone to iPhone
Want to move photos from old iPhone to new one? You can learn how to transfer photos from iPhone to iPhone/computer/Mac in this post.
 5 Easy Ways to Transfer Photos from iPhone to PC without iTunes
How to transfer photos from iPhone to Windows PC? This article will show you best ways on how to from iPhone X/8/7/6/5 to PC (Windows 10/8/7 included) with ease.
Aiseesoft FoneEase is a data transfer and management tool that lets you seamlessly move, back up, and manage various data between iOS, Android, and computers without resetting your phone or relying on iTunes.
![]() 100% Secure. No Ads.
100% Secure. No Ads.
*Required field
*Please enter a valid email
