Want to convert all popular video files to Apple TV on Windows or Mac OS X with easy? Aiseesoft Apple TV Video Converter is a perfect solution to Apple TV video format conversion. It can convert regular video formats to Apple TV video and Apple TV audio such as AVI to Apple TV, MPEG to Apple TV, and so on.

Convert Videos to Apple TV
The video formats Aiseesoft Apple TV Video Converter support are as follows:
AVI, XviD, 3GP, MKV, WMV (Window Media Video), MPEG, MPG, MP4, FLV (YouTube video), RM, RMVB (Real Player video), M4A, ASF
The audio formats supported by Aiseesoft Apple TV Video Converter are:
MP3, WMA, WAV, AC3, M4A, AAC
You can download the latest version for free from the product page of Aiseesoft Apple TV Video Converter.
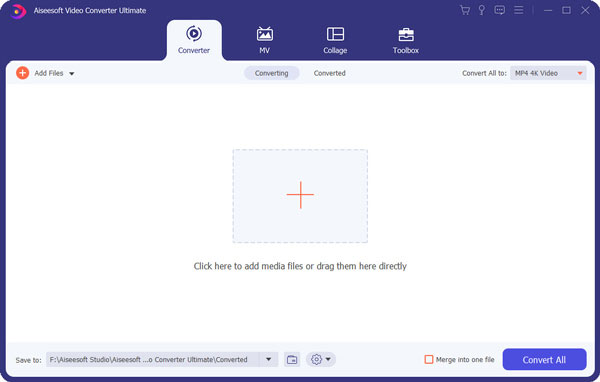
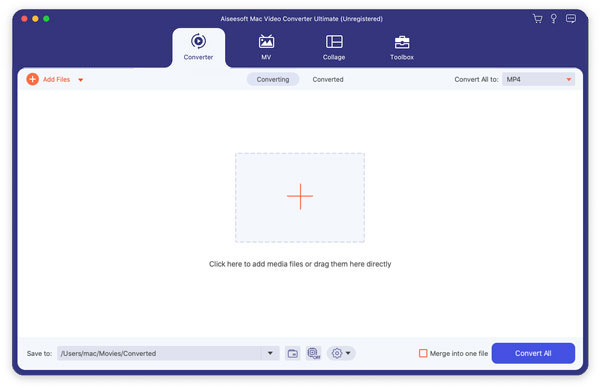
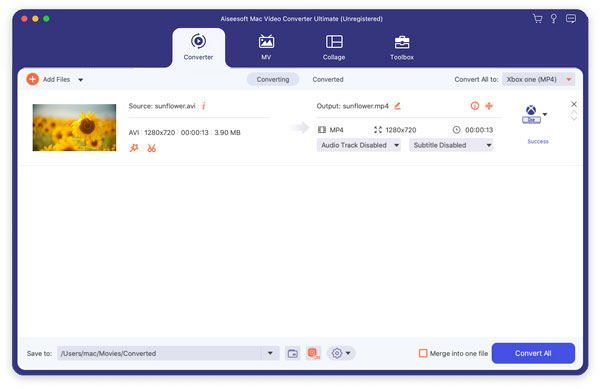
Step 1 After you downloading Aiseesoft Apple TV Video Converter, install and run it, click the "Add File" button to import your videos.
Aiseesoft Apple TV Video Converter support batch conversion, so you can import multiple files at a time. If you experience any problems adding videos by directly clicking the "Add" button, you can click "File -> Add files" to add the video files you want to convert from your computer.
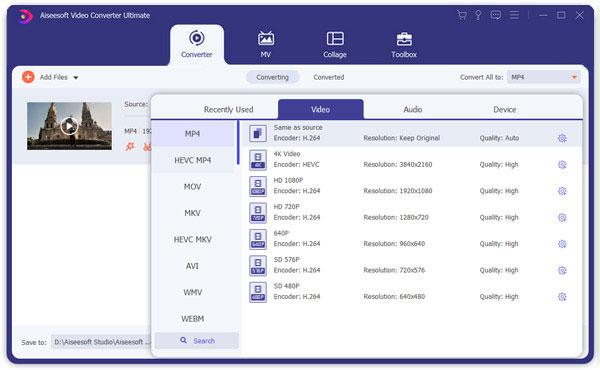
Step 2 This software can convert video such as AVI,WMV, and so on to MP4 video for Apple TV. Just click the "Profile" drop-down list to select the format you prefer for each added file.
If you don't know what formats your device support, you can just select the format "Apple TV MPEG-4 720×432 (*.mp4)"
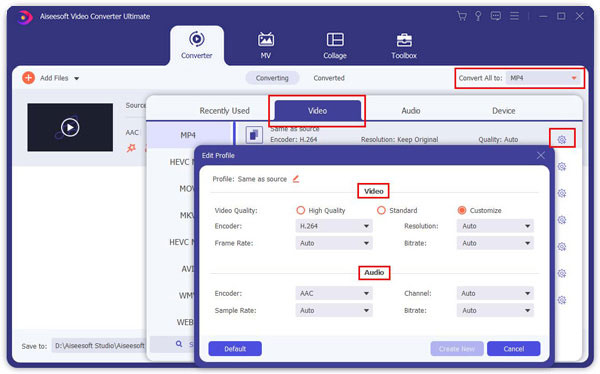
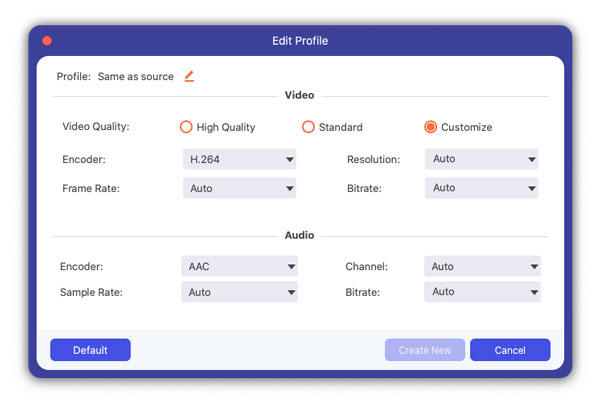
Step 3 If you want to customize the output quality, click the "Settings" button to open the Settings panel, where you can set resolution, frame rate, video bit rate, audio bit rate, sample, etc.
Step 4 After all things done, click "Start" to start conversion.
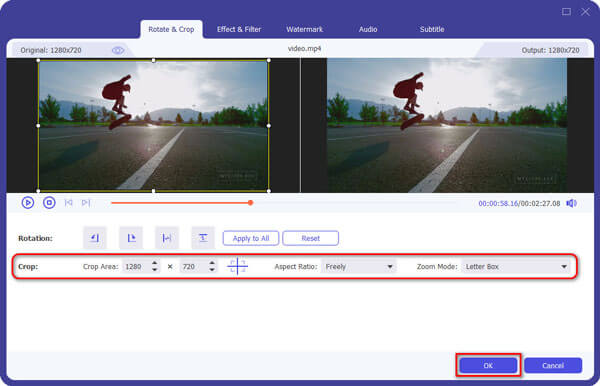
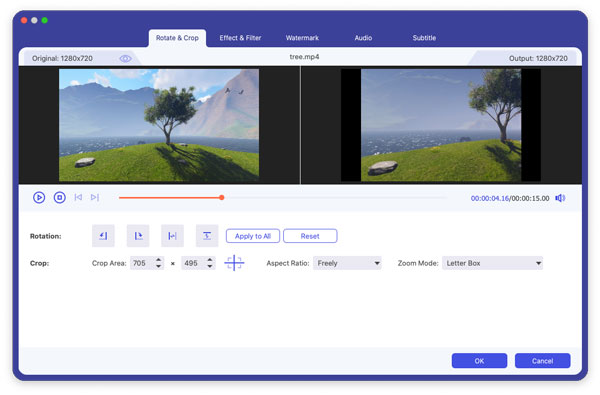
Step 1 If you want to cut the black edges off your video, you can click the "Crop" button to open the crop panel.
There is a frame in dashed line around the movie video; you can drag it to cut off the sides you don't want. You can also type in values in the four Crop value boxes to crop your video more accurately.
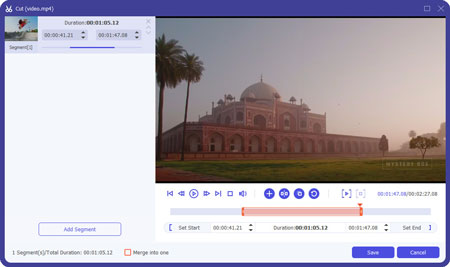
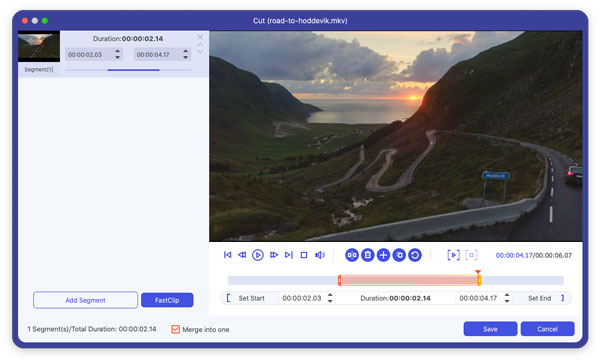
Step 2 Apple TV Video Converter allow you to trim your each video file so you can capture your favorite clips from your video files. After you click "trim" button, you can Preview your the selected video file in the Preview window and estimate what part of the movie you want to convert. Then enter the start time and the end time to the time box in the left side or drag the start/end time bar below the Preview window to set the clips you want to convert, then click "OK' to start the conversion.
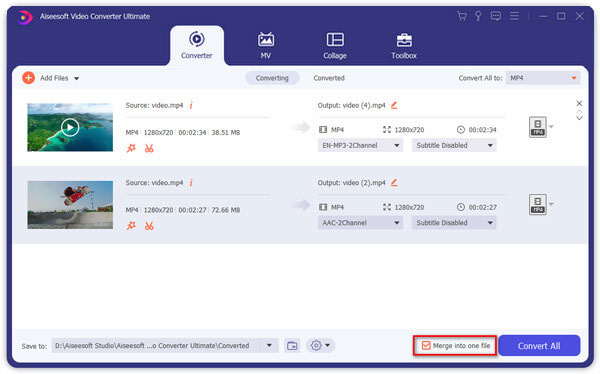
Step 3 If you want to join several video files into one file, on the main interface, tick the check box "Merge into one file", and you will only get one output file instead of multiple files.
Aiseesoft Apple TV Video Converter fully support video or music downloaded from Limewire.
Load the downloaded flv video to Aiseesoft Apple TV Video Converter and convert it, and then transfer it to your Apple TV.
Step 1 Add Video files
Click the "Add File" button to add video files to the program by automatically selecting an appropriate encoder for the video files you want to convert to the program.
Step 2 Output Settings
After you add video files, you can select an output format for each video file and specify a directory on your computer to save the output files.
Step 3 Trim video files
Click the Trim button to open the Trim window and trim the current video file by dragging the Start Time slider to set the start point, and drag the End Time slider to set the finish point. The final length can be found at "Trimmed Length". Click OK when you finish the trimming.
Step 4 Crop Movie Video
If you want to remove the black edges or just convert part of the video area from your video file, you can click the Crop button and specify an area either by dragging the frame around the video or setting the crop values: Top, Button, Left and Right by directly entering the crop values. You can also select an output aspect ratio and the available options are: Keep Original, full screen, 16:9 and 4:3. You can preview the video in the select aspect ratio on the main interface and during the conversion process.
Step 5 Video Effect
Click the Effect button and drag each effect adjustment slider to set the video brightness, contrast, saturation, Hue and volume. The video effect can be previewed in the right pane. You can also set the audio volume here by dragging the Volume slider.
Step 6 Start Conversion
Click the "Start" button to start conversion and then you can just go out for a walk or take a nap, and the conversion may have been finished when you come back.

January 27, 2021 11:40 / Updated by Jenny Ryan to Convert Video
 3GP Video Converter - Convert Video to 3GP File with Easiest Way
How to convert MP4 and other video formats to 3GP and do some additional editing like trim, crop and join 3GP video with the professional 3GP Video Converter.
 How to Convert 3GP to MP4 on Mac with High Quality (High Sierra Included)
Find the important feature for the best 3GP to MP4 Converter for Mac and how to convert 3GP to MP4 without losing quality from this article.
 A Detailed Guide to Convert H.265 to H.264 without Losing Quality
Do you know how to convert H265 to H264? Discover six lossless H.265 to H.264 converters here and help your films run well on various platforms.
