If you are finally disappointed with the privacy data breach from Facebook and want to delete your Facebook account on iPhone permanently, or you are tried with social media and would like to deactivate your Facebook account for a while, it's not difficult to achieve this. Here we will share with you how to quickly delete Facebook account on iPhone temporarily or permanently. It's also recommended that you erase Facebook data fragments after deleting your account and uninstalling the app.
If you want to get rid of Facebook temporarily, you can easily deactivate your Facebook account on iPhone with steps below. Any time you want to come back, just activate your account by simply signing in to Facebook again.
You may be interested in how to search people in Facebook.
If you want to keep using Facebook Messenger, please keep your Messenger active or logged in when you deactivate your Facebook account on iPhone.
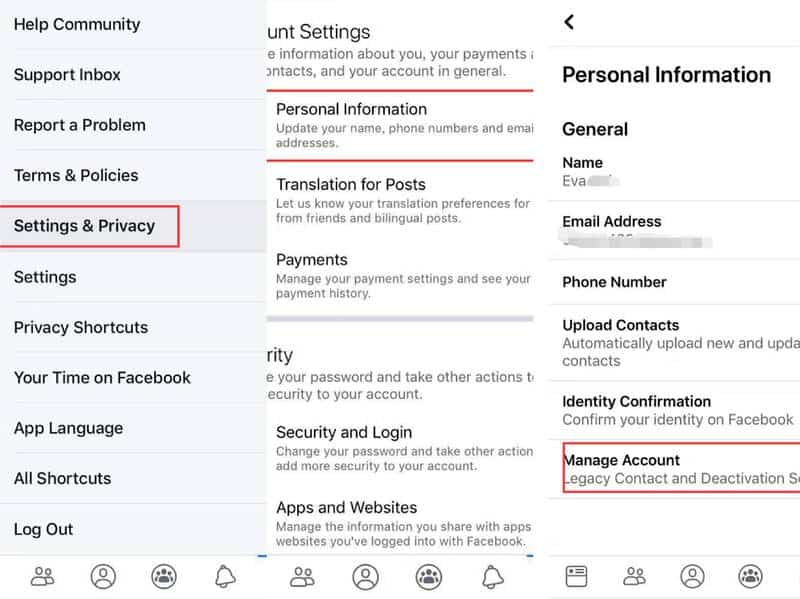
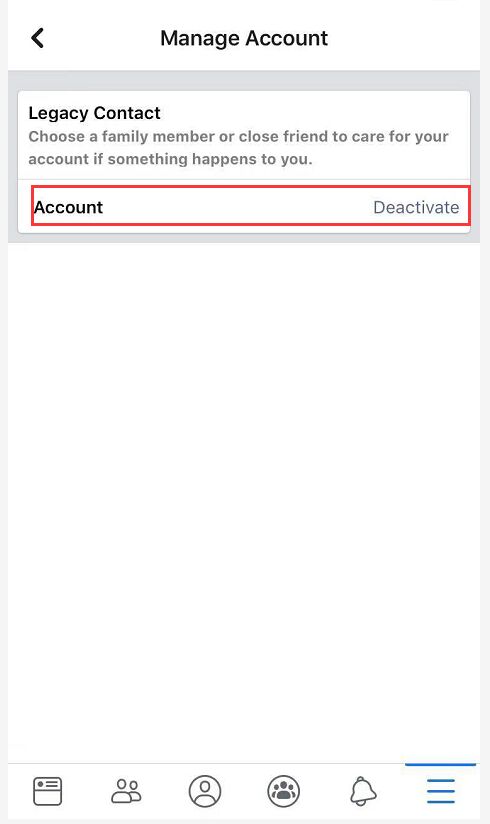
If you have made up your mind to delete Facebook account permanently on your iPhone, you can easily delete it with a straightforward method. But keep in mind that this action is irreversible once your Facebook account is deleted permanently. You have no way to access your account and all the data you have uploaded to Facebook before.
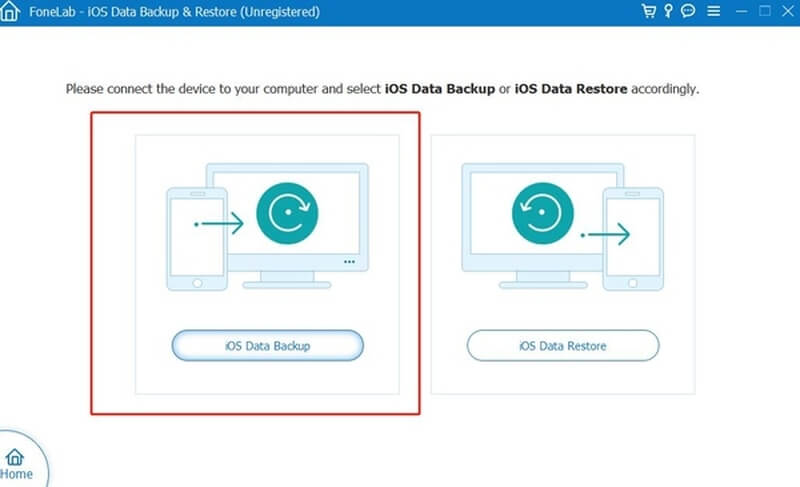
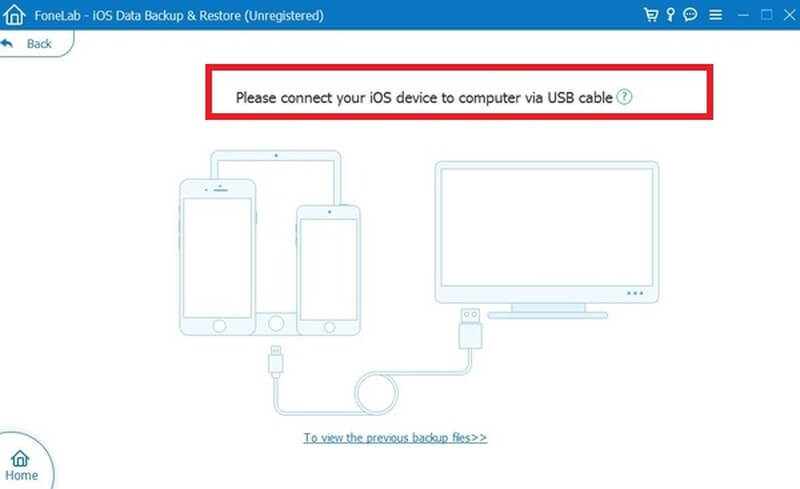
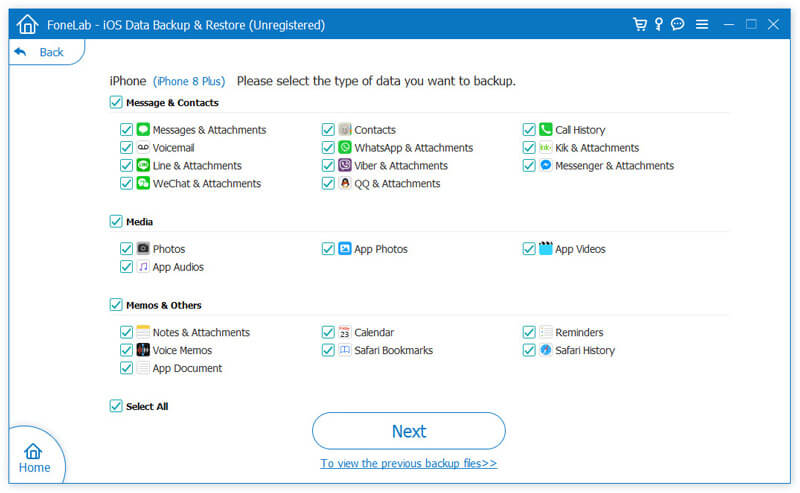
Since you will lose access to all the Facebook data you have added after deleting Facebook account permanently, you are recommended to back up important Facebook messages, photos, videos and more in advance. You can use FoneLab iOS Data Backup & Restore to do the job. It's the best choice to help you selectively back up and restore iPhone/iPad/iPod data (iOS 18 Supported).
![]() 100% Secure. No Ads.
100% Secure. No Ads.
![]() 100% Secure. No Ads.
100% Secure. No Ads.
After you have backed up important Facebook data, you can follow the steps below to delete Facebook account on your iPhone permanently.
Please note that you can still cancel the deletion within 30 days if you changed your mind. After 30 days, your Facebook account and all the information will be deleted permanently.
It takes up to 90 days for Facebook from the beginning of the deletion process to delete all the things you've posted. When all the information is deleted, other people using Facebook will no loner have access to your Facebook information. But Facebook will keep all of your information in backup storage in case any event of a disaster, software error, or other data loss event, or for things like legal issues, terms violations, or harm prevention efforts.
You may need: How to Delete Twitter or WhatsApp Account and Data on iPhone
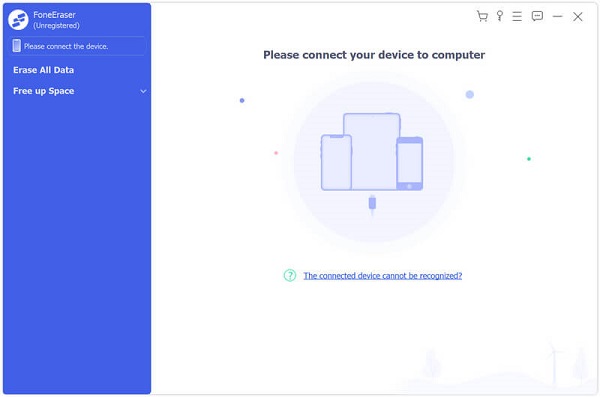
After you delete Facebook Account permanently and uninstall this app on your iPhone, there will still be Facebook data fragments that stay in your iPhone, which contains your private information. What's more, those invisible data fragments will keep eating up your storage space. Nowadyas, there are professional data recovery tools in the market that is able to recover deleted Facebook messages. So you'd better to erase the Facebook data fragments thoroughly if you want to protect your privacy and free up your iPhone storage. Aiseesoft FoneEraser is an iOS data erasing tool that can help you erase such kind of data fragments quickly and safely. This powerful utility is able to erase iPhone content and settings permanently and thoroughly, three erasing levels are provided to erase your private data completely in order to protect your privacy.
After you uninstall Facebook app from your iPhone, please follow the steps below to erase the Facebook data fragments as soon as possible.
![]() 100% Secure. No Ads.
100% Secure. No Ads.
![]() 100% Secure. No Ads.
100% Secure. No Ads.

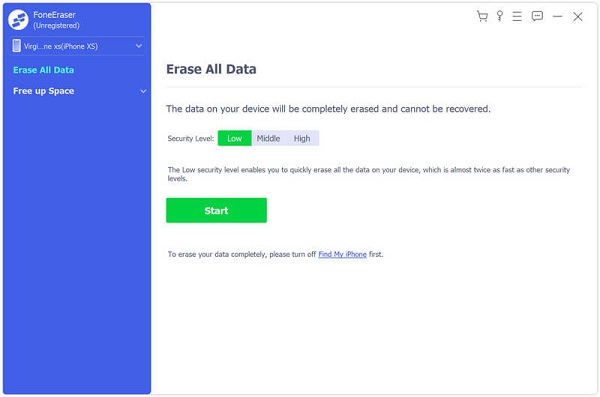
Wait for a while and all the Facebook data fragments will be deleted from your iPhone permanently.
In this article we have shared how to deactivate Facebook account temporarily or delete Facebook account on iPhone permanently. You will also know the difference between deleting a Facebook account temporarily and permanently. Moreover, it's necessary to make a backup of important Facebook data before you delete the account permanently and erase Facebook data fragments after deleting the account permanently on iPhone.
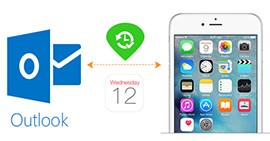 3 Best Methods to Sync Outlook Calendar with iPhone Easily [2019 Updated]
Want to sync Outlook calendar with iPhone? This post will show you three ways of syncing Outlook calendar with iPhone, iTunes and iCloud for easy viewing on iPhone.
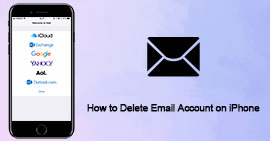 How to Delete All Email Account on iPhone/iPad
If you are looking for a way to clear all emails on your iPhone or iPad, read this post and learn the correct steps to delete email account and clear emails.
 How to Delete Calendar on iPhone (iOS 18/17/16/15/14/13)
Want to delete calendar on your iPhone, but found no delete option? This post will show you 4 solutions to clear calendar on iPhone.
Mac Error Code
1. Search for People on Facebook 2. Facebook Cover Photos/Videos Maker 3. Recover Deleted Facebook Messages on iPhone 4. Recover Deleted Contacts 5. Recover Deleted Facebook Videos 6. Recover Deleted Photos from Facebook 7. Use New Facebook Notes 8. Best Facebook Messenger Call Recorder 9. Record Facebook Video Chat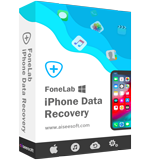
The best iPhone data recovery software ever, allowing users to safely recover lost iPhone/iPad/iPod data from iOS device, iTunes/iCloud backup.
![]() 100% Secure. No Ads.
100% Secure. No Ads.
![]() 100% Secure. No Ads.
100% Secure. No Ads.
*Required field
*Please enter a valid email
