Apple has already announced iTunes 12.7.4 and bringing some changes in functions, much different with iTunes 11 or other previous version. However, up to now, many users have been stuck on iTunes problem, and one of them is iTunes won't backup iPhone in iOS 11/12 version. When they attempt to back up iPhone data using iTunes on the computer, and nothing happens. Therefore, in this guide, we will offer useful solutions to troubleshoot iTunes won't backup iPhone X/8/8 Plus/7/6s/6/SE.
iTunes Won't Backup iPhone
Why iTunes won't backup iPhone on the computer? Due to both hardware issues, like cable & USB port and software-related matters, such as insufficient space and software update problem. Whatever the causes, check the tips below to fix the issue timely.
If the USB cable of your iPhone or the USB port on your computer is damaged, your iPhone won't show up on Windows nor within iTunes. So, we suggest you change another USB cable or port and plug in your device again. If this trick can't solve the problem, try other methods below.
iPhone and computer restart works most of the times if iTunes won't backup iPhone caused by a simple software issue.
Press and hold the "Sleep/Wake" button until the red slider shows up, then drag the "slider to power off." After 30 seconds later, press and hold the "Sleep/Wake" button again until the Apple logo appears on your iPhone.
Press and hold both Side button and Volume Down ( or Volume Up) buttons at the same time until you see the slider. Drag the slider to shut down your iPhone X completely. After 30 seconds later, press and hold the "Sleep/Wake" button again until the Apple logo appears on your iPhone.
Close all the files before restarting your computer to make sure you do not lose any critical data. Then, go to the start menu and select power and shut down your computer. After a while, open your computer again.
When you meet iTunes won't backup iPhone or cannot connect to iTunes store, you can fix these issues by updating iTunes to the newest version.
Open iTunes, go to "Help" and select "check for updates." Then, a screen will pop up and inform you whether you have an available new version. If yes, follow the on-screen instructions and head to the update screen to download and install the latest iTunes version on your computer.
As iTunes will back up your iPhone to iTunes library stored on your computer, so, if your computer is short of room, the iTunes backup will fail, and iTunes can't back up your iPhone completely. At this times, you can avail more storage by deleting unwanted files from your PC or delete apps on your iPhone to minimize the backup file.
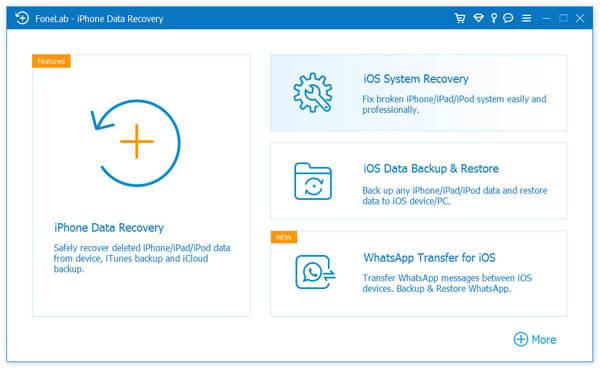
Alternatively, we suggest you to use a third-party iOS Data Backup & Restore program, which could give you better backup experience.
Key features:
• Safely backup contacts/messages/email/photos/videos on iPhone with simple clicks.
• Restore any data to iPhone from the backup file selectively.
• Preview data before iPhone backup and restore.
• Fully support all iPhone/iPad, including latest iPhone X/8, iPhone 7, iPhone 7 Plus, iPhone 6s Plus, iPhone 6, iPhone 5s, iPhone 5, running iOS 12/11/10/9/8.
Step 1Go to iOS Data Backup & Restore
Free download FoneLab on PC and open the program, choose iOS Data Backup & Restore option in the main interface.
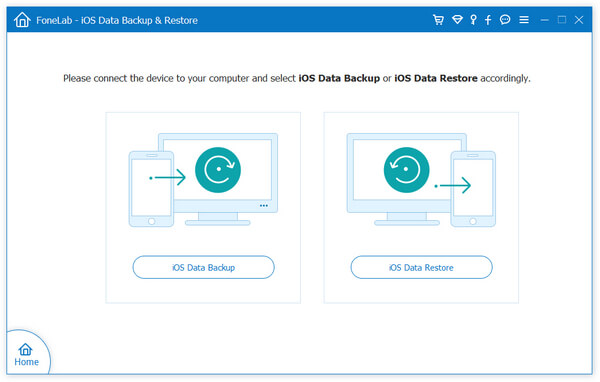
Step 2Connect iPhone to computer
In order to backup iPhone, connect your iOS device to your computer, and then select iOS data Backup option.
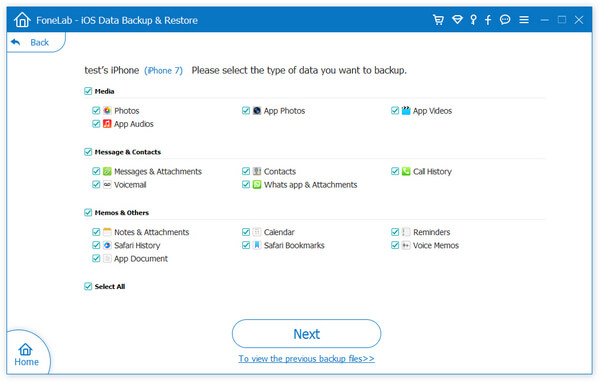
Step 3Choose file type
Wait until your iPhone was detected by the program automatically. Then click "Start" button and select file type you want to backup. Here you can choose Photos, Messages, Call History, Contacts, Calendar, Notes, etc. for backup.
Note: You can also choose the default "Standard backup" option to "Encrypted backup" in order to protect private information.
Step 4Backup iPhone
Click "Next" button, and confirm the backup path in the pop-up window, then click Backup button to save your backup files in the local disk.
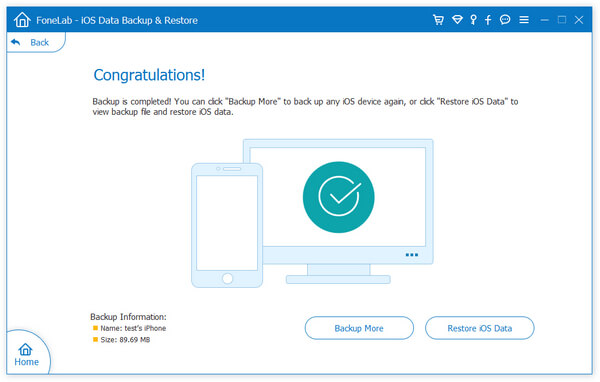
After you get the backup, you can scan and view backup data anytime you want. If you want to restore backup to new iPhone, choose "iOS Data Backup & Restore" > "iOS Data Restore", and you can choose your backup and restore data selectively within seconds.
In this article, we have mainly showed you to fix the issue that iTunes won't backup iPhone. You are able to use these tips to see the problem has been solved or not. If not, don't hesitate to use Aiseesoft iOS Data Backup & Restore to backup your iPhone.

July 17, 2018 07:05 / Updated by Louisa White to Back up iOS Data
 Top 10 Alternative to iTunes on Windows or Mac
Want to find the best alternative to iTunes on Windows or Mac? You can find the best iTunes alternative for Windows/Mac in this post.
 Recover Contacts from iTunes Backup
How to restore iPhone contacts from iTunes backup? You can learn to recover iPhone contacts from iTunes and move them to your new iPhone.
 Best Way to Transfer iPad Photos to Computer
Want to transfer pictures from iPad to PC or Mac? You can learn how to transfer photos from iPad to computer with/without iTunes.
